
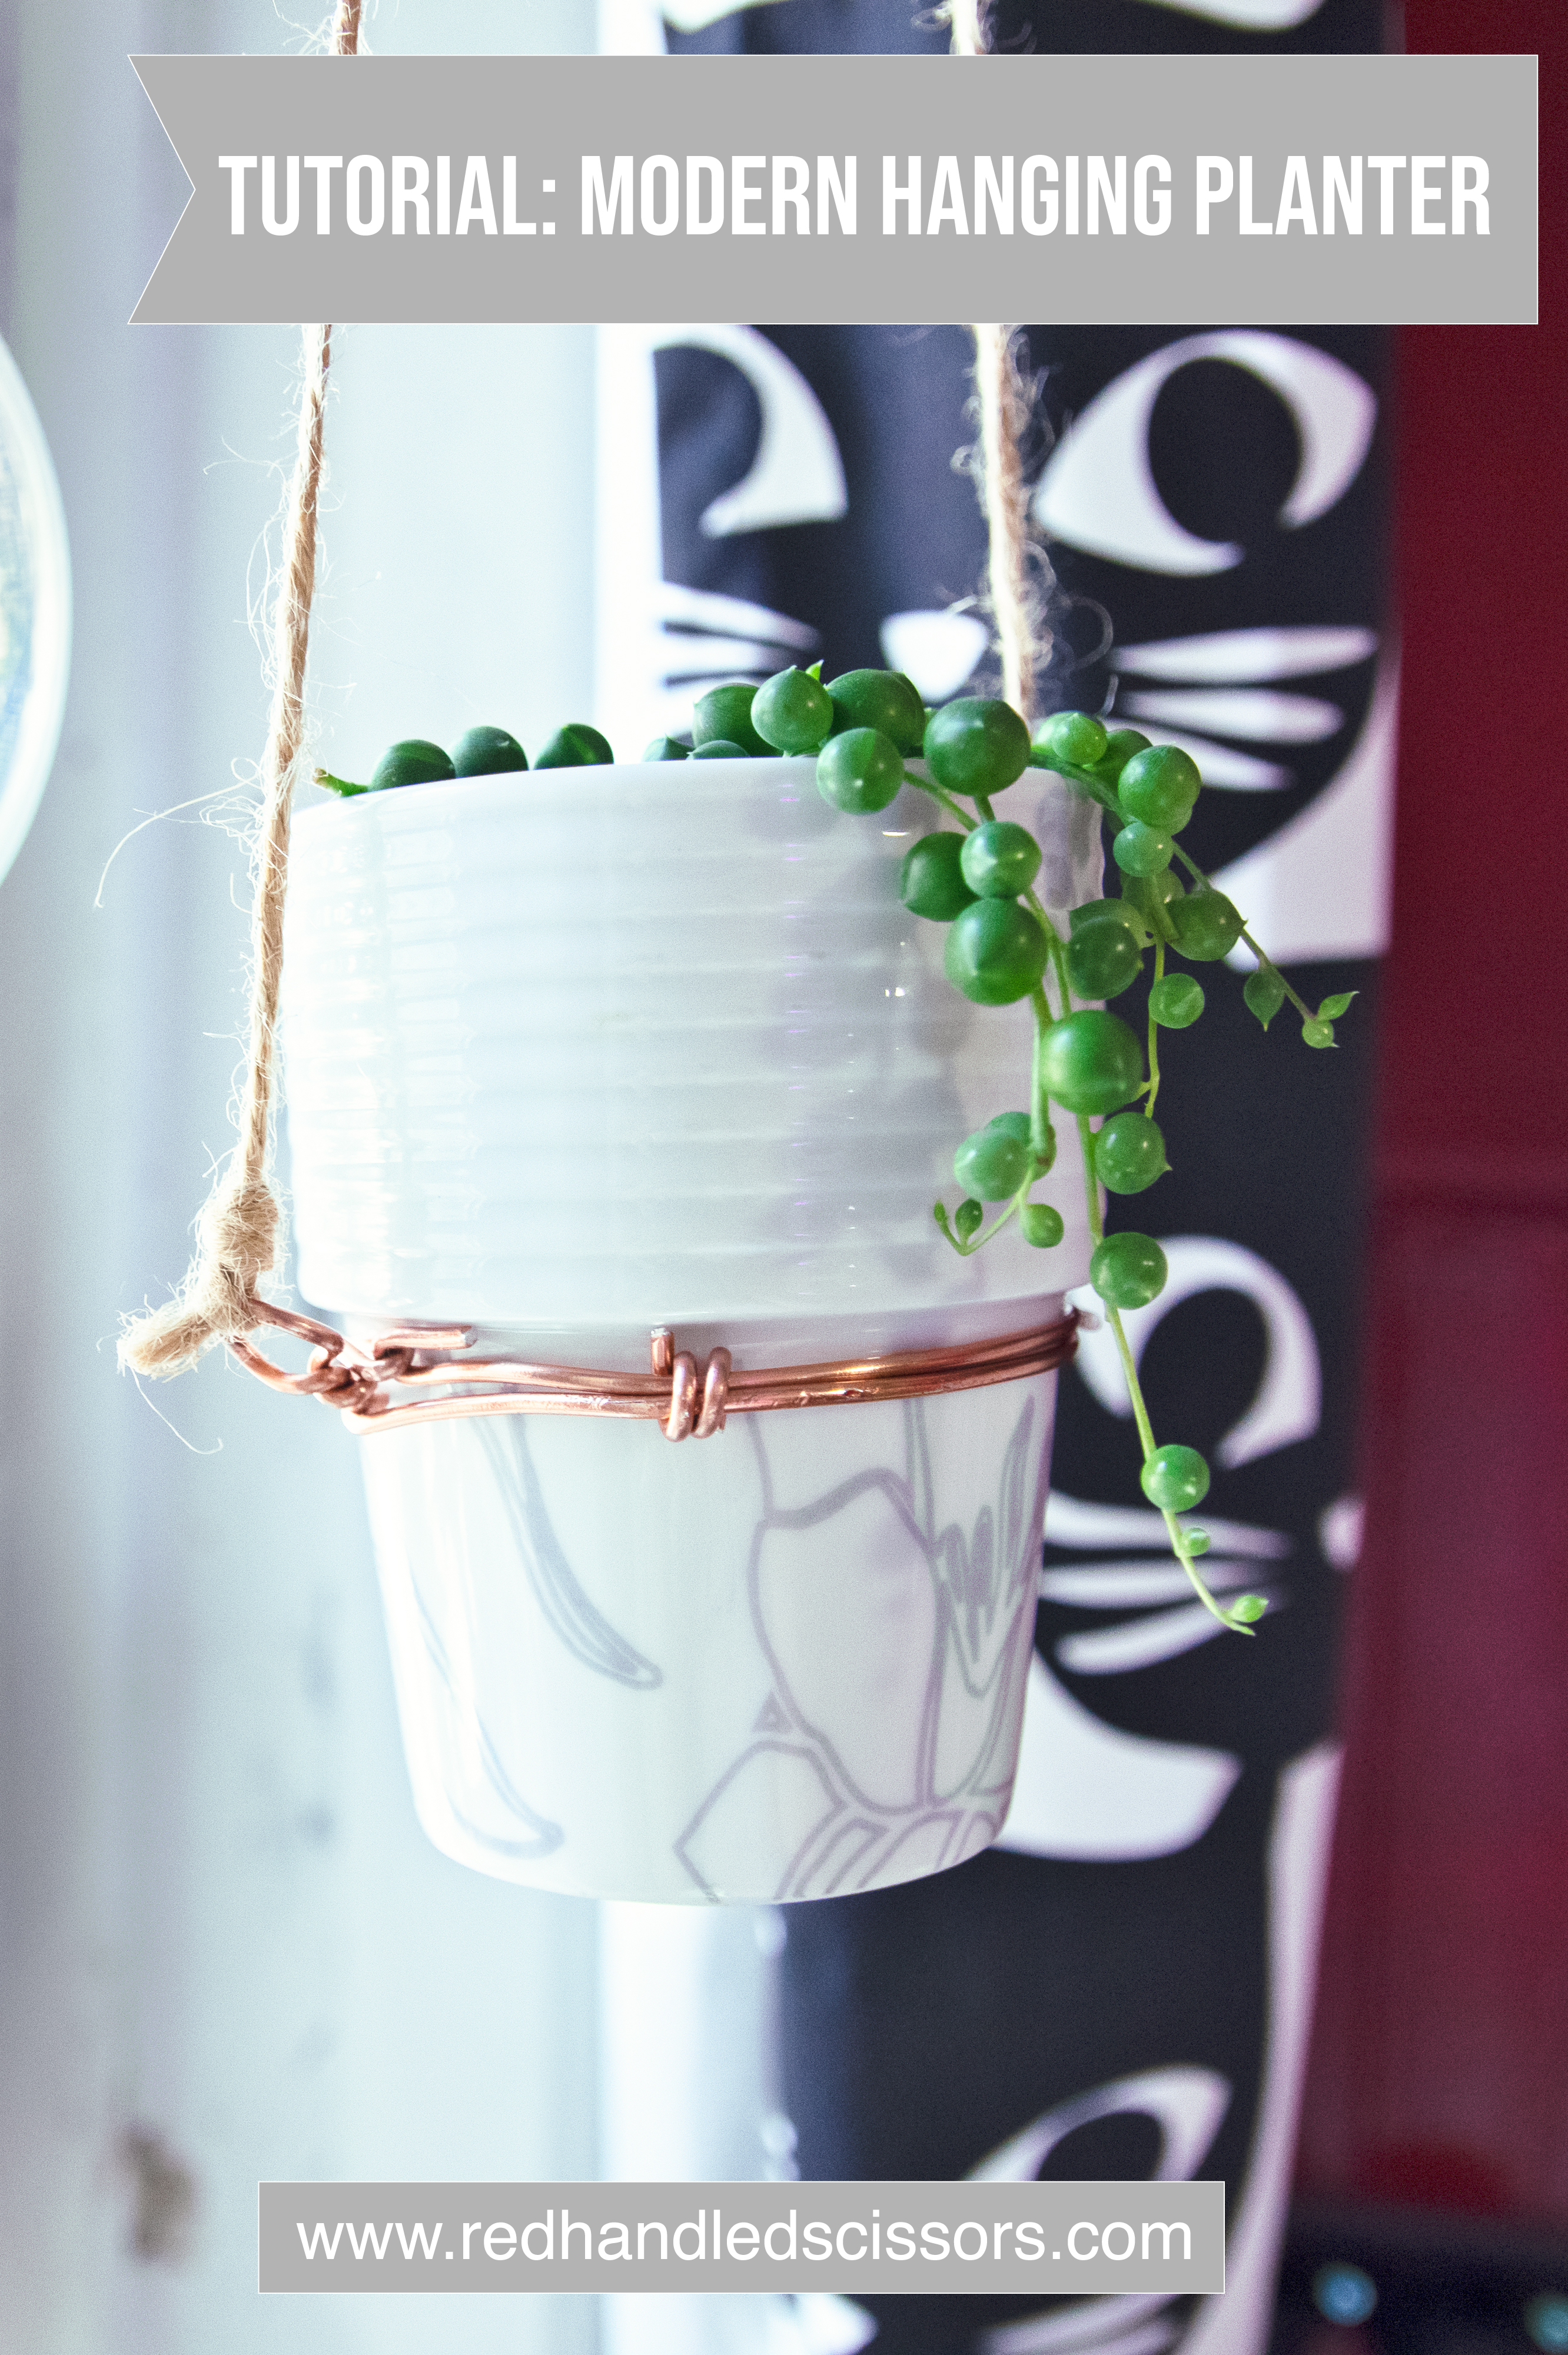
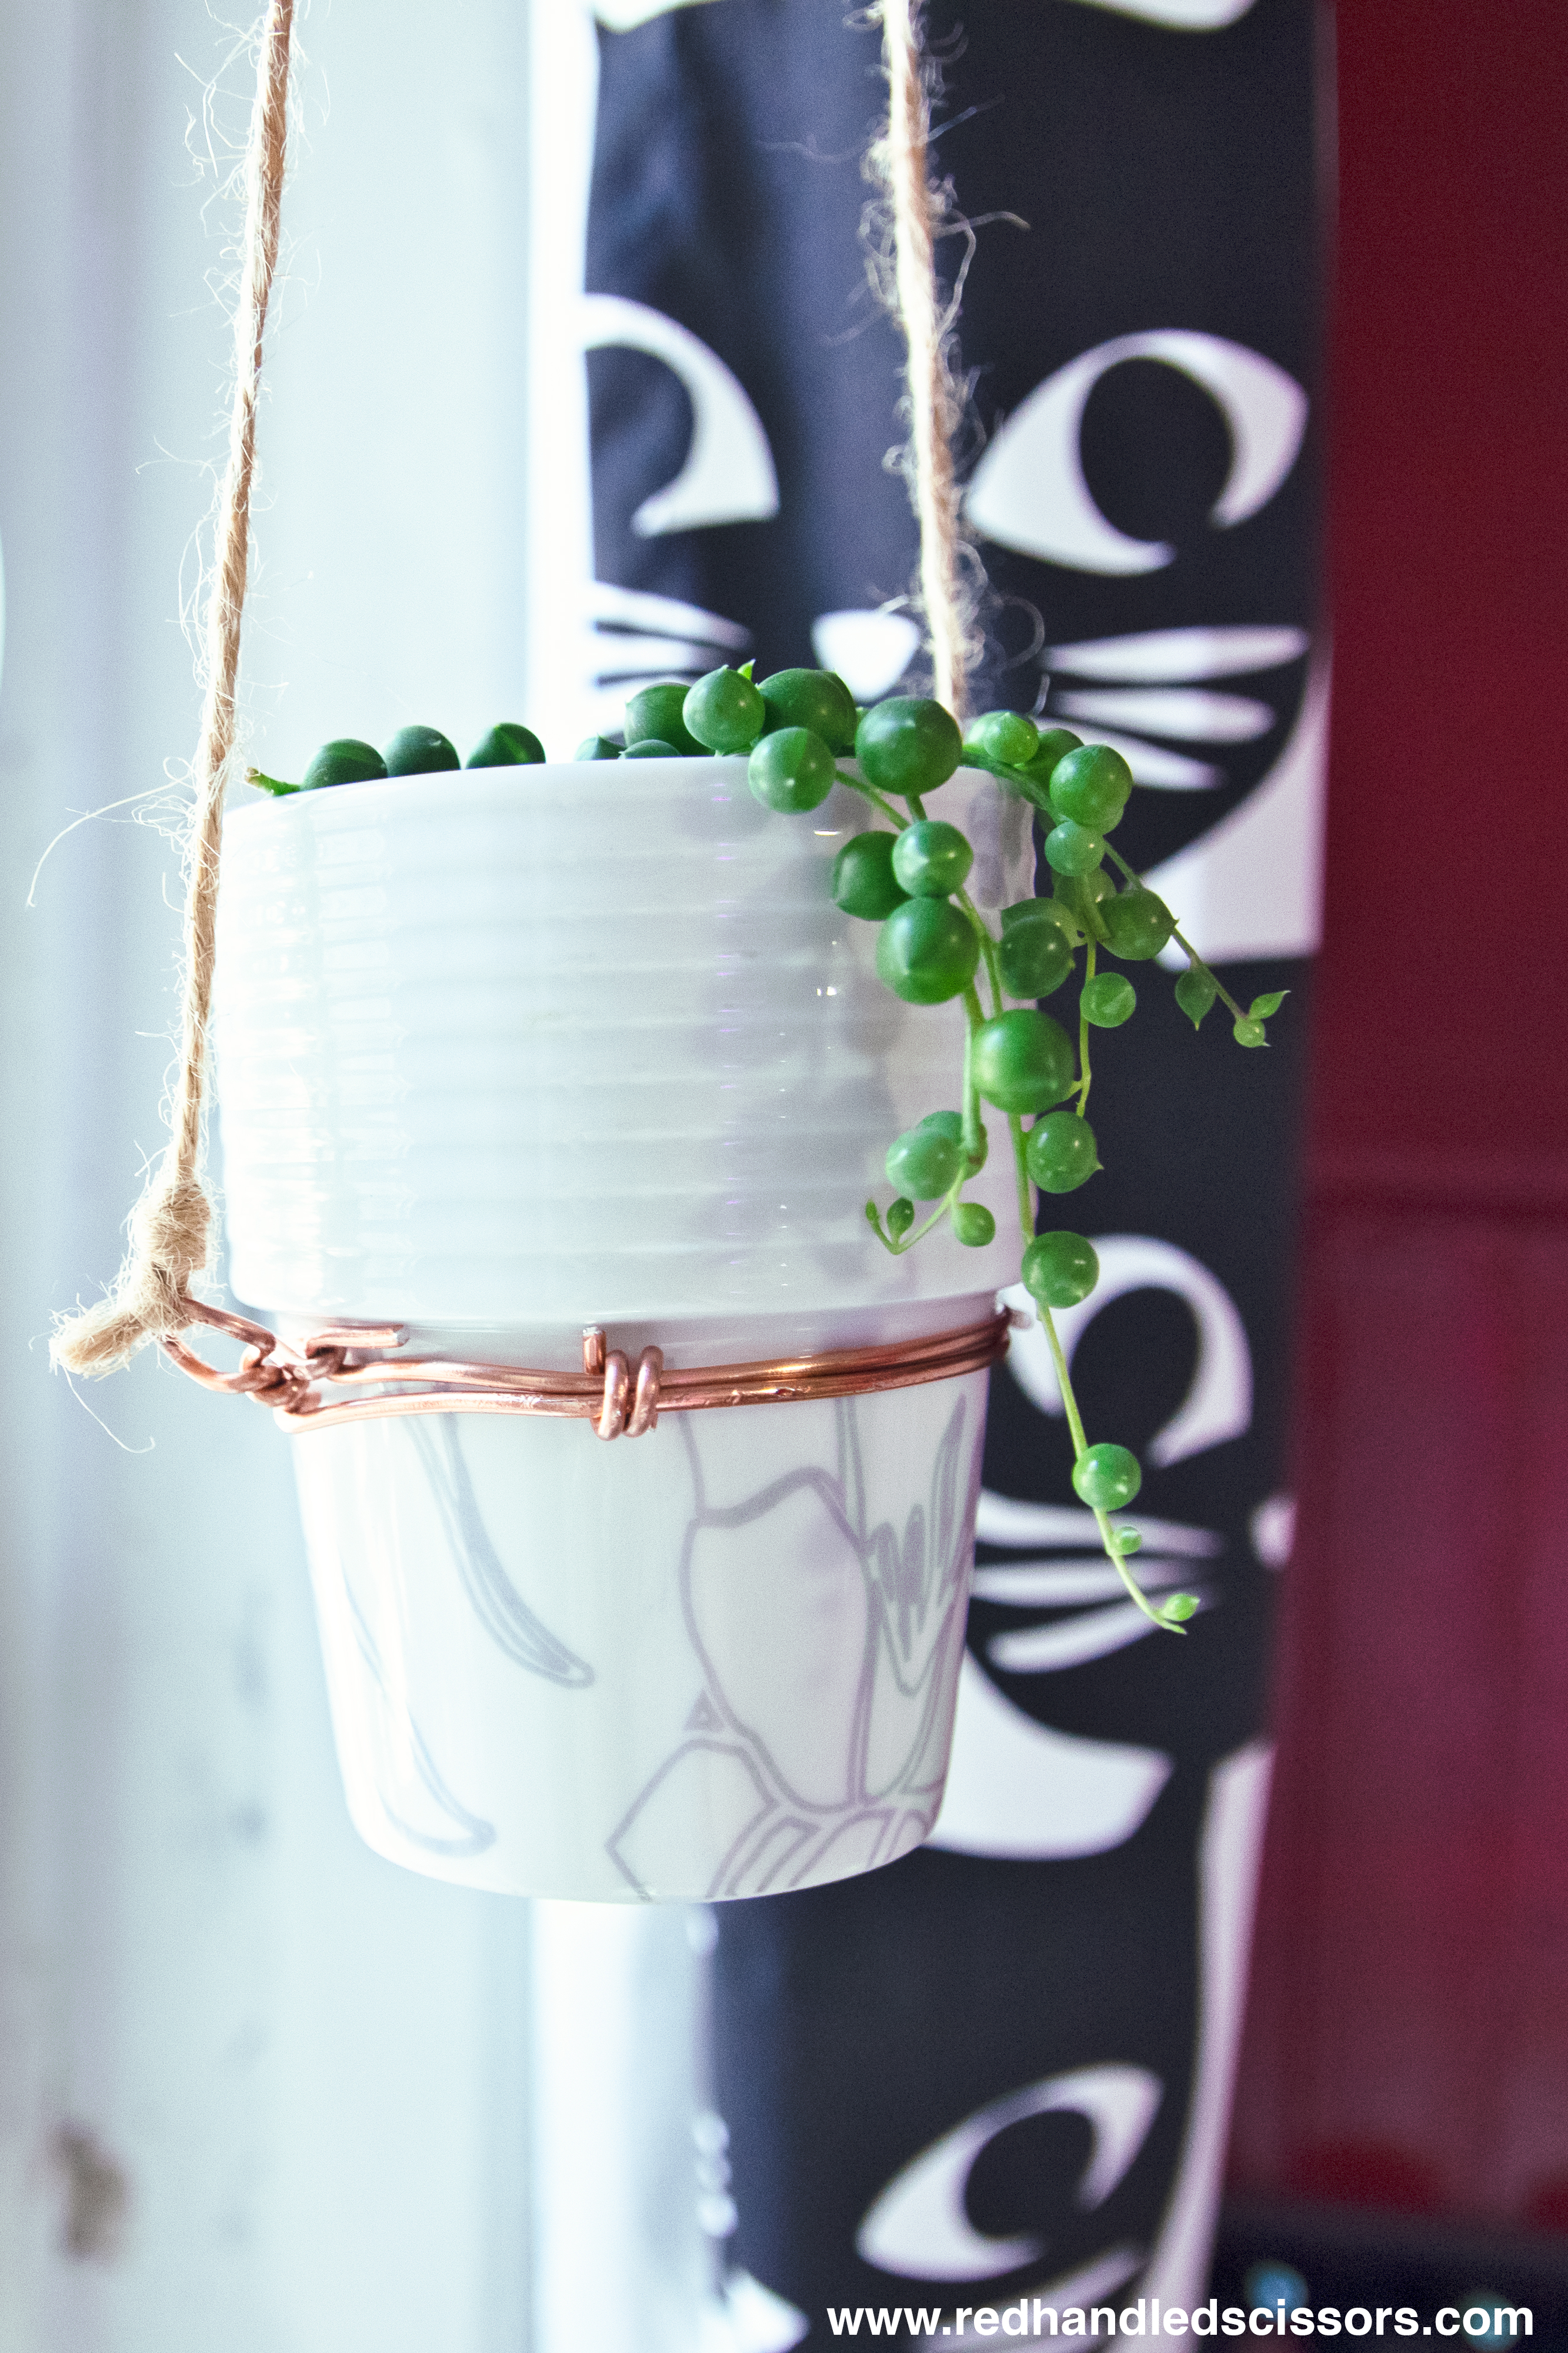
Sumer plant season has arrived! Bring some new life to your window decor with a simple, minimalist DIY modern hanging planter!
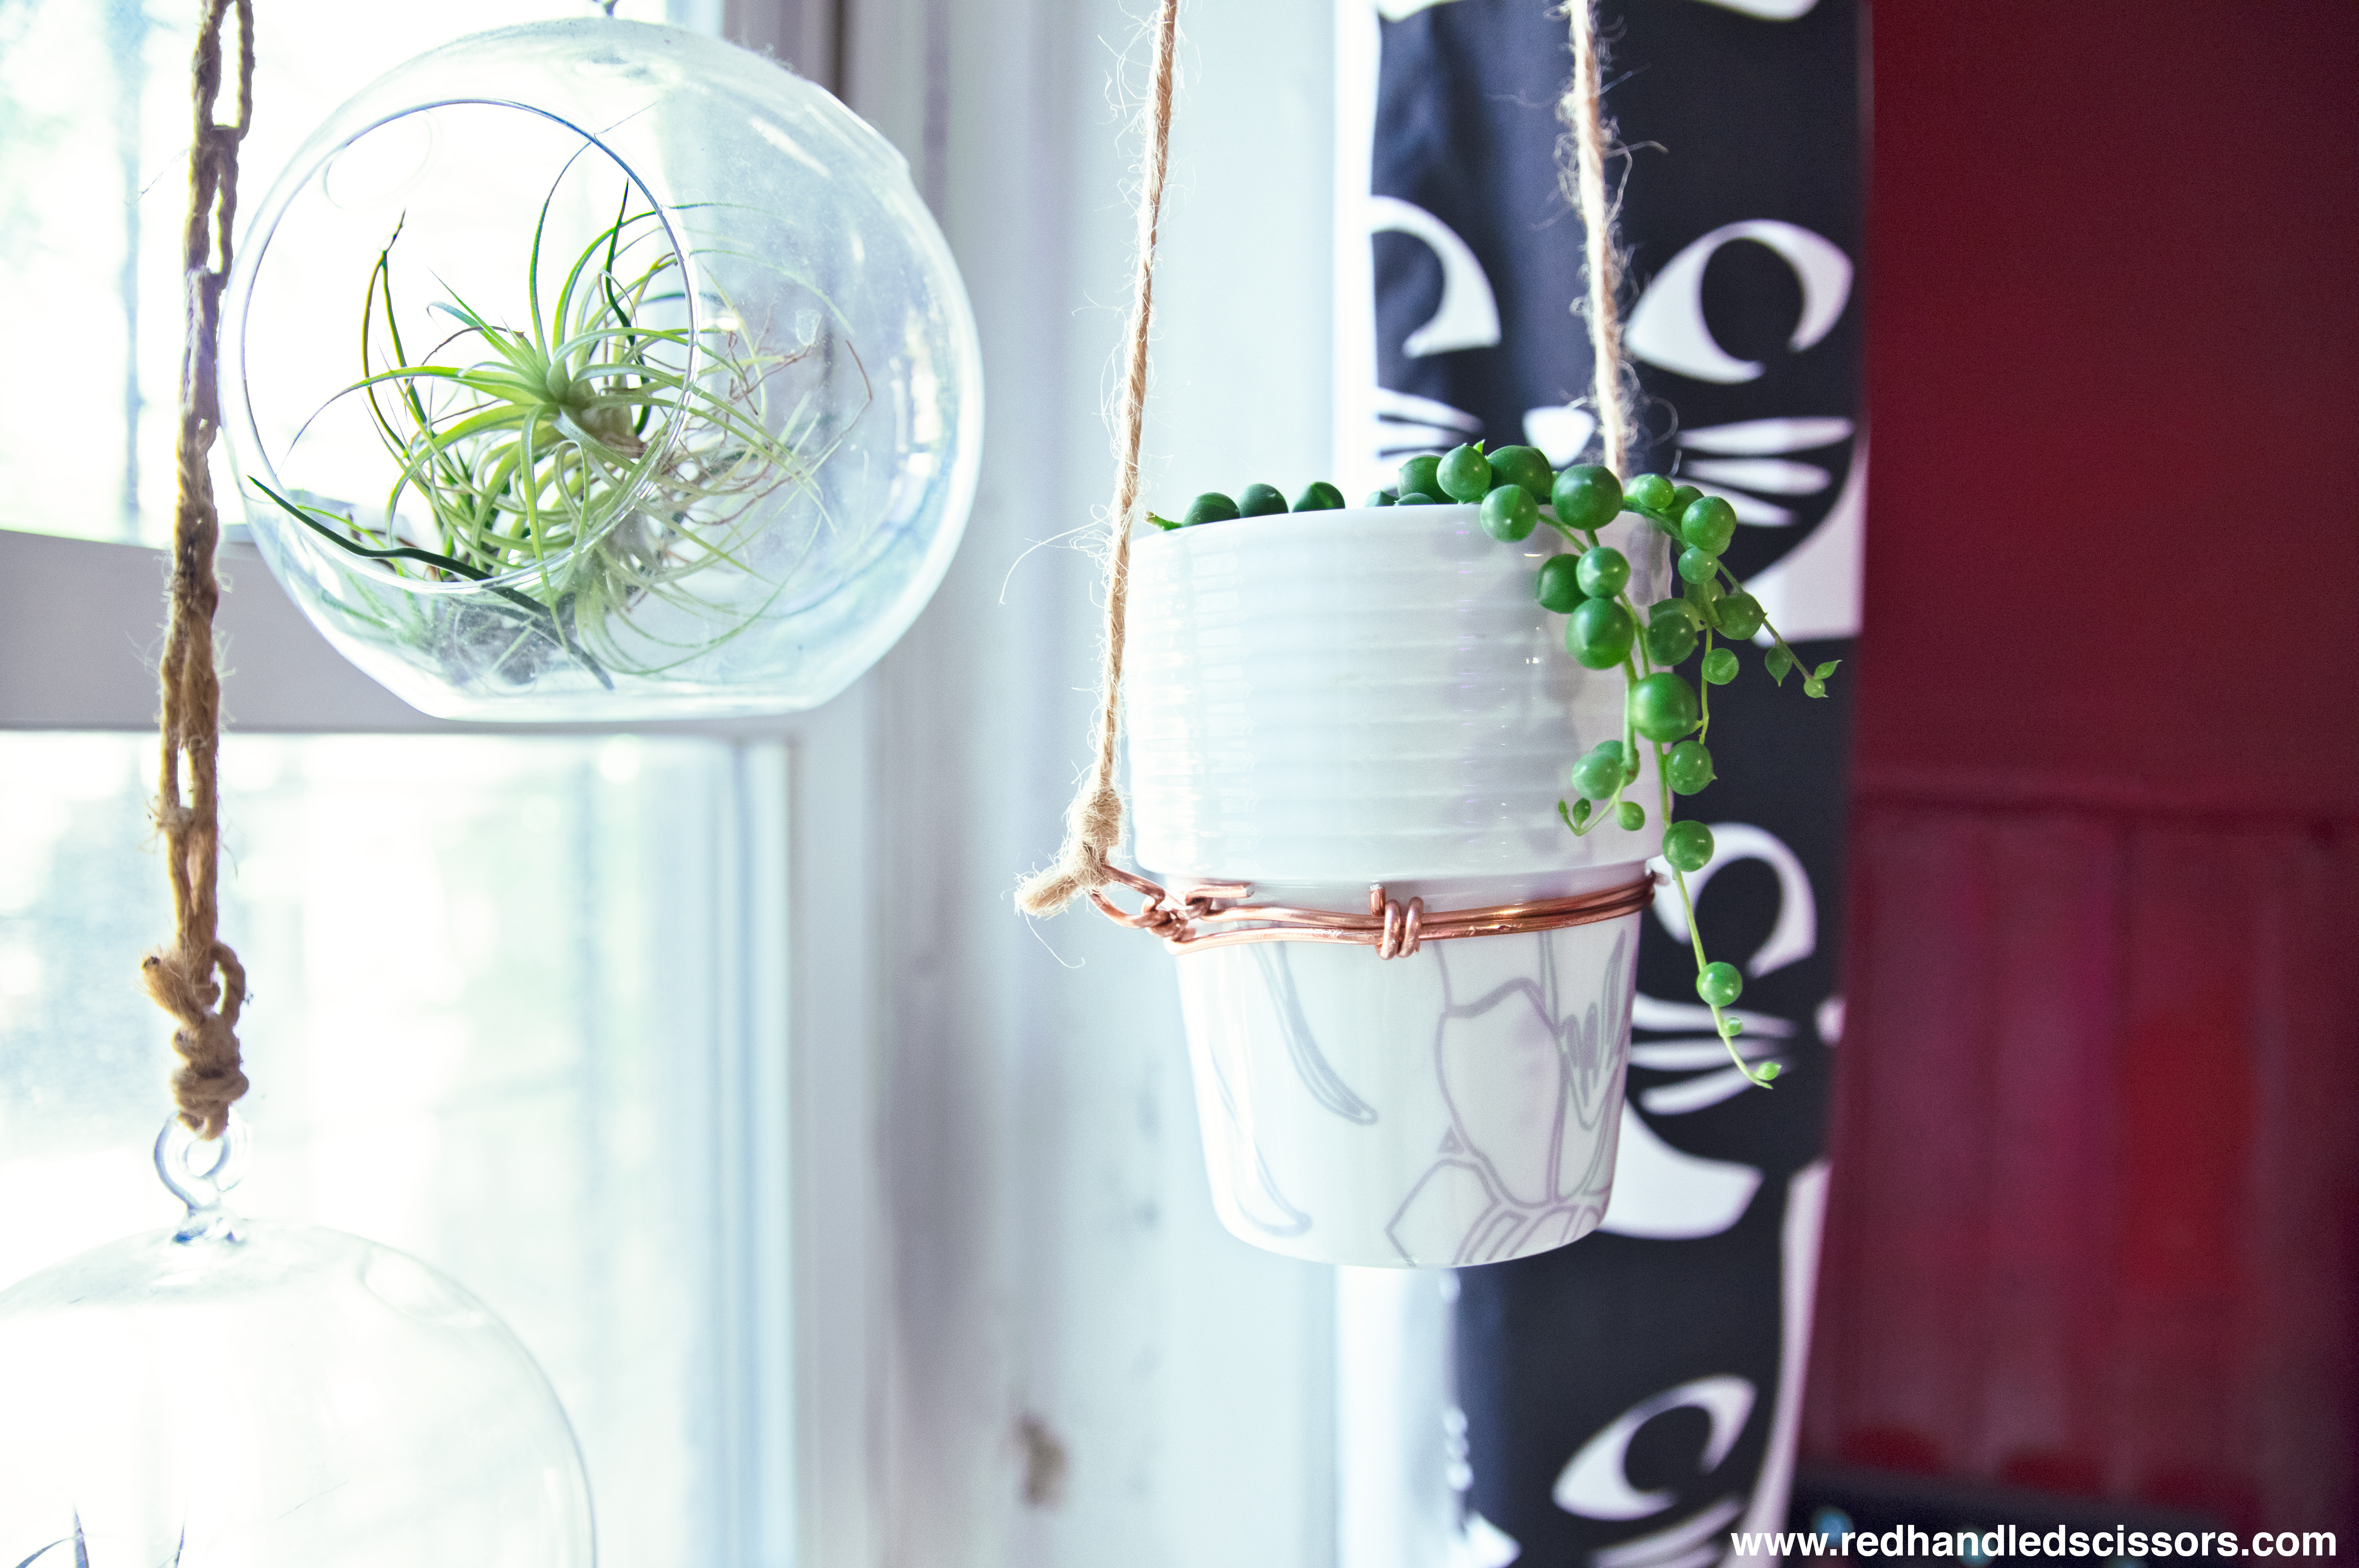
Contrary to what you might think, creating your own hanging planter doesn’t necessarily require yards of cord or fancy macrame skills. In this tutorial, I’ll show you how to use colorful aluminum wire to display your smaller, lighter plants—especially succulents or air plants— in your windows with style!
Note: This tutorial is only appropriate for small, lightweight plants that don’t need a ton of support. If you’re interested in hanging medium or large-sized plants, you should definitely look for a more structurally robust technique that’s designed to bear significant weight. (If you aren’t sure, don’t risk it!)
Ready to get started? Here’s what you’ll need:
Please note that the links provided below are affiliate links, and I will be compensated if you choose to make a purchase after clicking through.
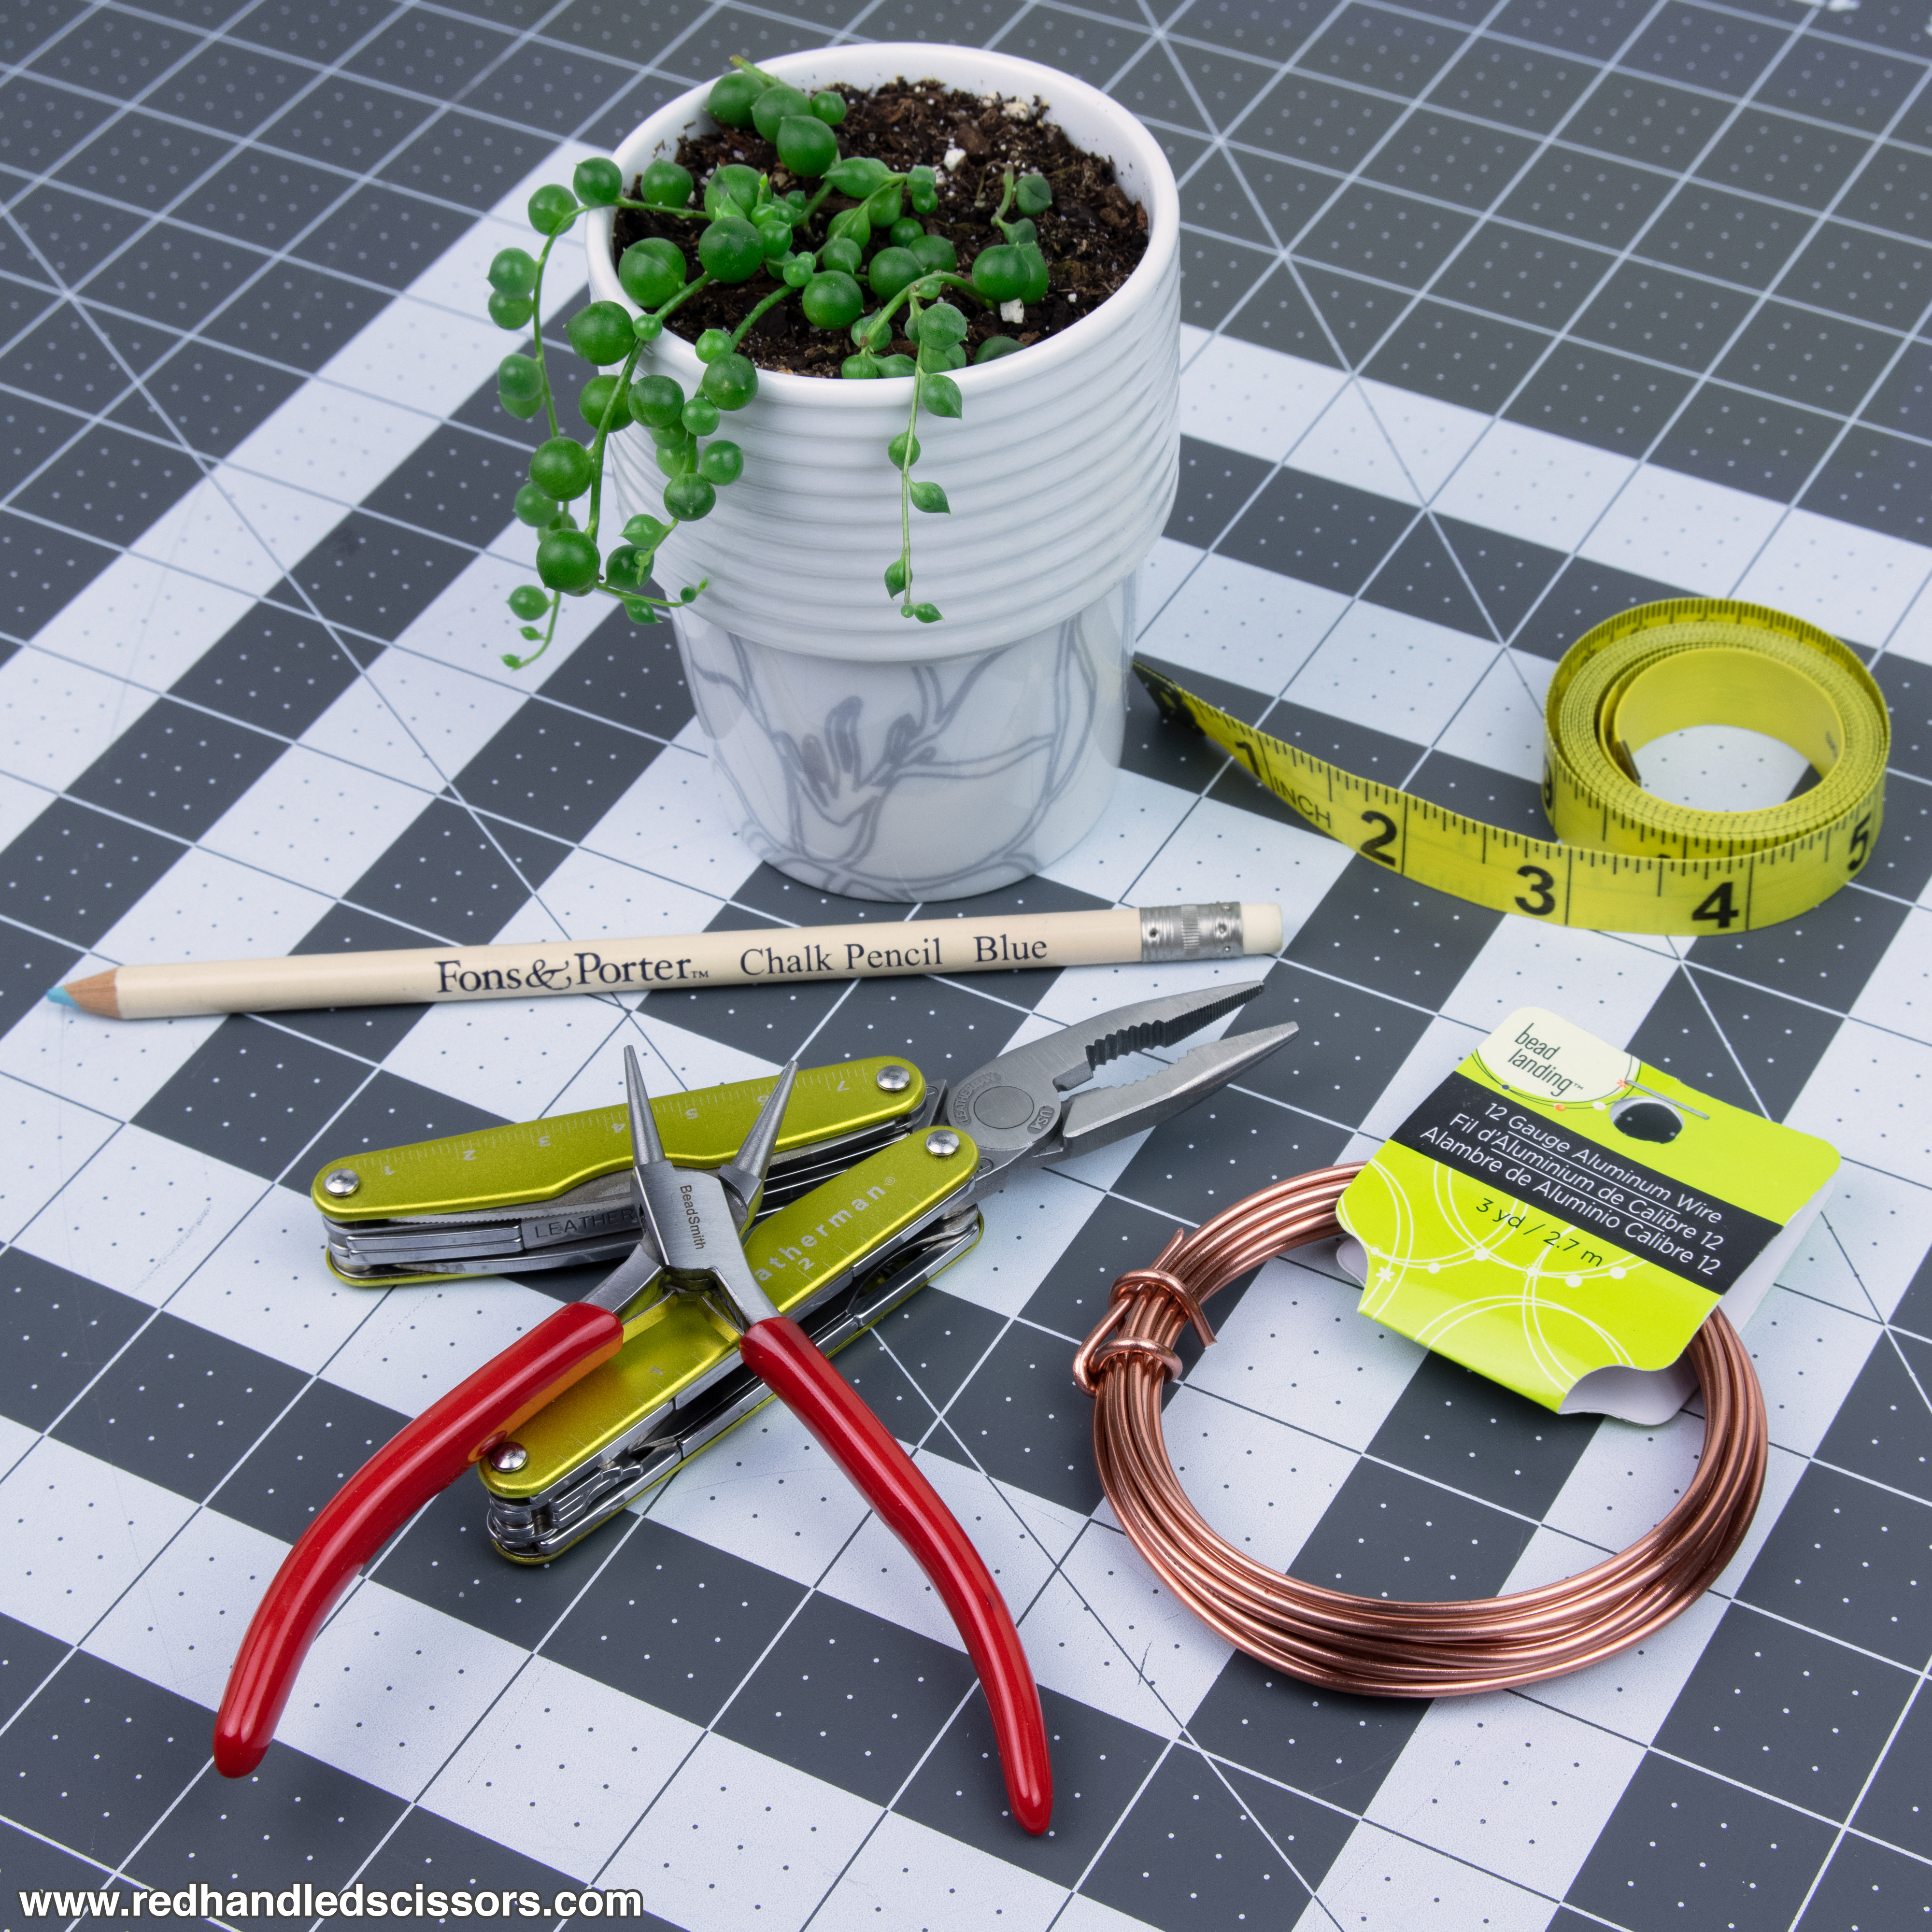
Supplies:
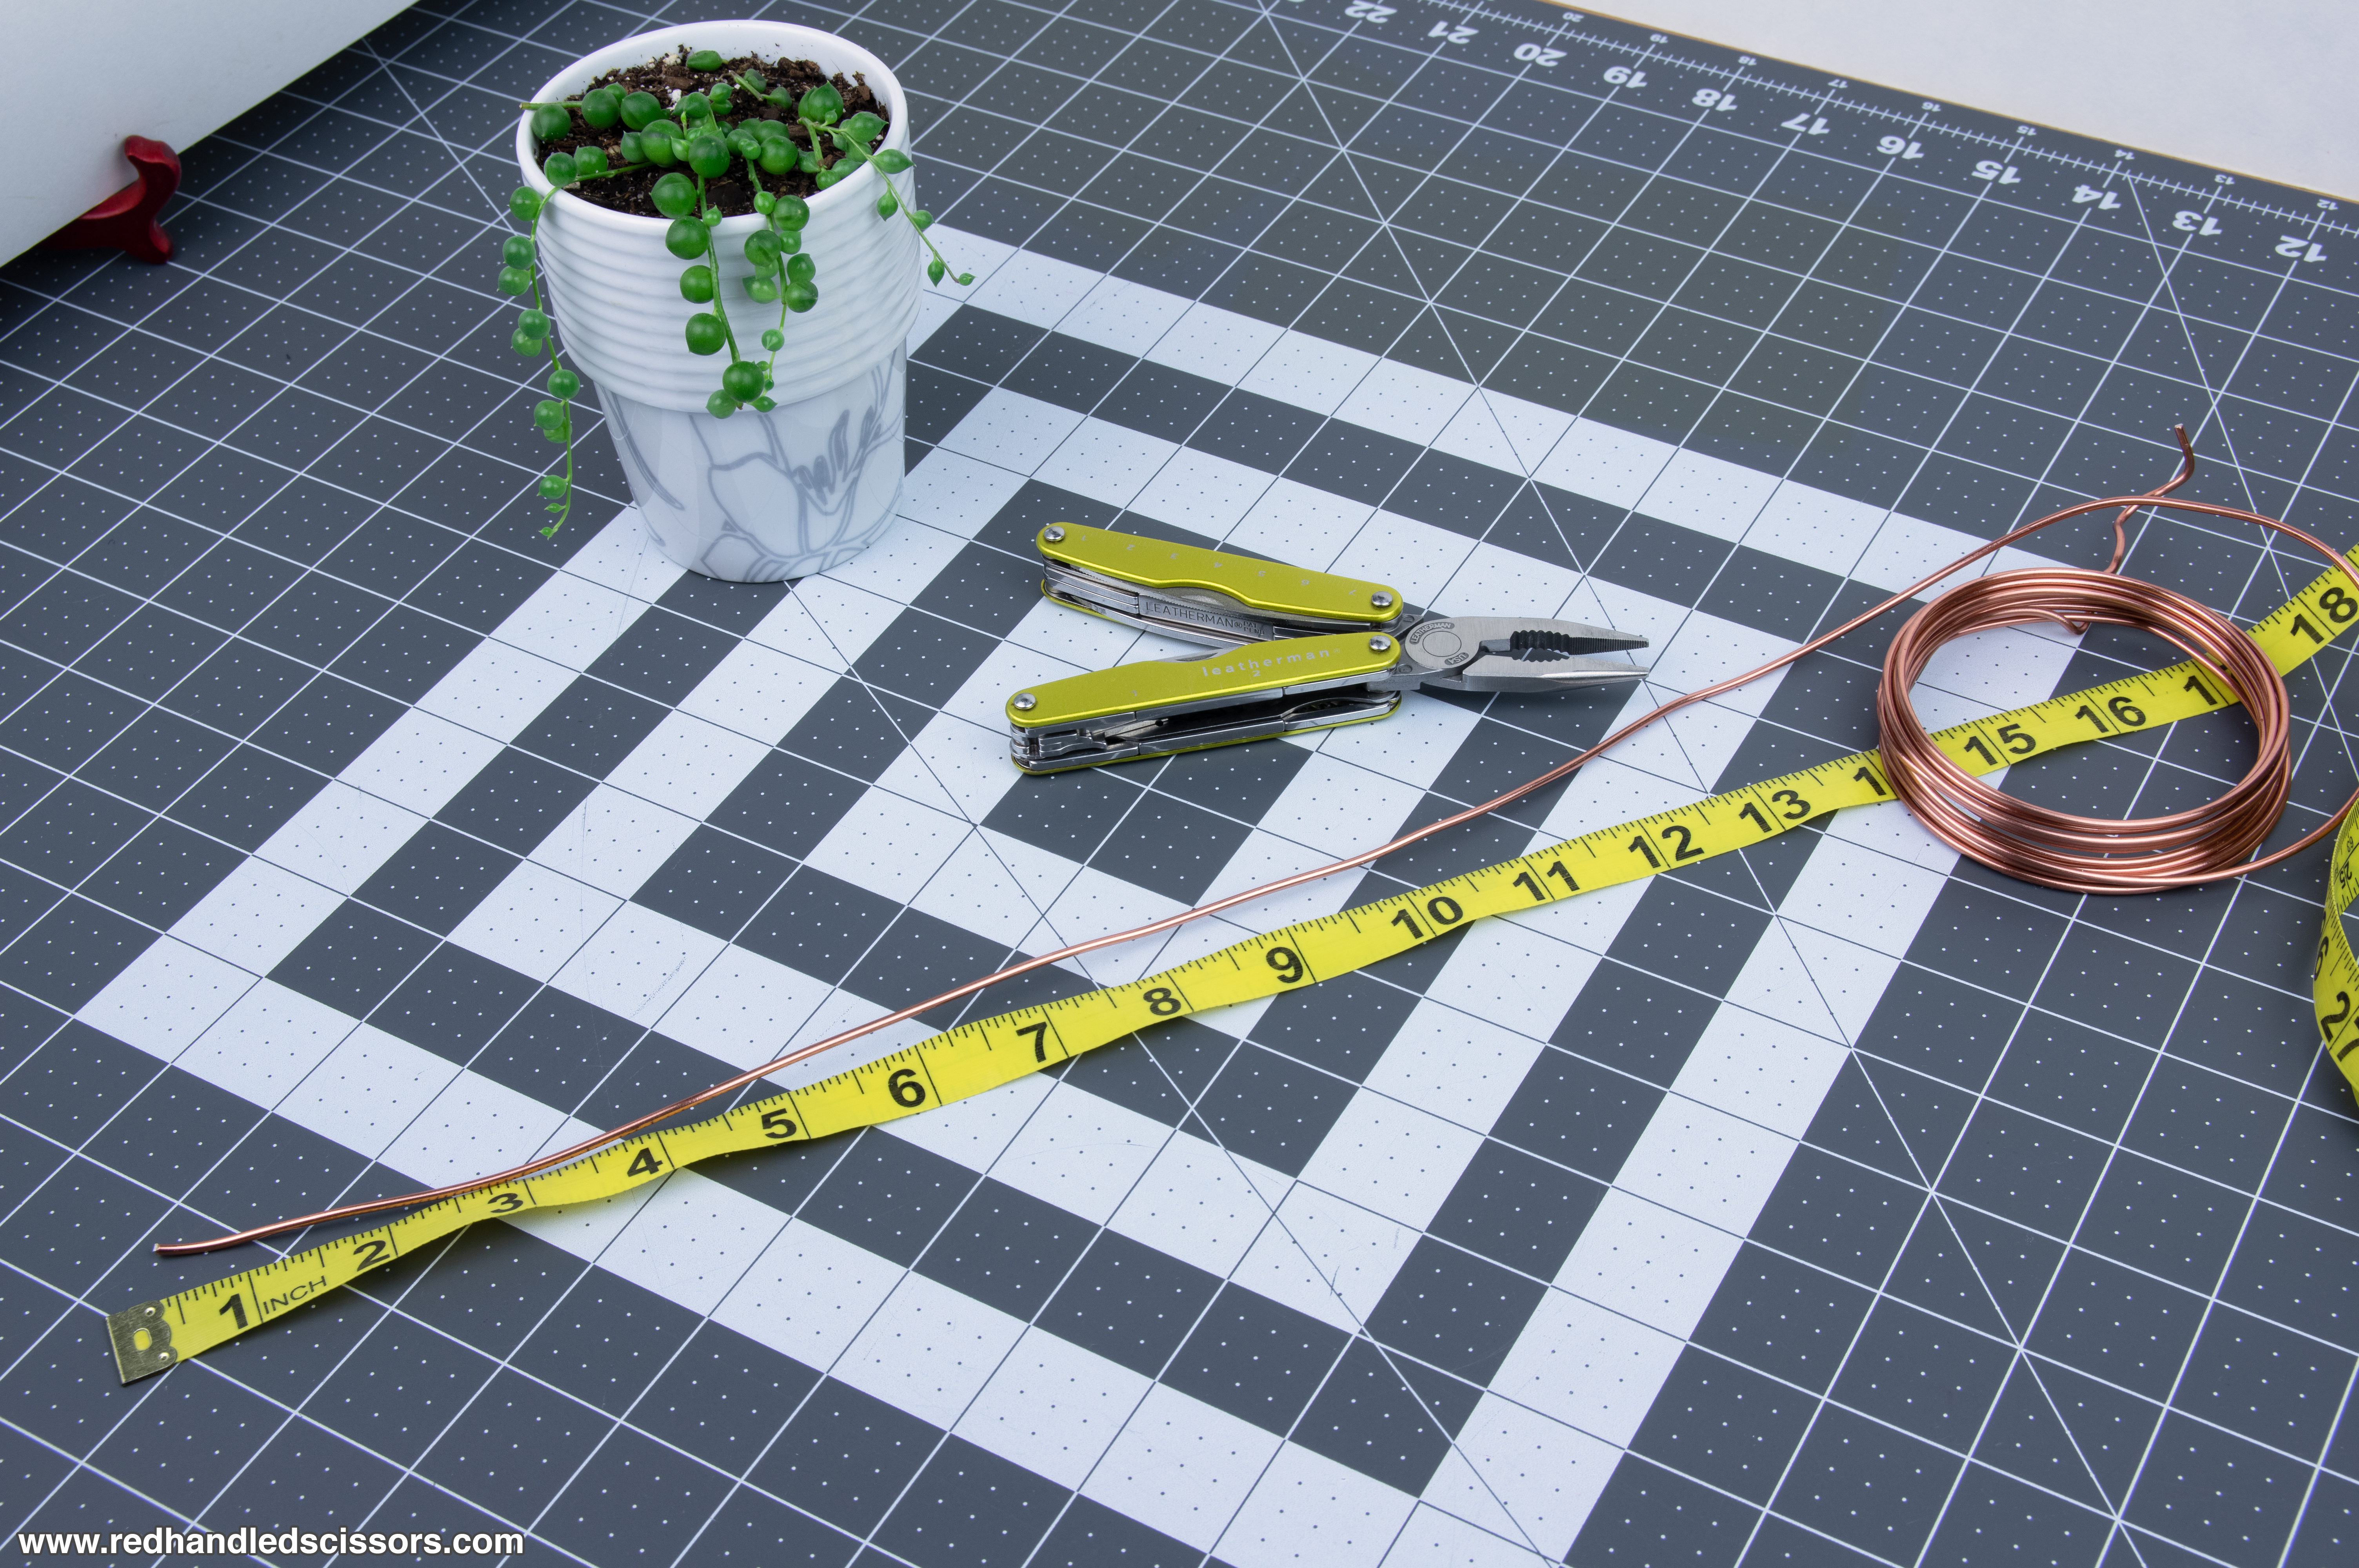
* 1 to 2 yards of 12 gauge aluminum craft wire (affiliate link)
* Twine or chain appropriate for the weight of your planter (affiliate link)
* Small round planter with a deep lip around the top
* Plant and planting supplies
Tools:
* Needle nose pliers (affiliate link)
* Round nose pliers (affiliate link)
* Wire cutters (affiliate link)
* Measuring tape (affiliate link)
* Pencil or chopstick
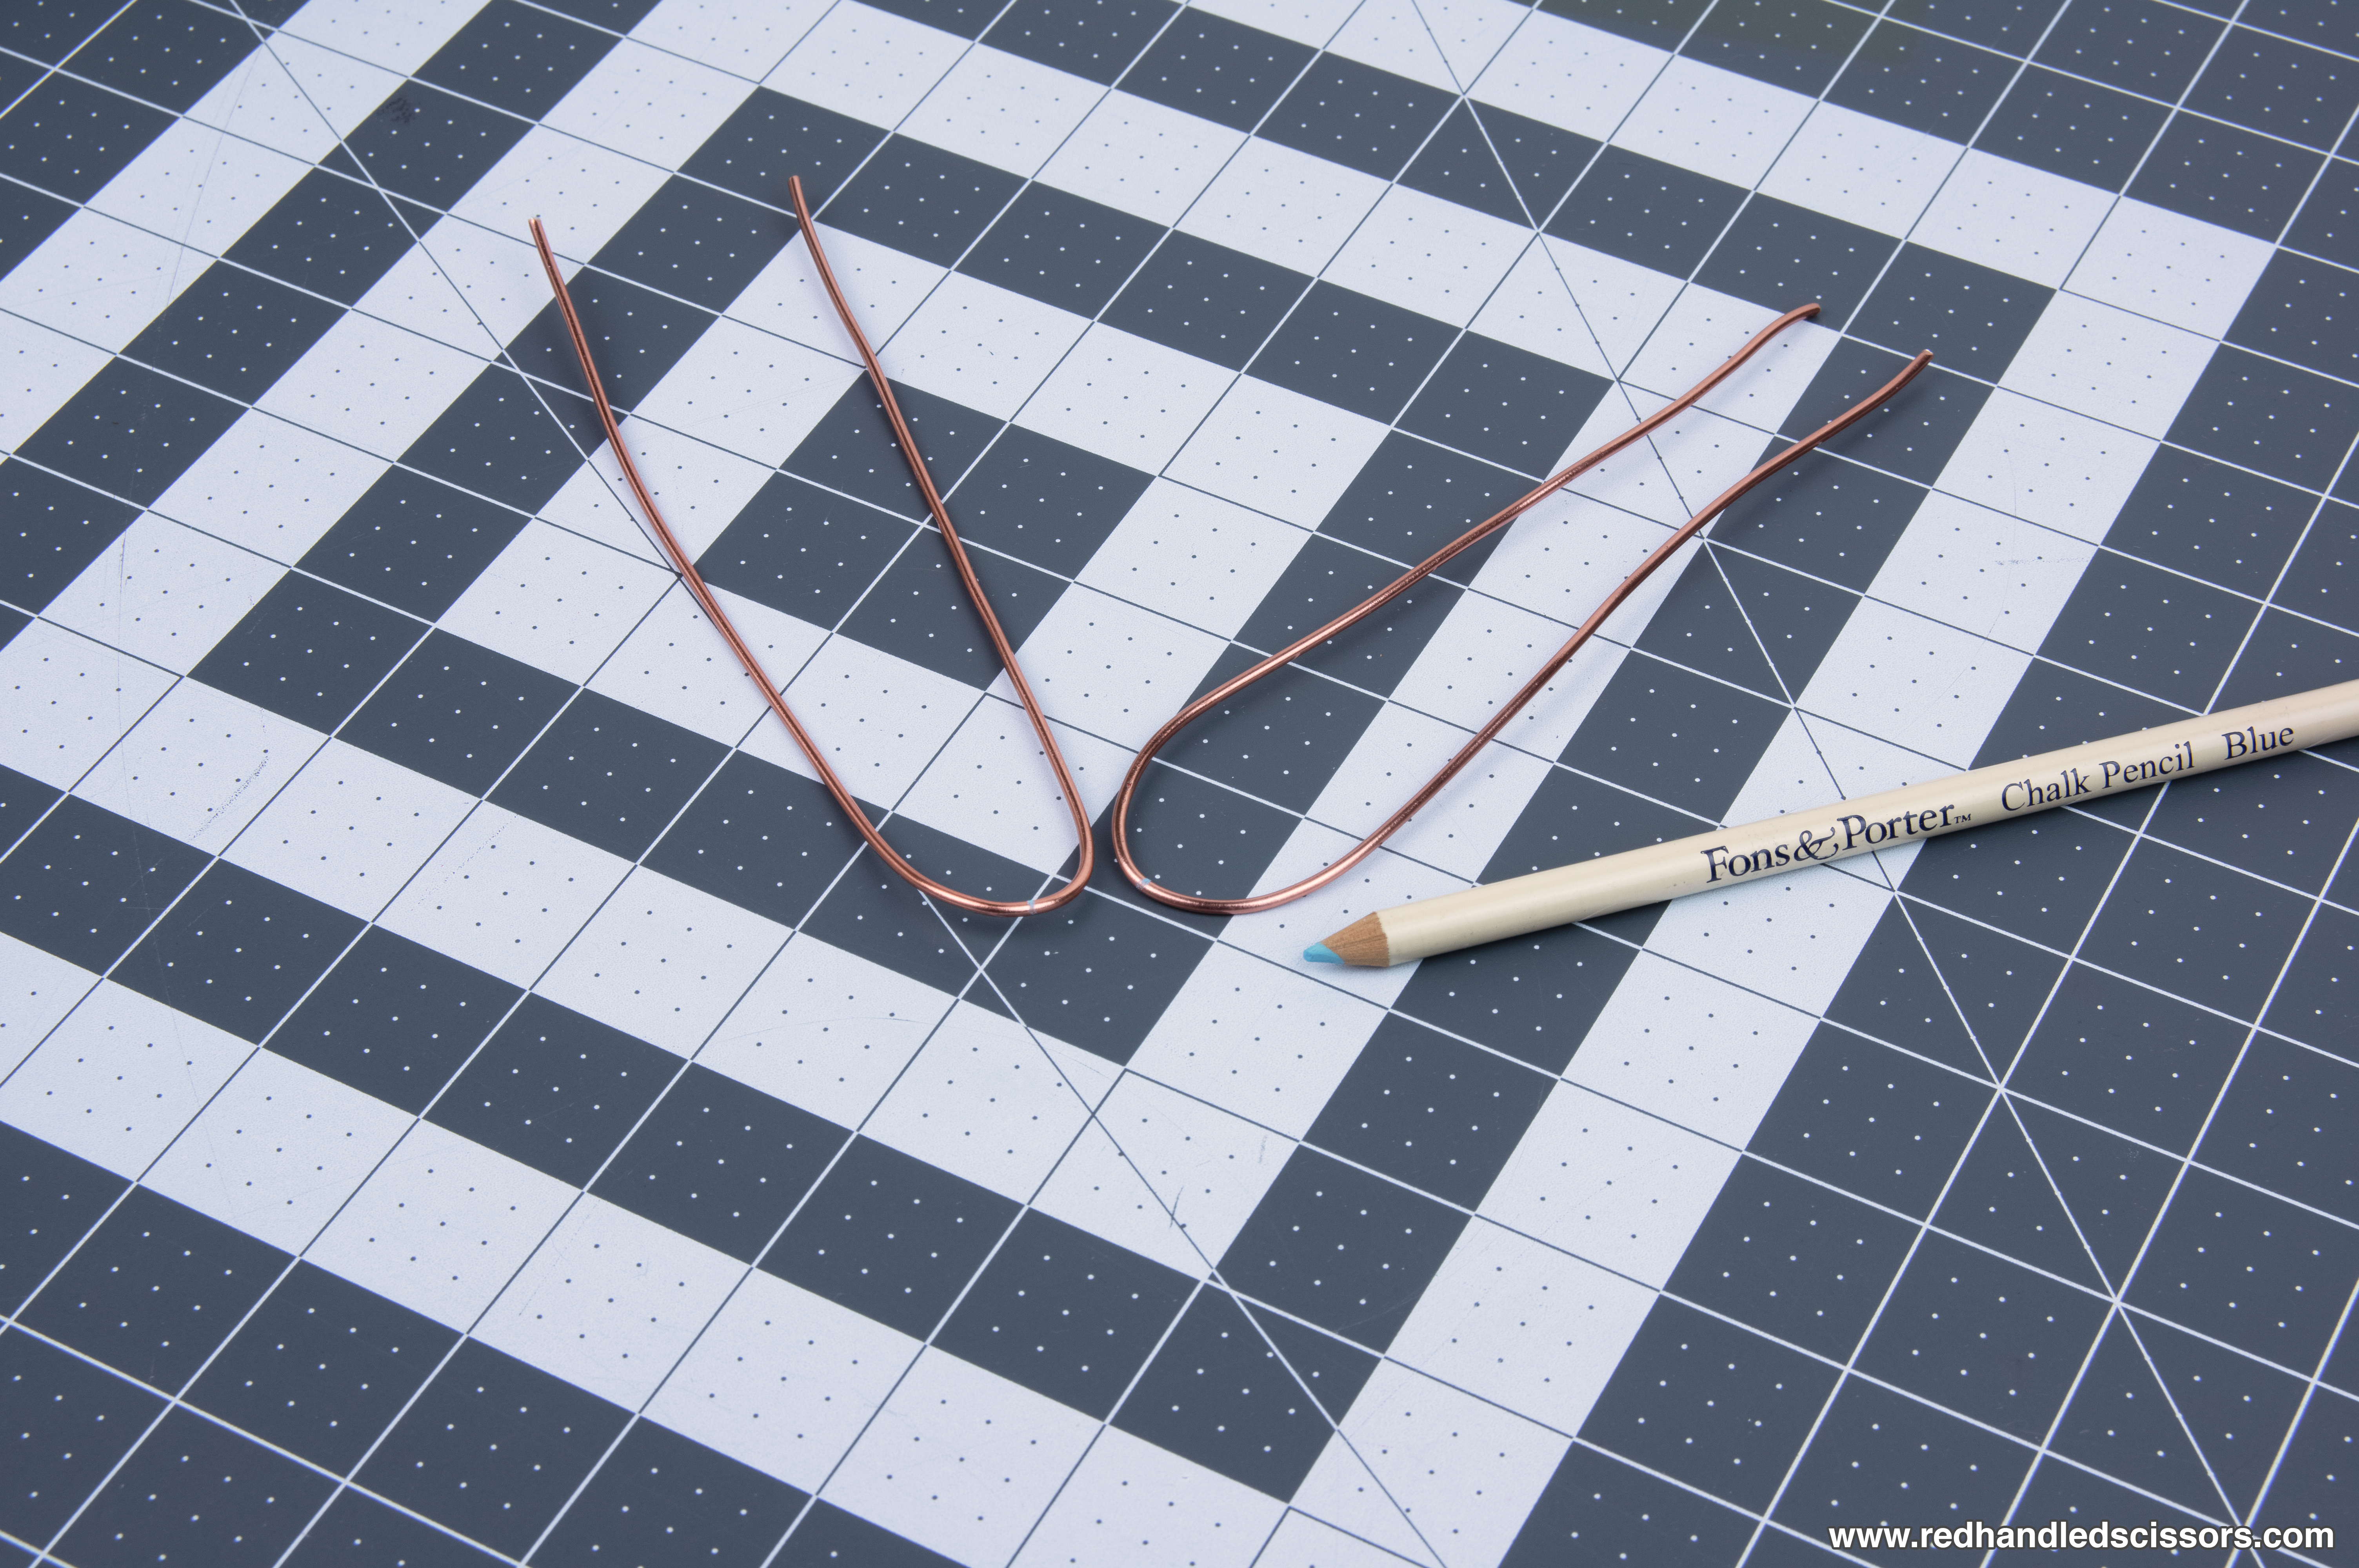
* Chalk pencil (affiliate link)
* Scissors (affiliate link)
Tutorial:
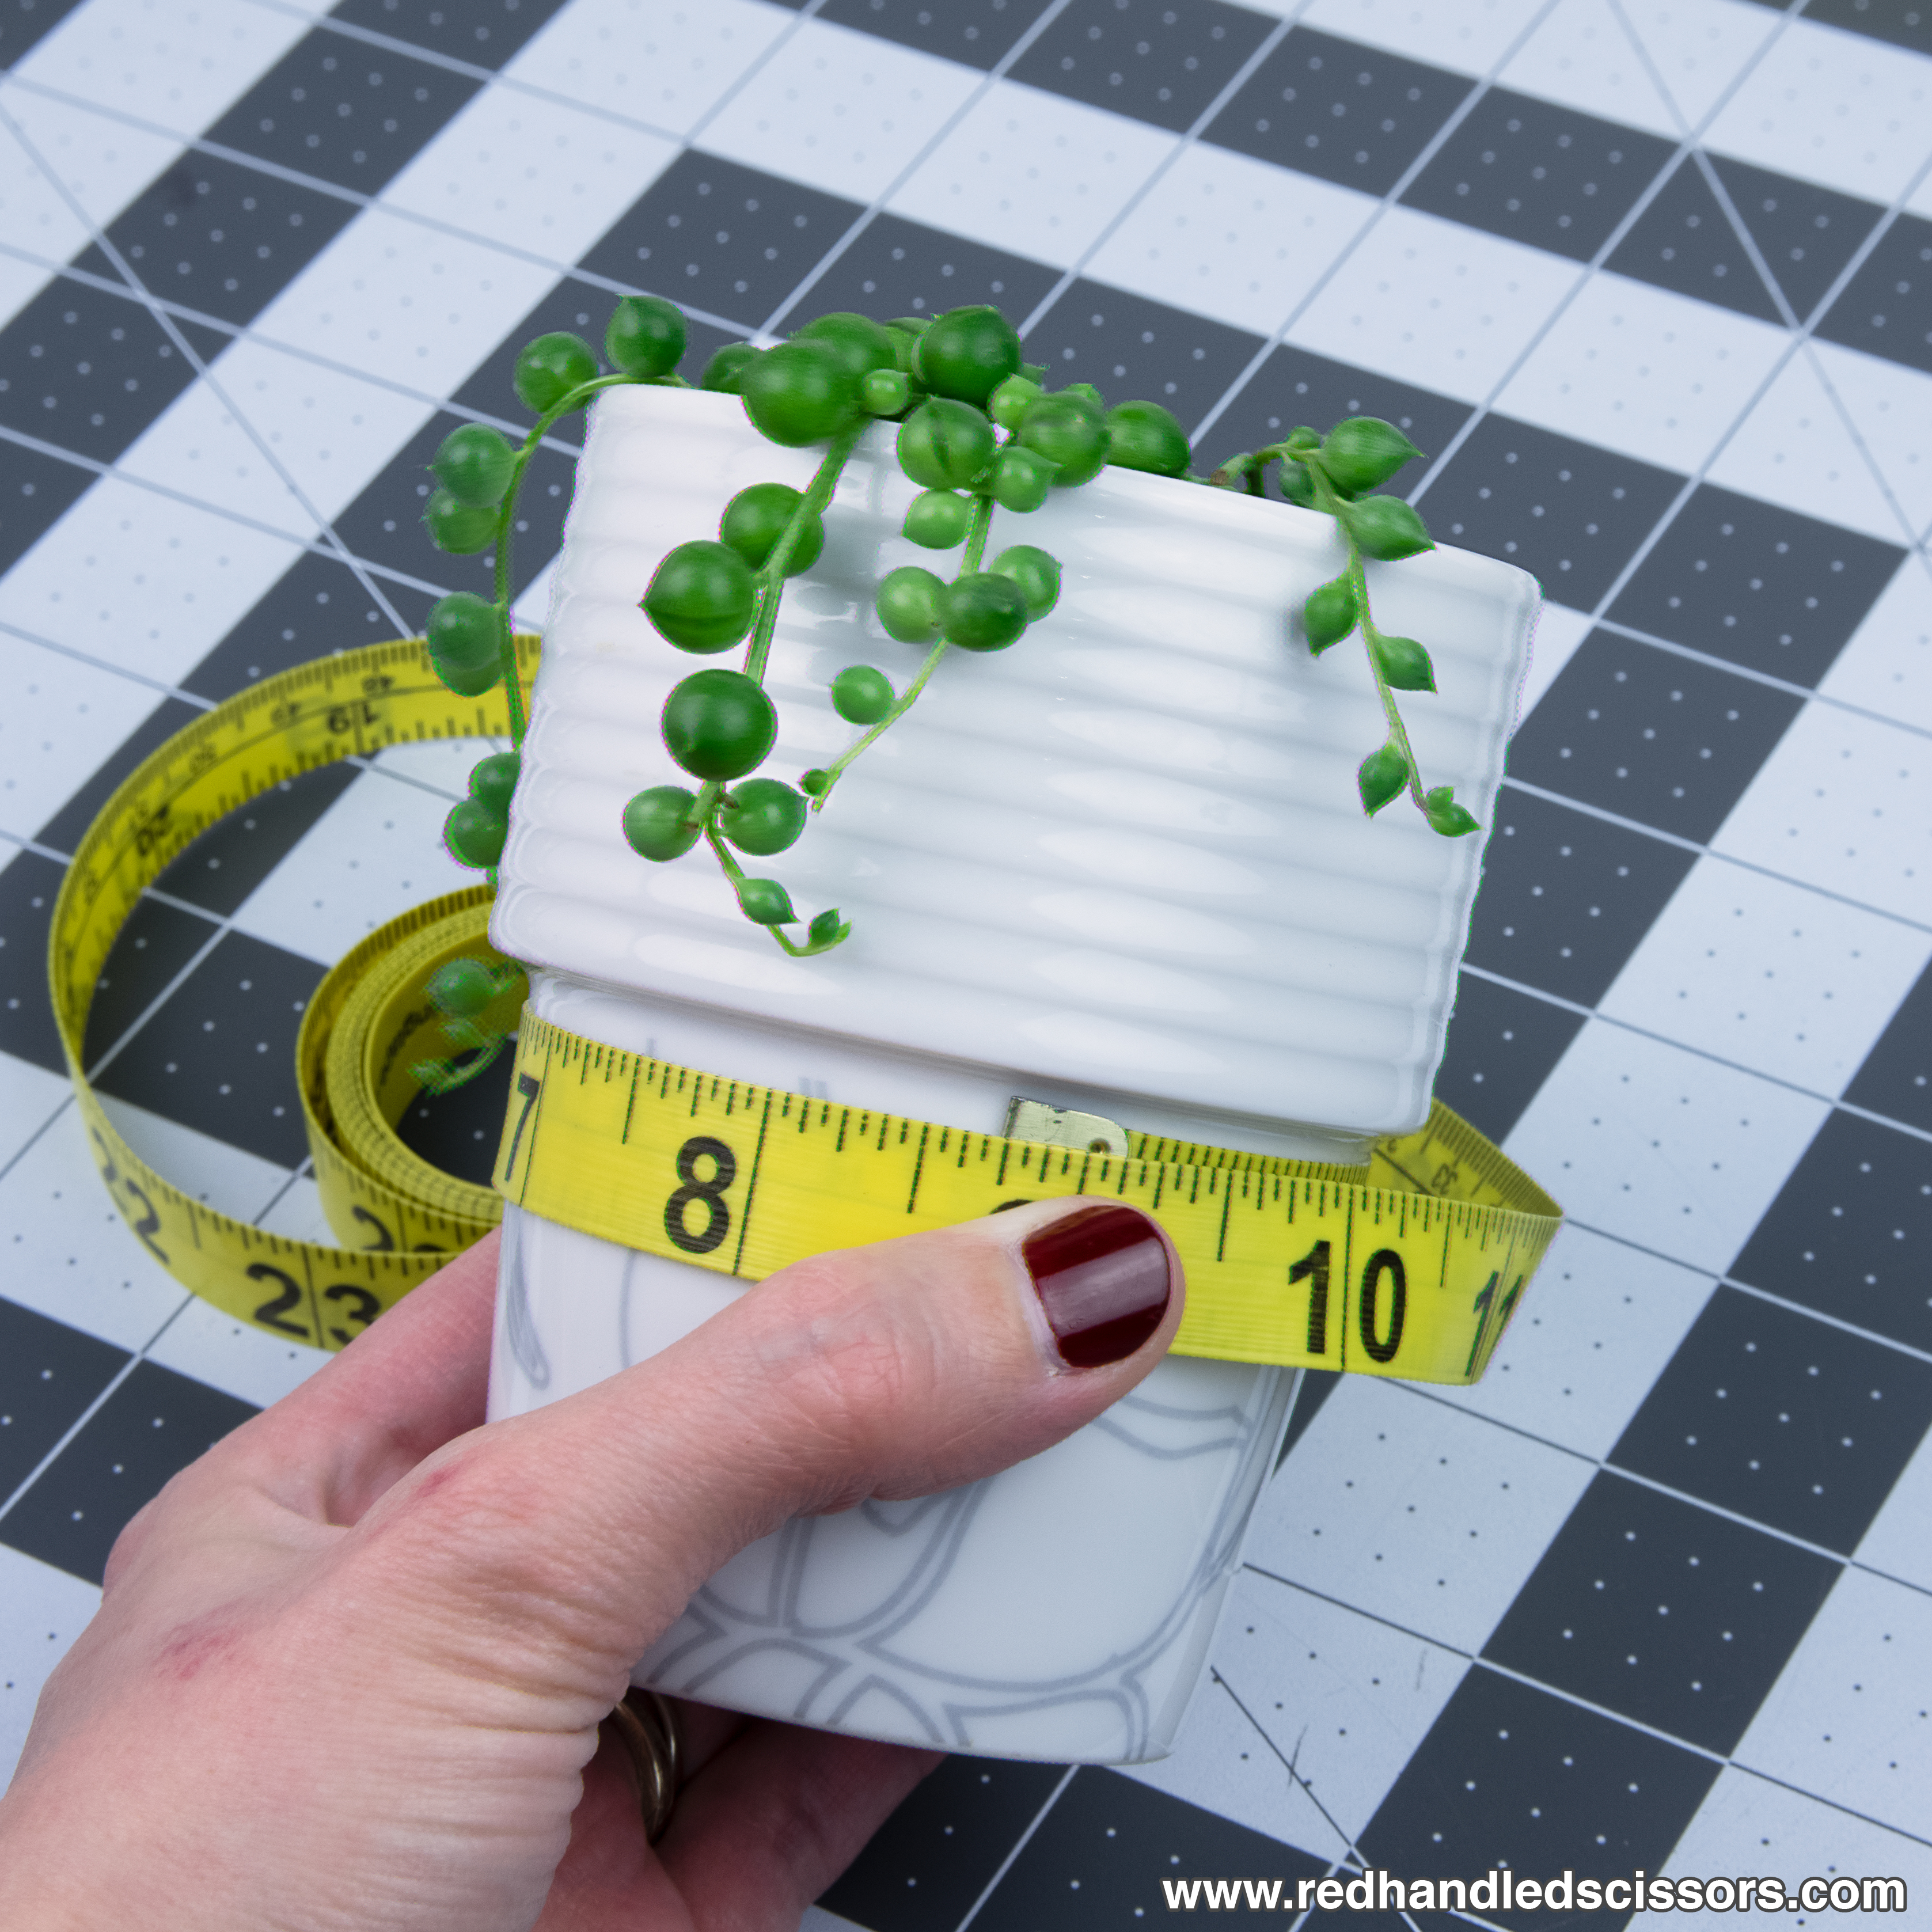
Step 1:
Measure circumference of pot/planter just below the lip.
Step 2:
Using wire cutters, cut 2 lengths of aluminum wire that are the circumference of the pot + 4 inches.
Step 3:
Find the midpoint on the lengths of wire, then mark them with the chalk pencil.
Step 4:
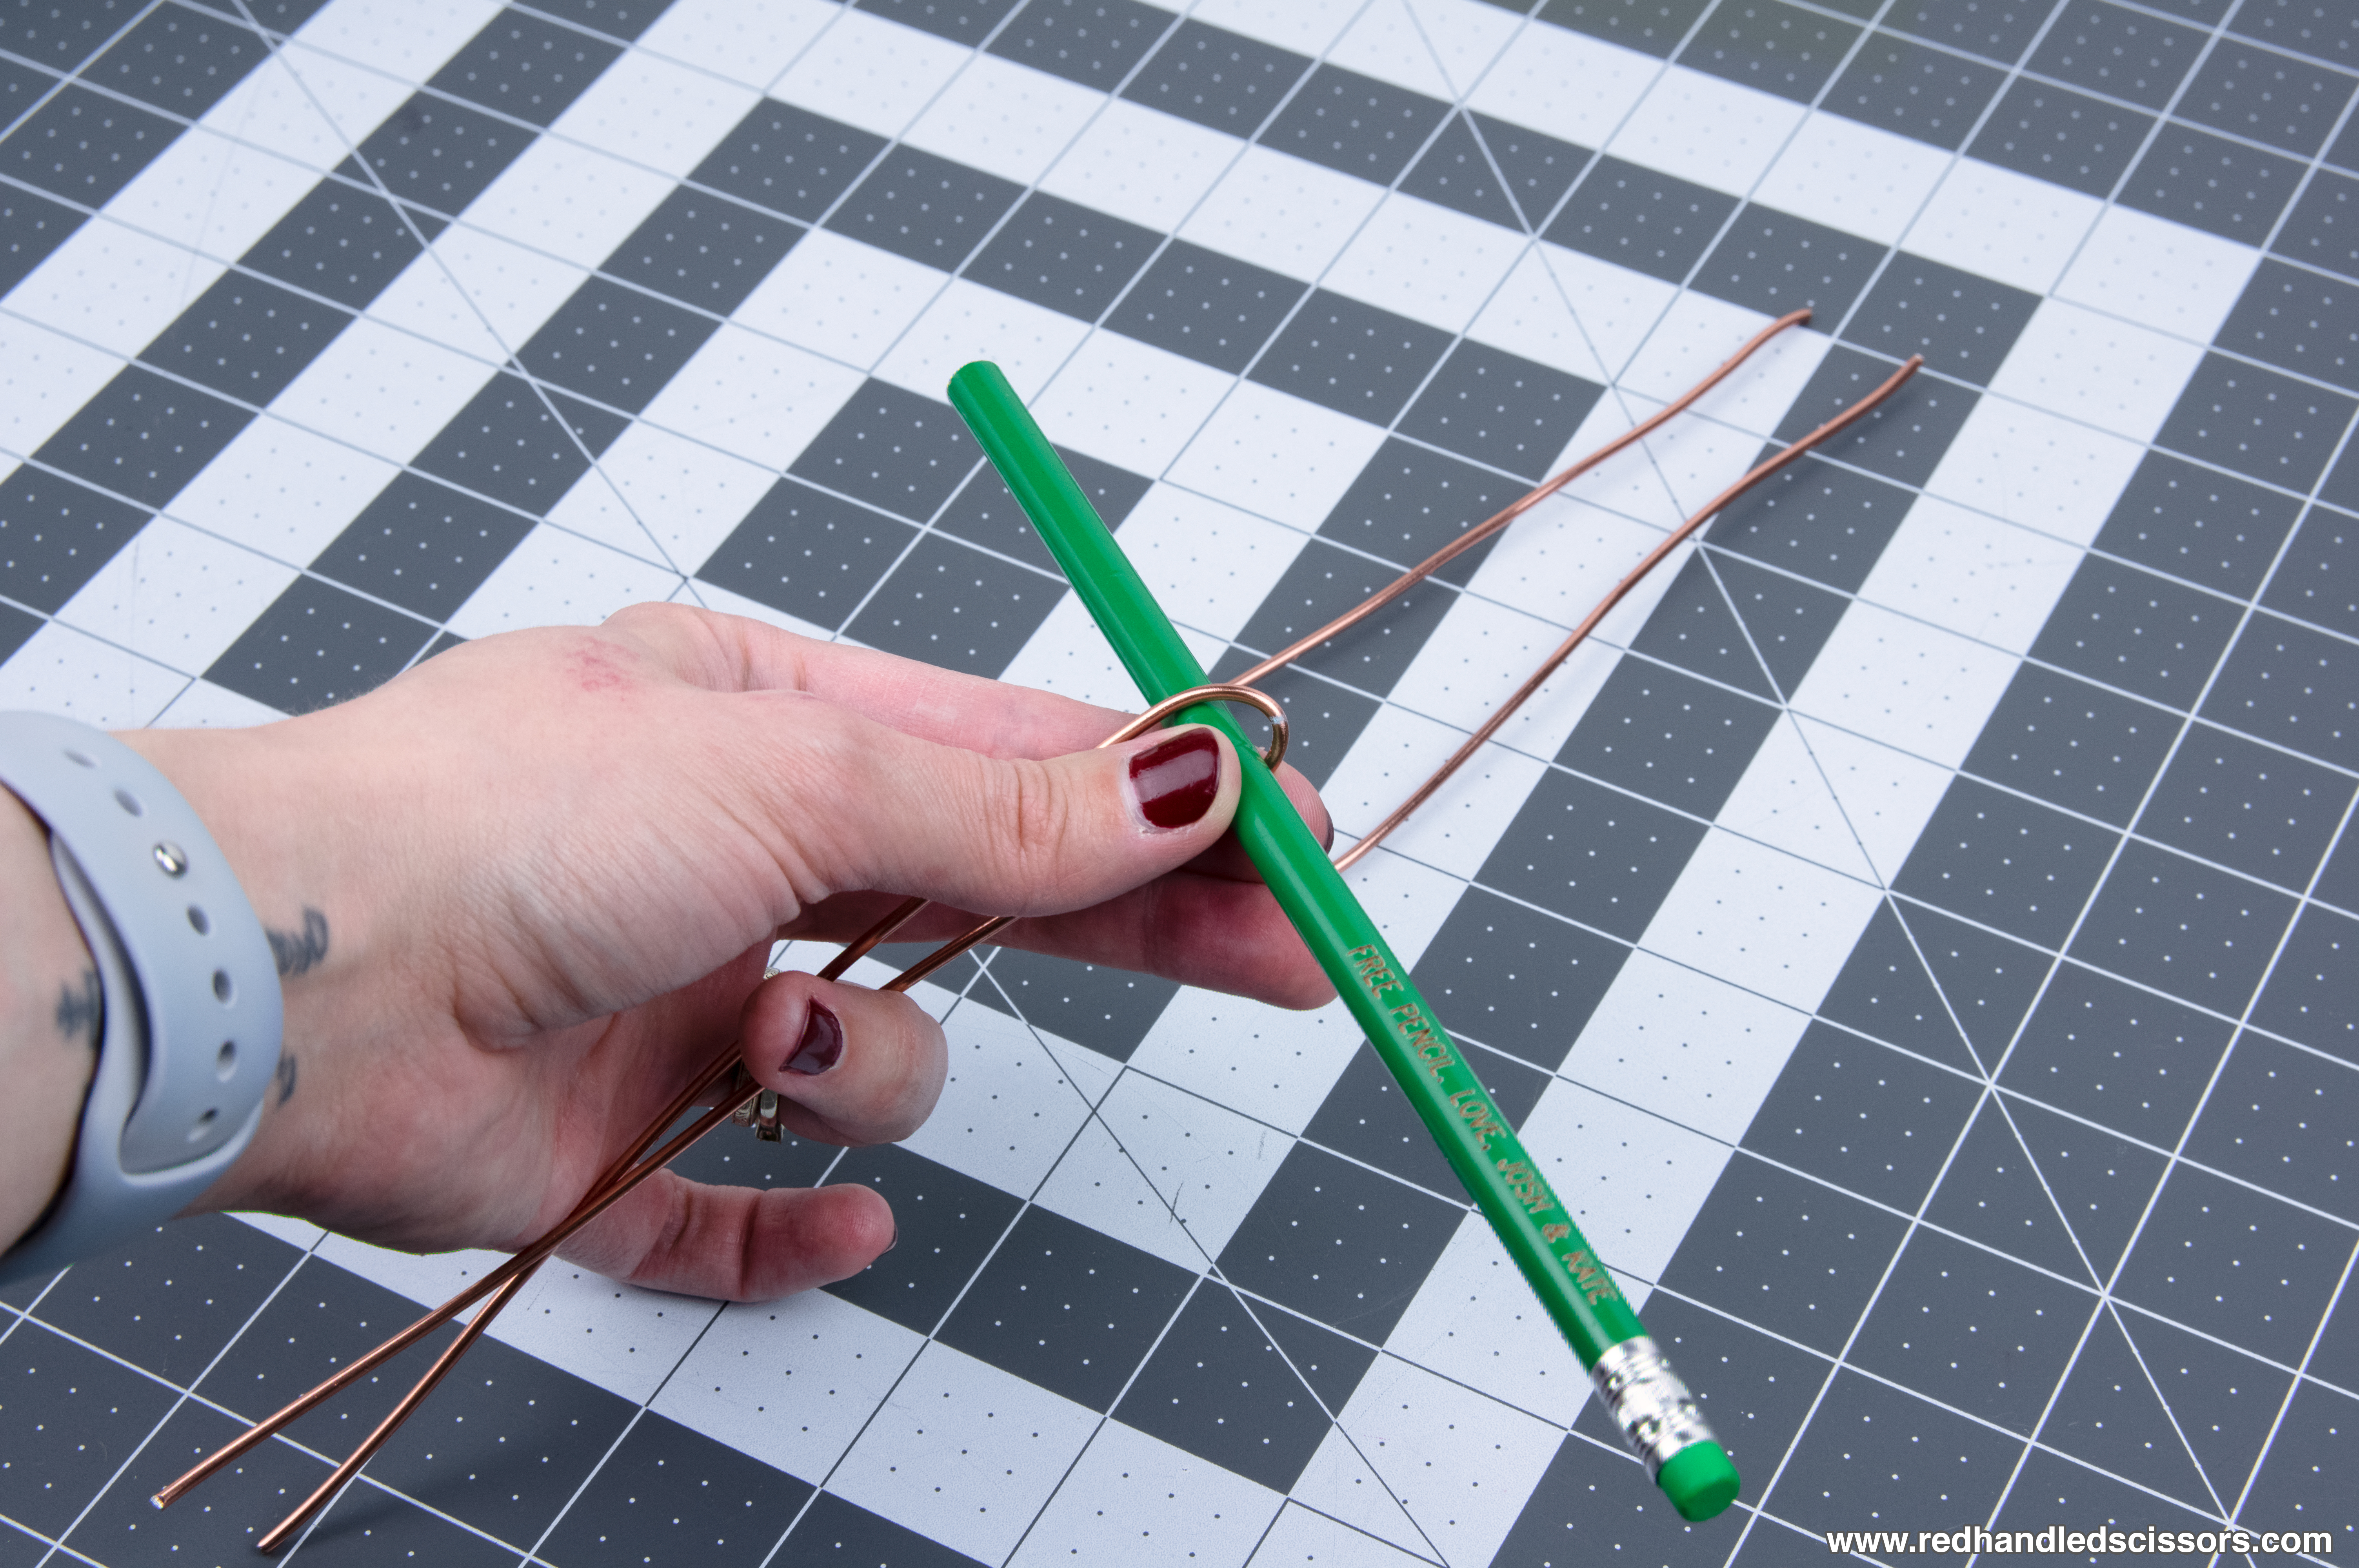
Take the first length of wire and gently bend it around the pencil/chopstick at the midpoint. Repeat this process with the second length of wire.
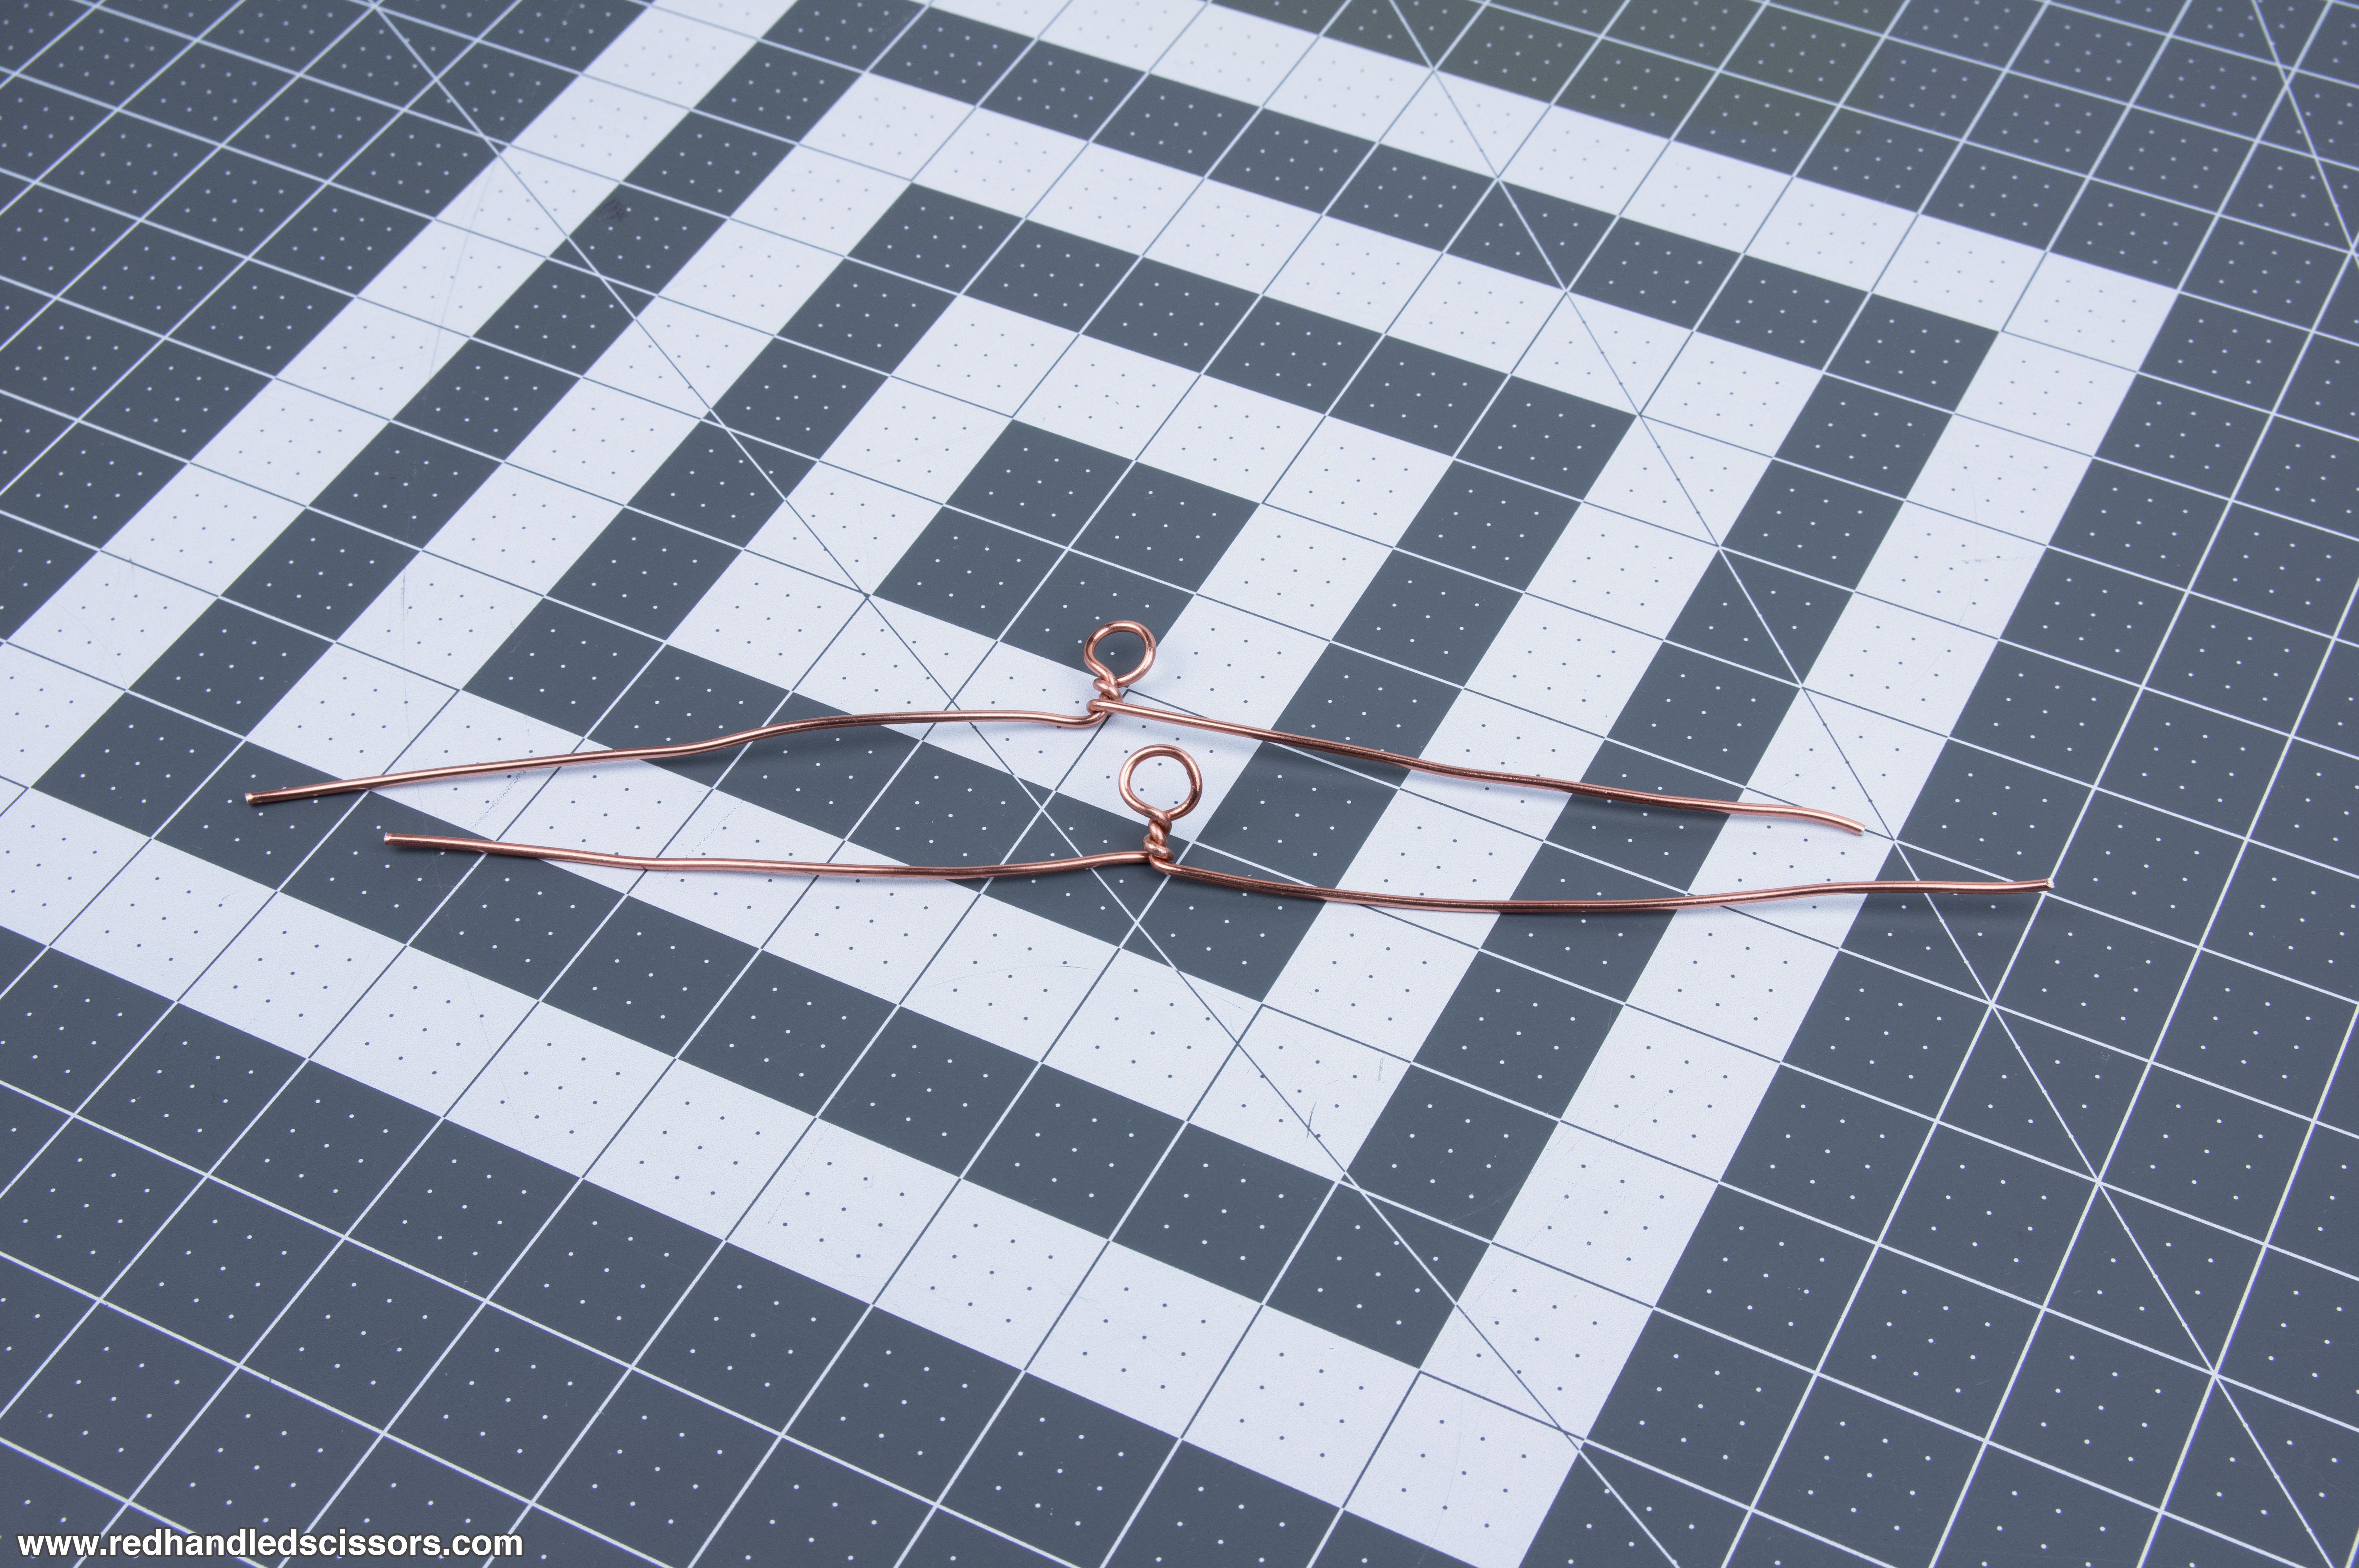
Step 5:
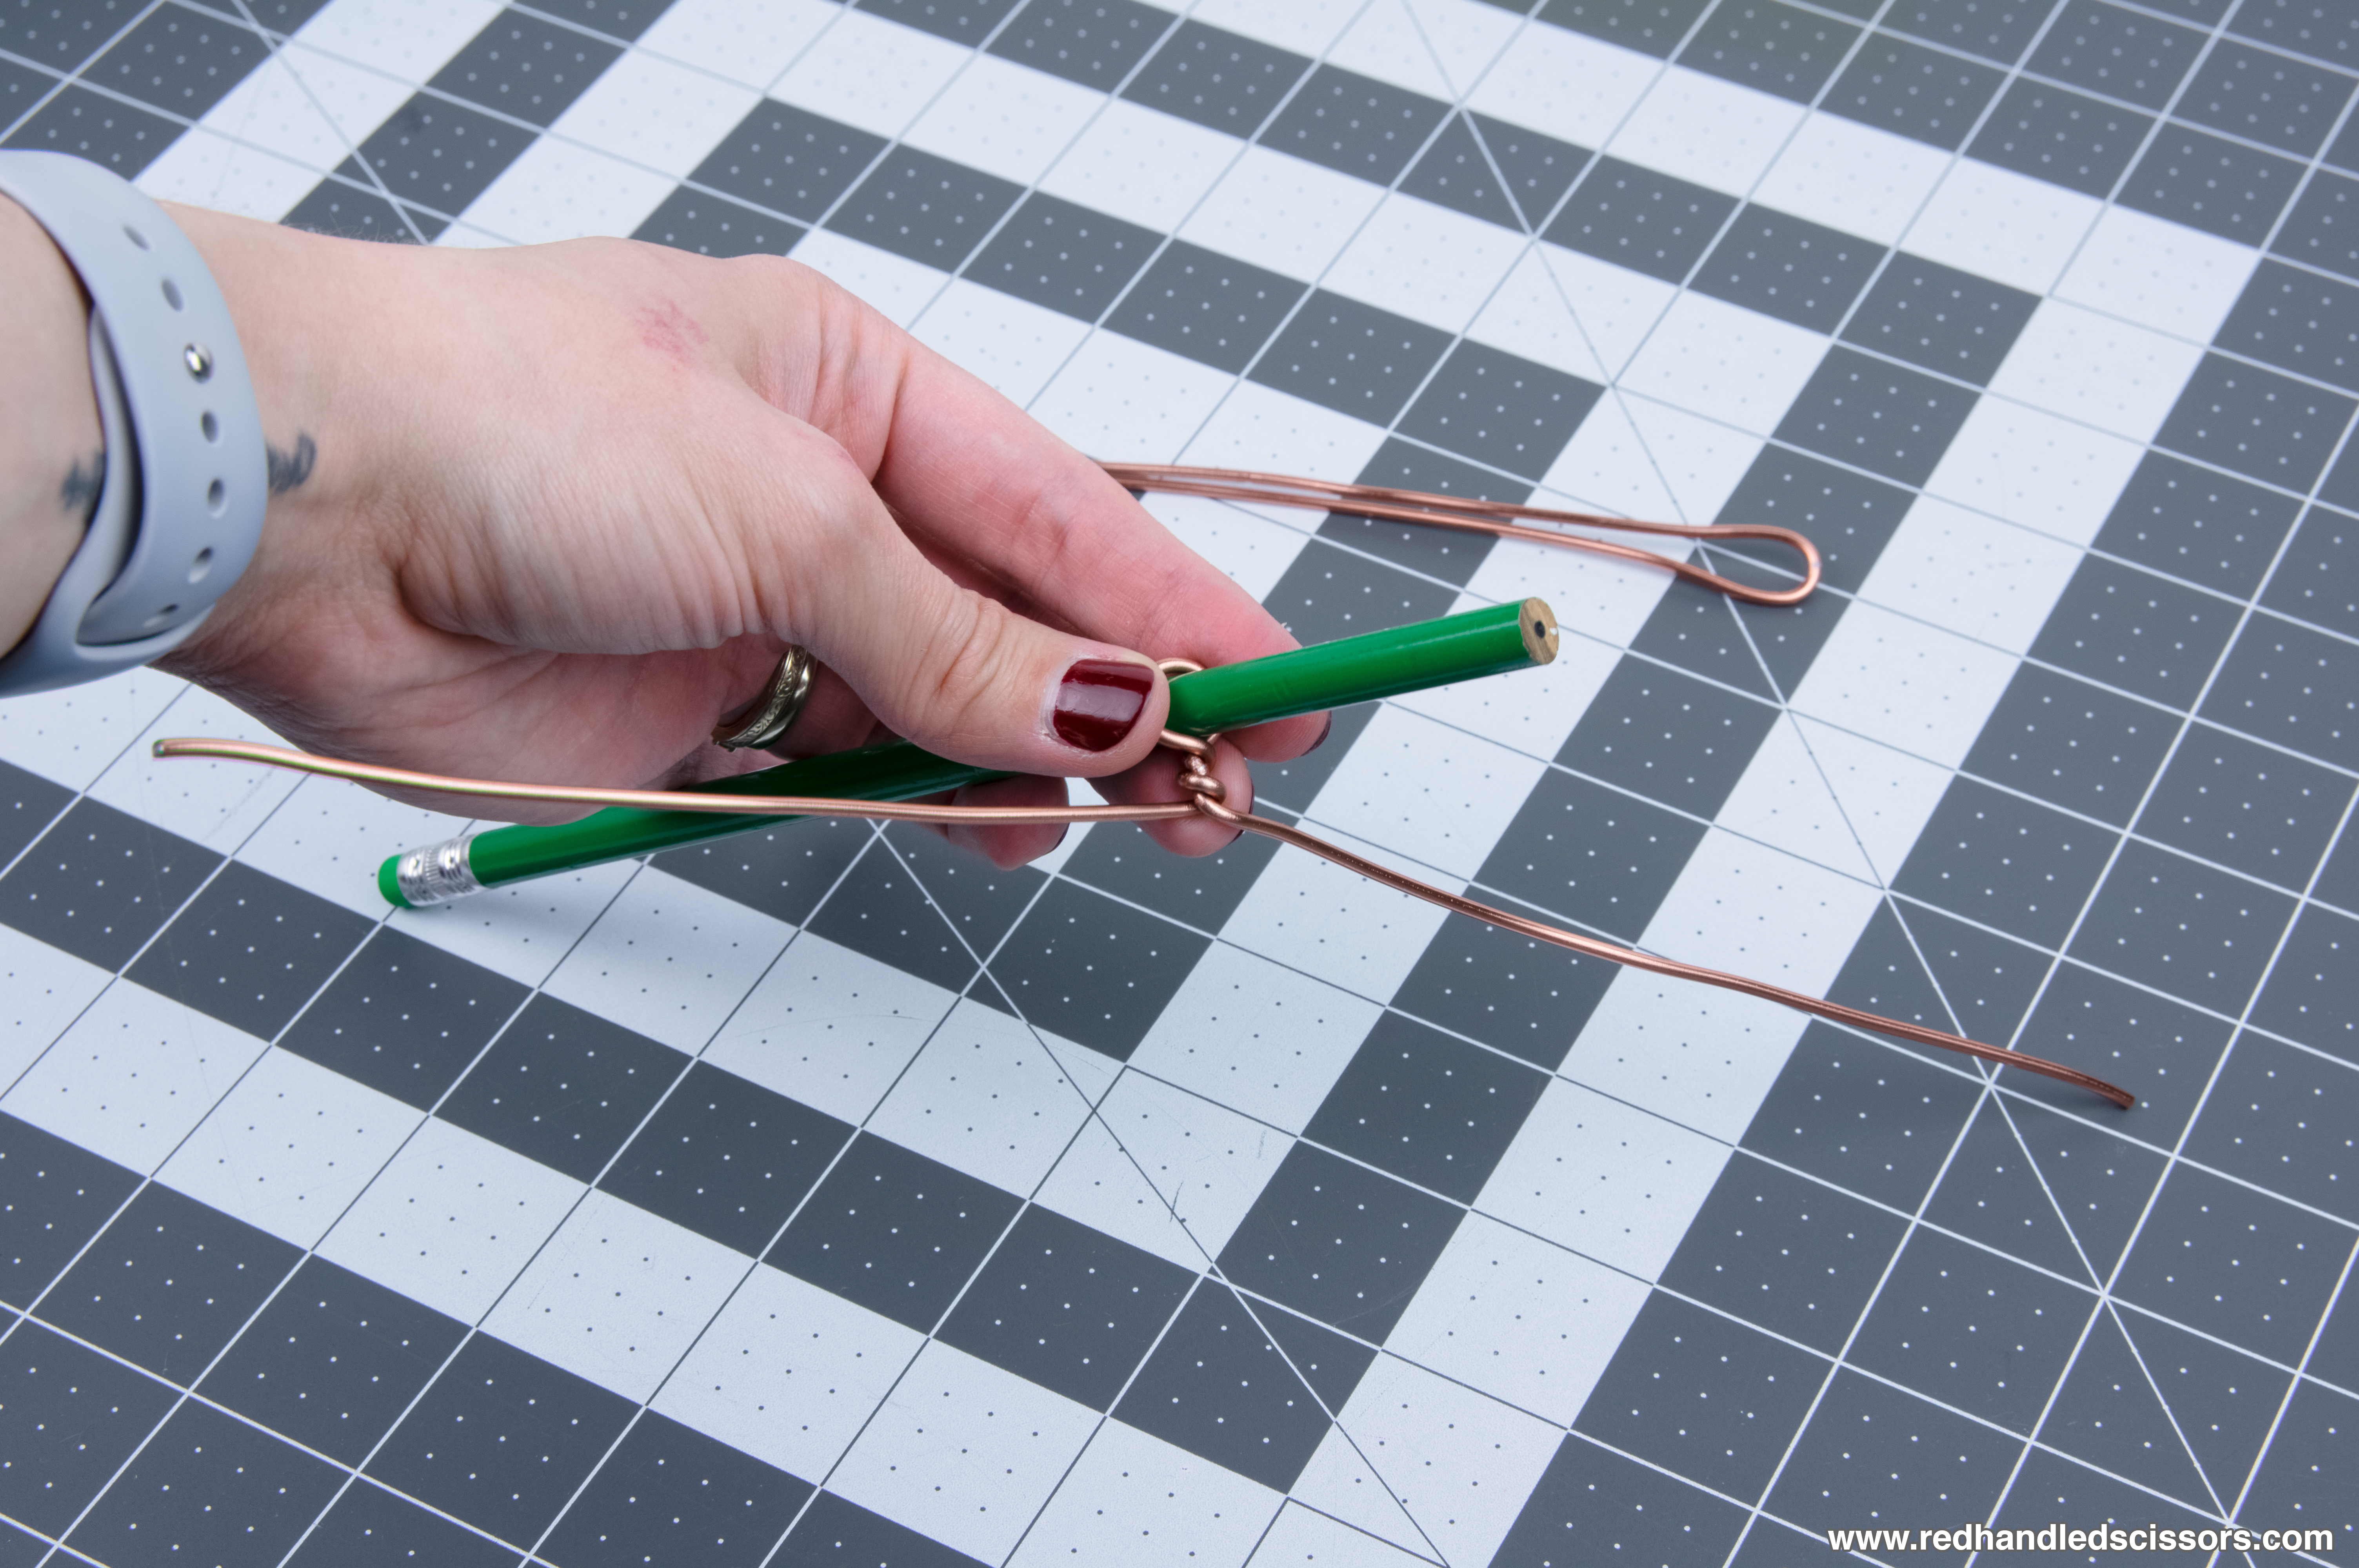
Create a hanging loop by gently twisting the wire twice just below the pencil/chopstick. Repeat this process for the second length of wire. (If necessary, use needle nose or round nose pliers to help you grip the wire.)
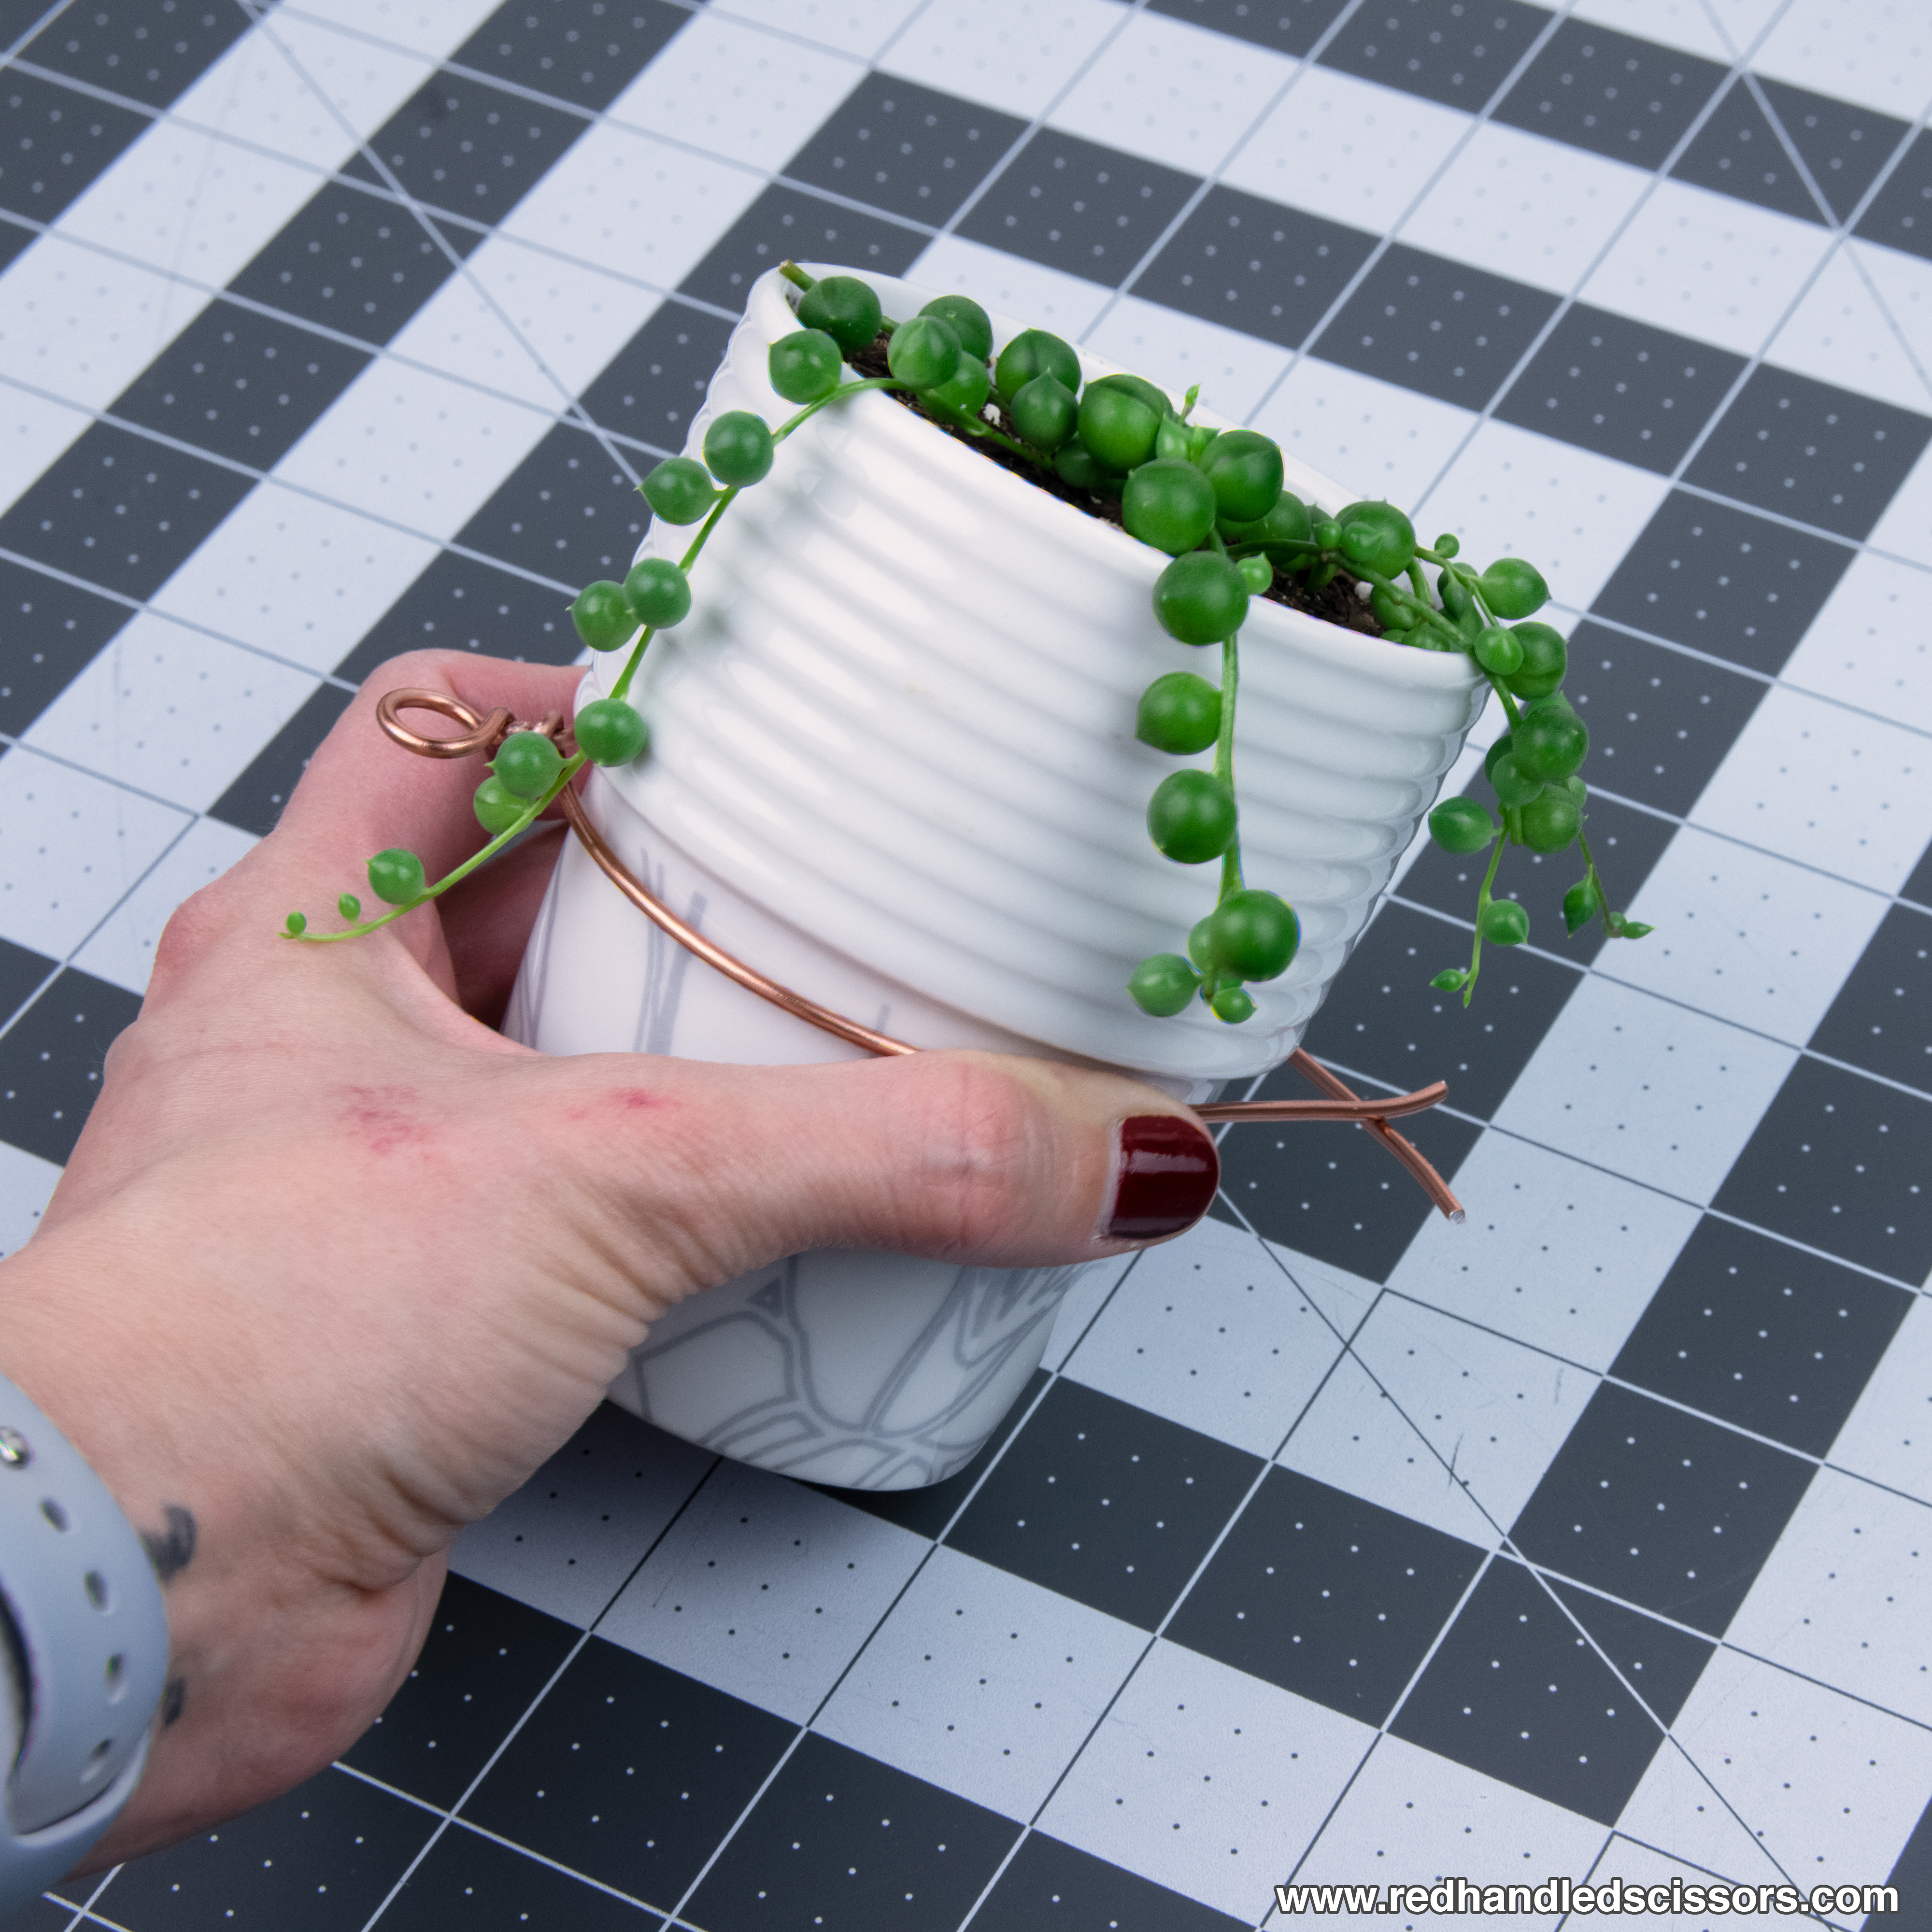
Step 6:
Wrap the first length of wire snugly around the pot just below the lip and mark where the two ends come together with the chalk pencil. The fit should be snug, but not so snug that it could damage the planter. (This is why your planter needs a deep lip—it provides a tiny amount of extra wiggle room so you don’t need to tighten the wires quite so snugly.)

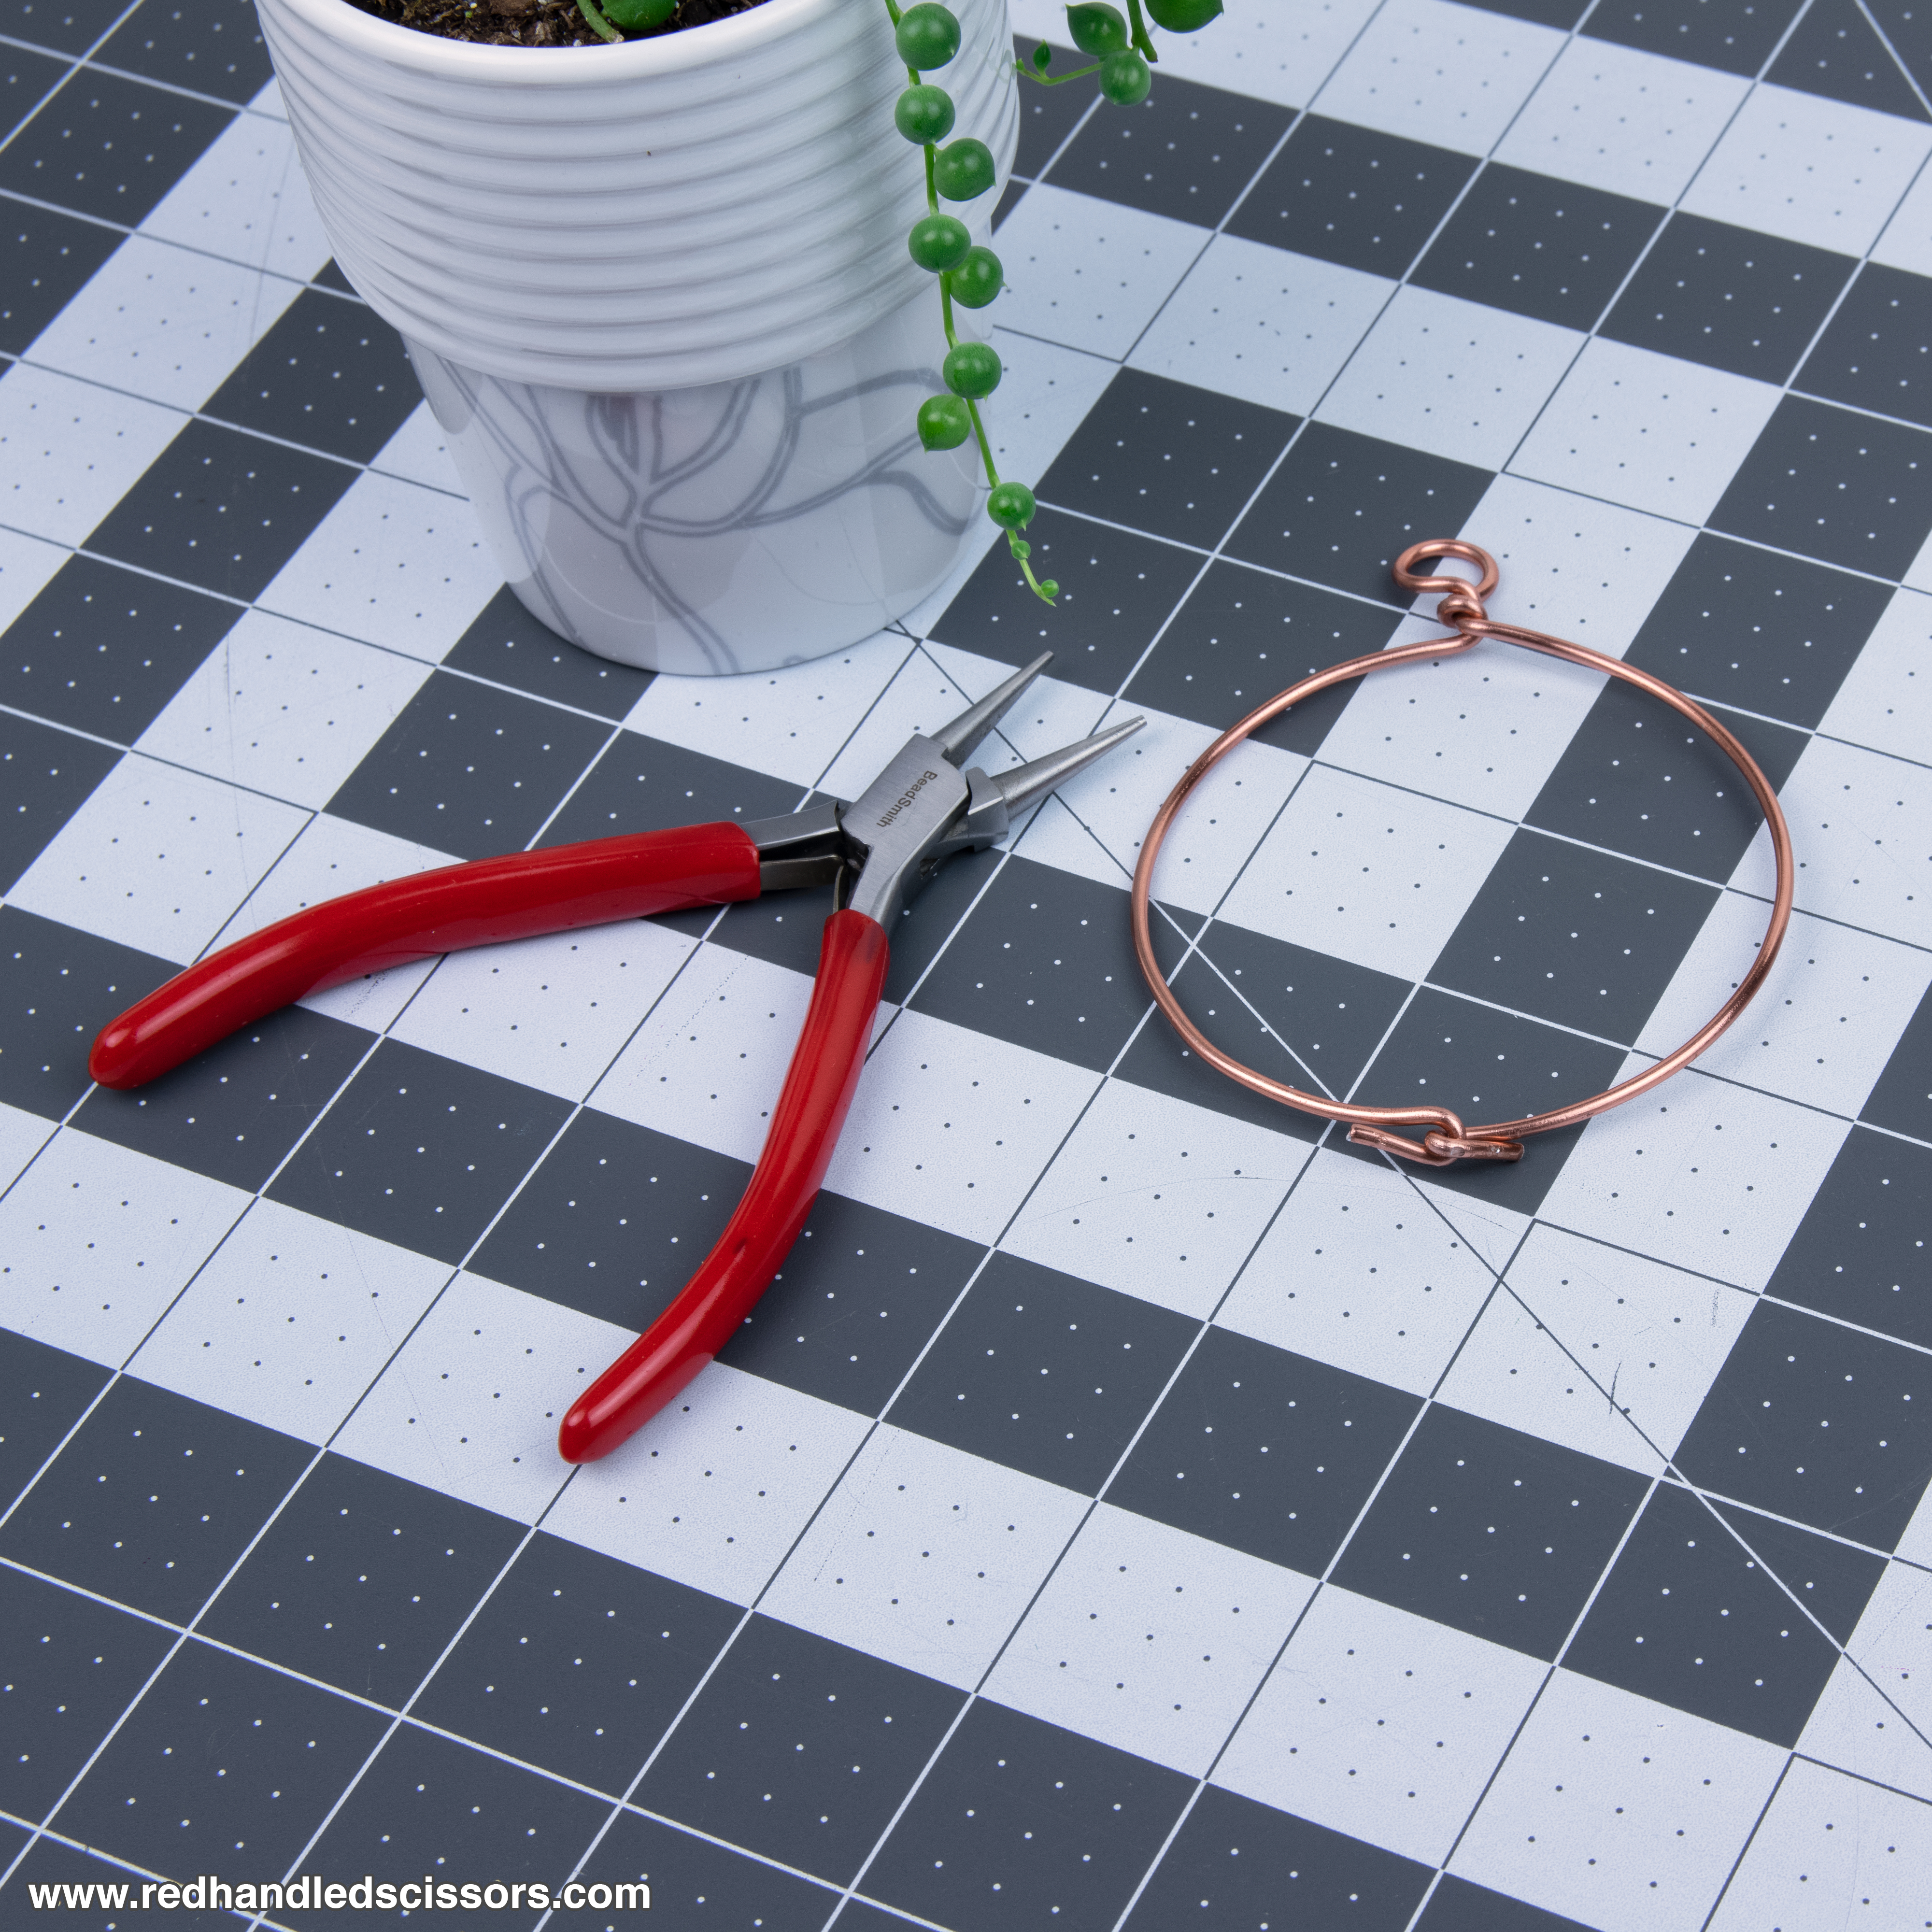
Step 7:
Bend the ends of the wire over at the marks and clip off the extra length with your wire cutters, leaving about a 1/2" of extra wire length after the bend. Hook the folded ends together, and pinch the ends closed with your round nose pliers. (The pinched ends should face out, so they don’t interfere with the snug fit around the planter. You can gently twist them with your pliers to get them into a better position of needed.)
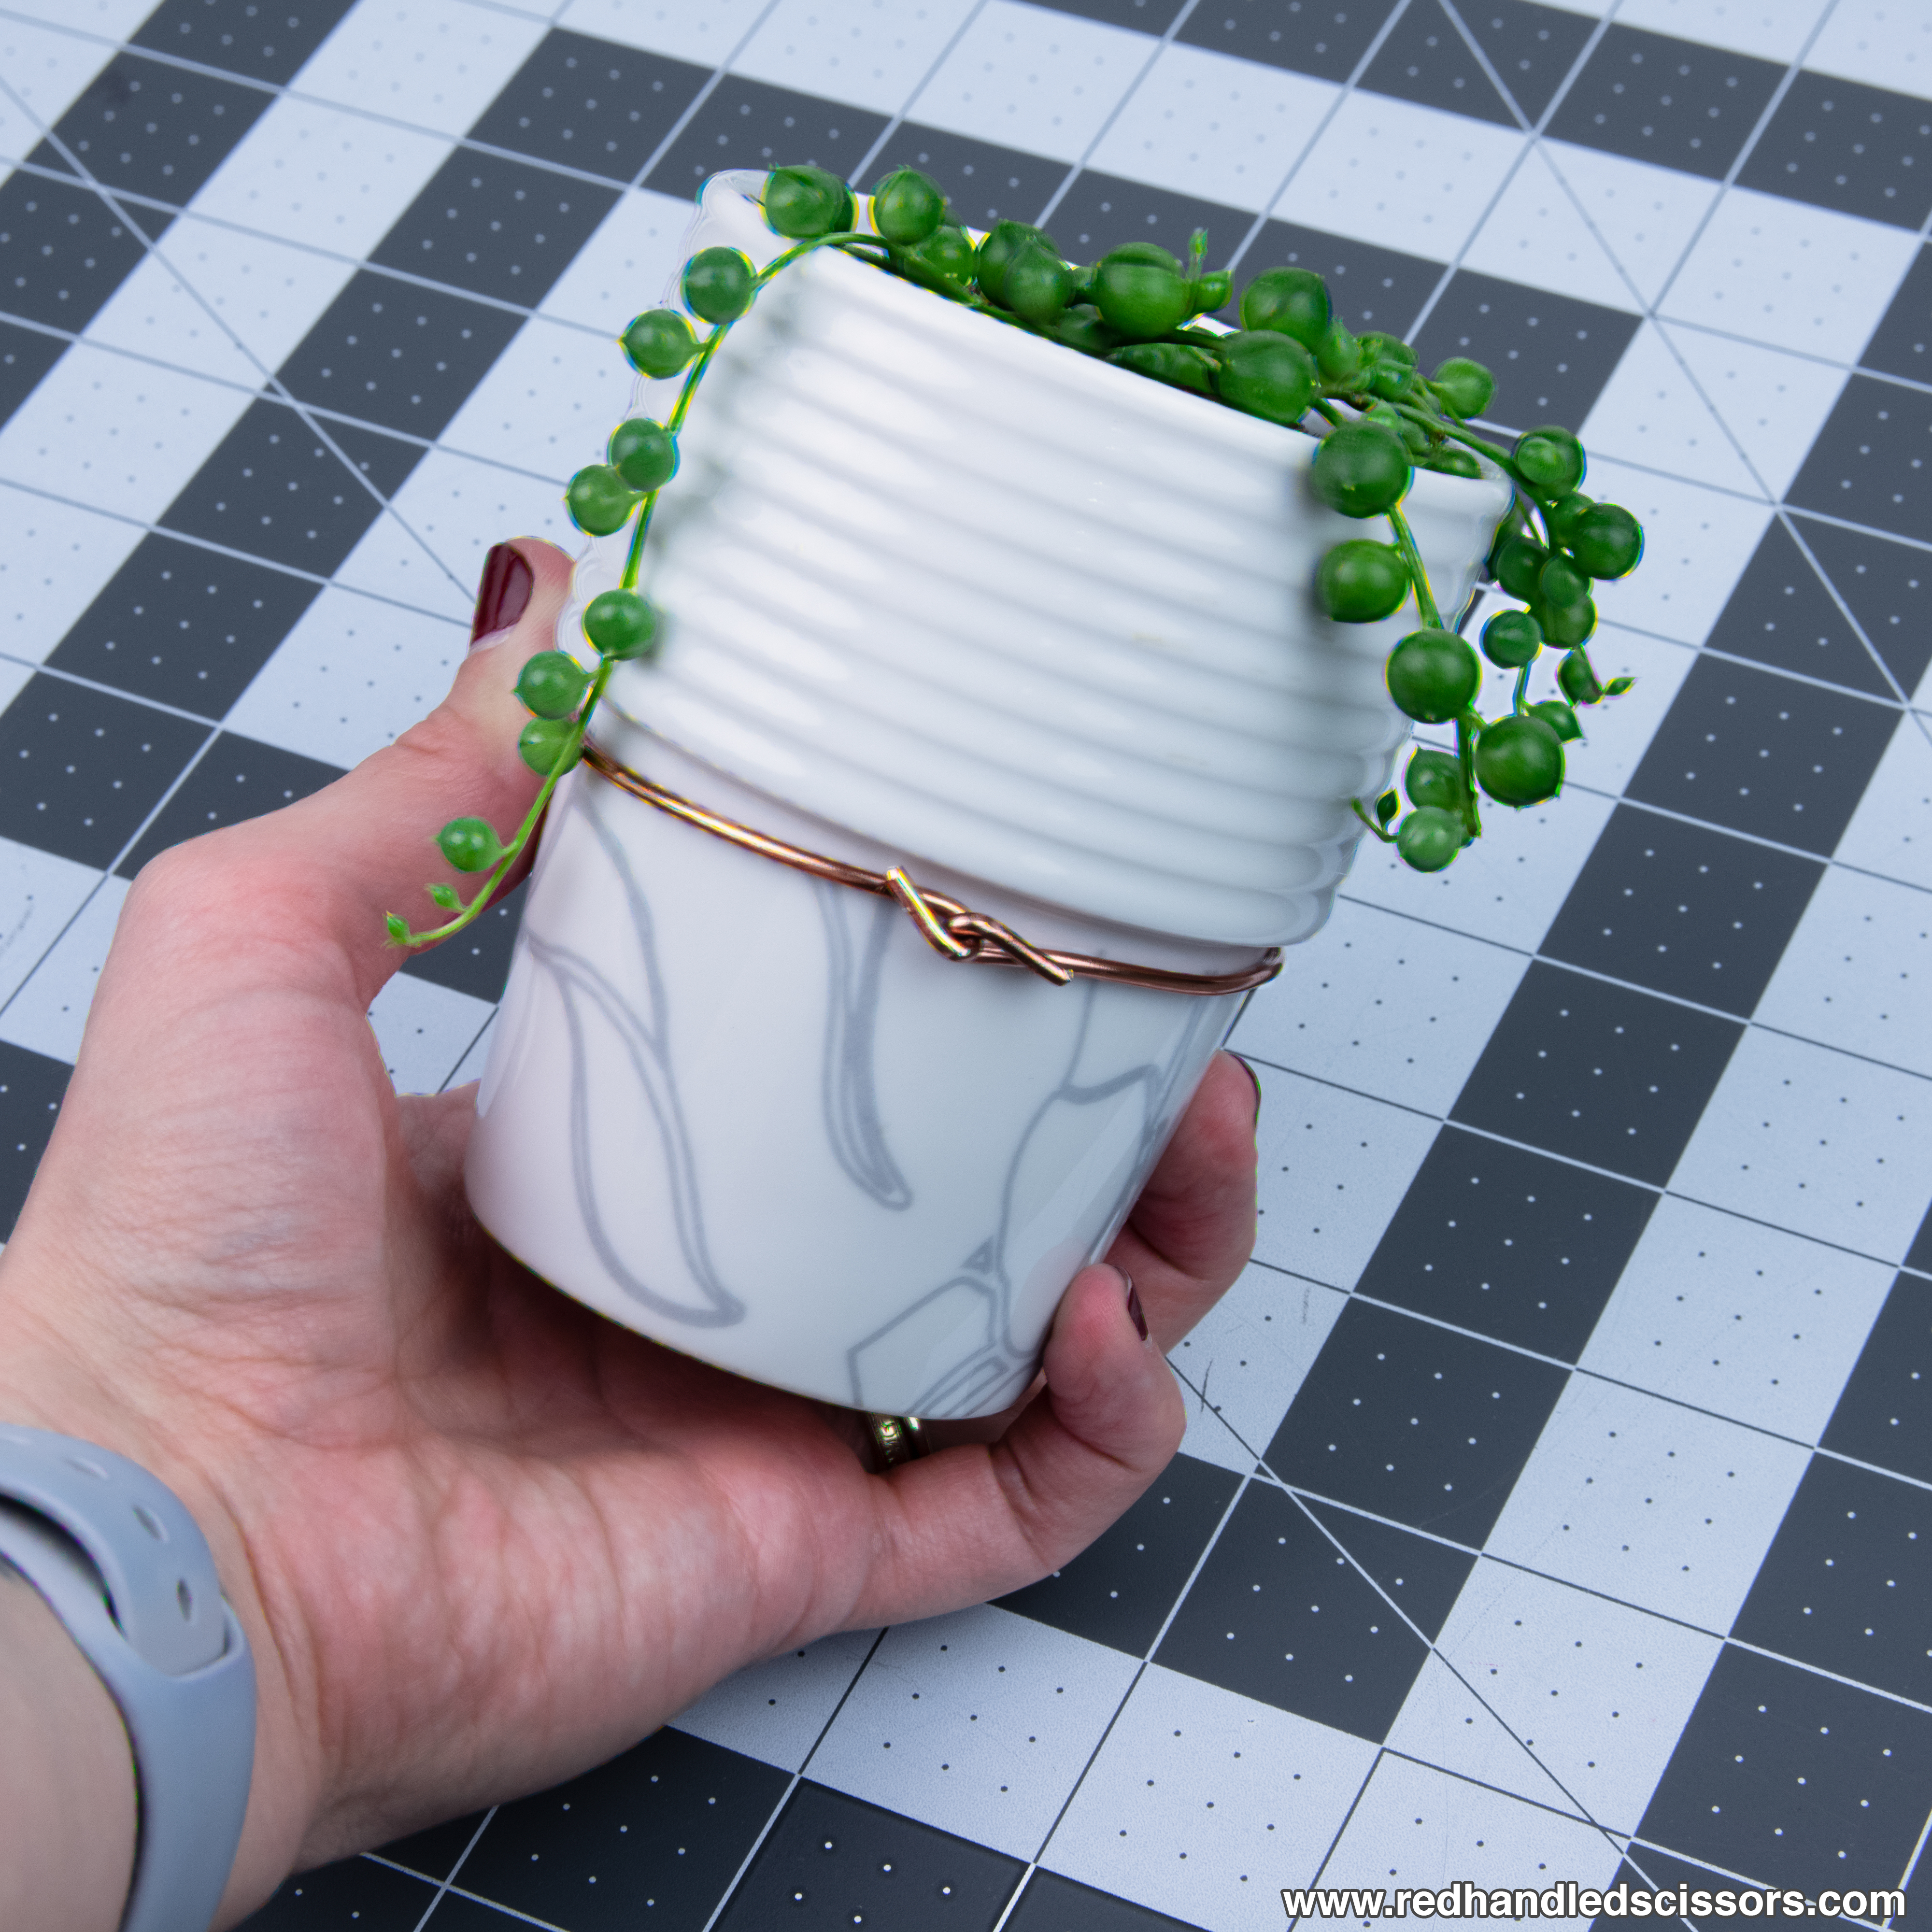
Step 8:
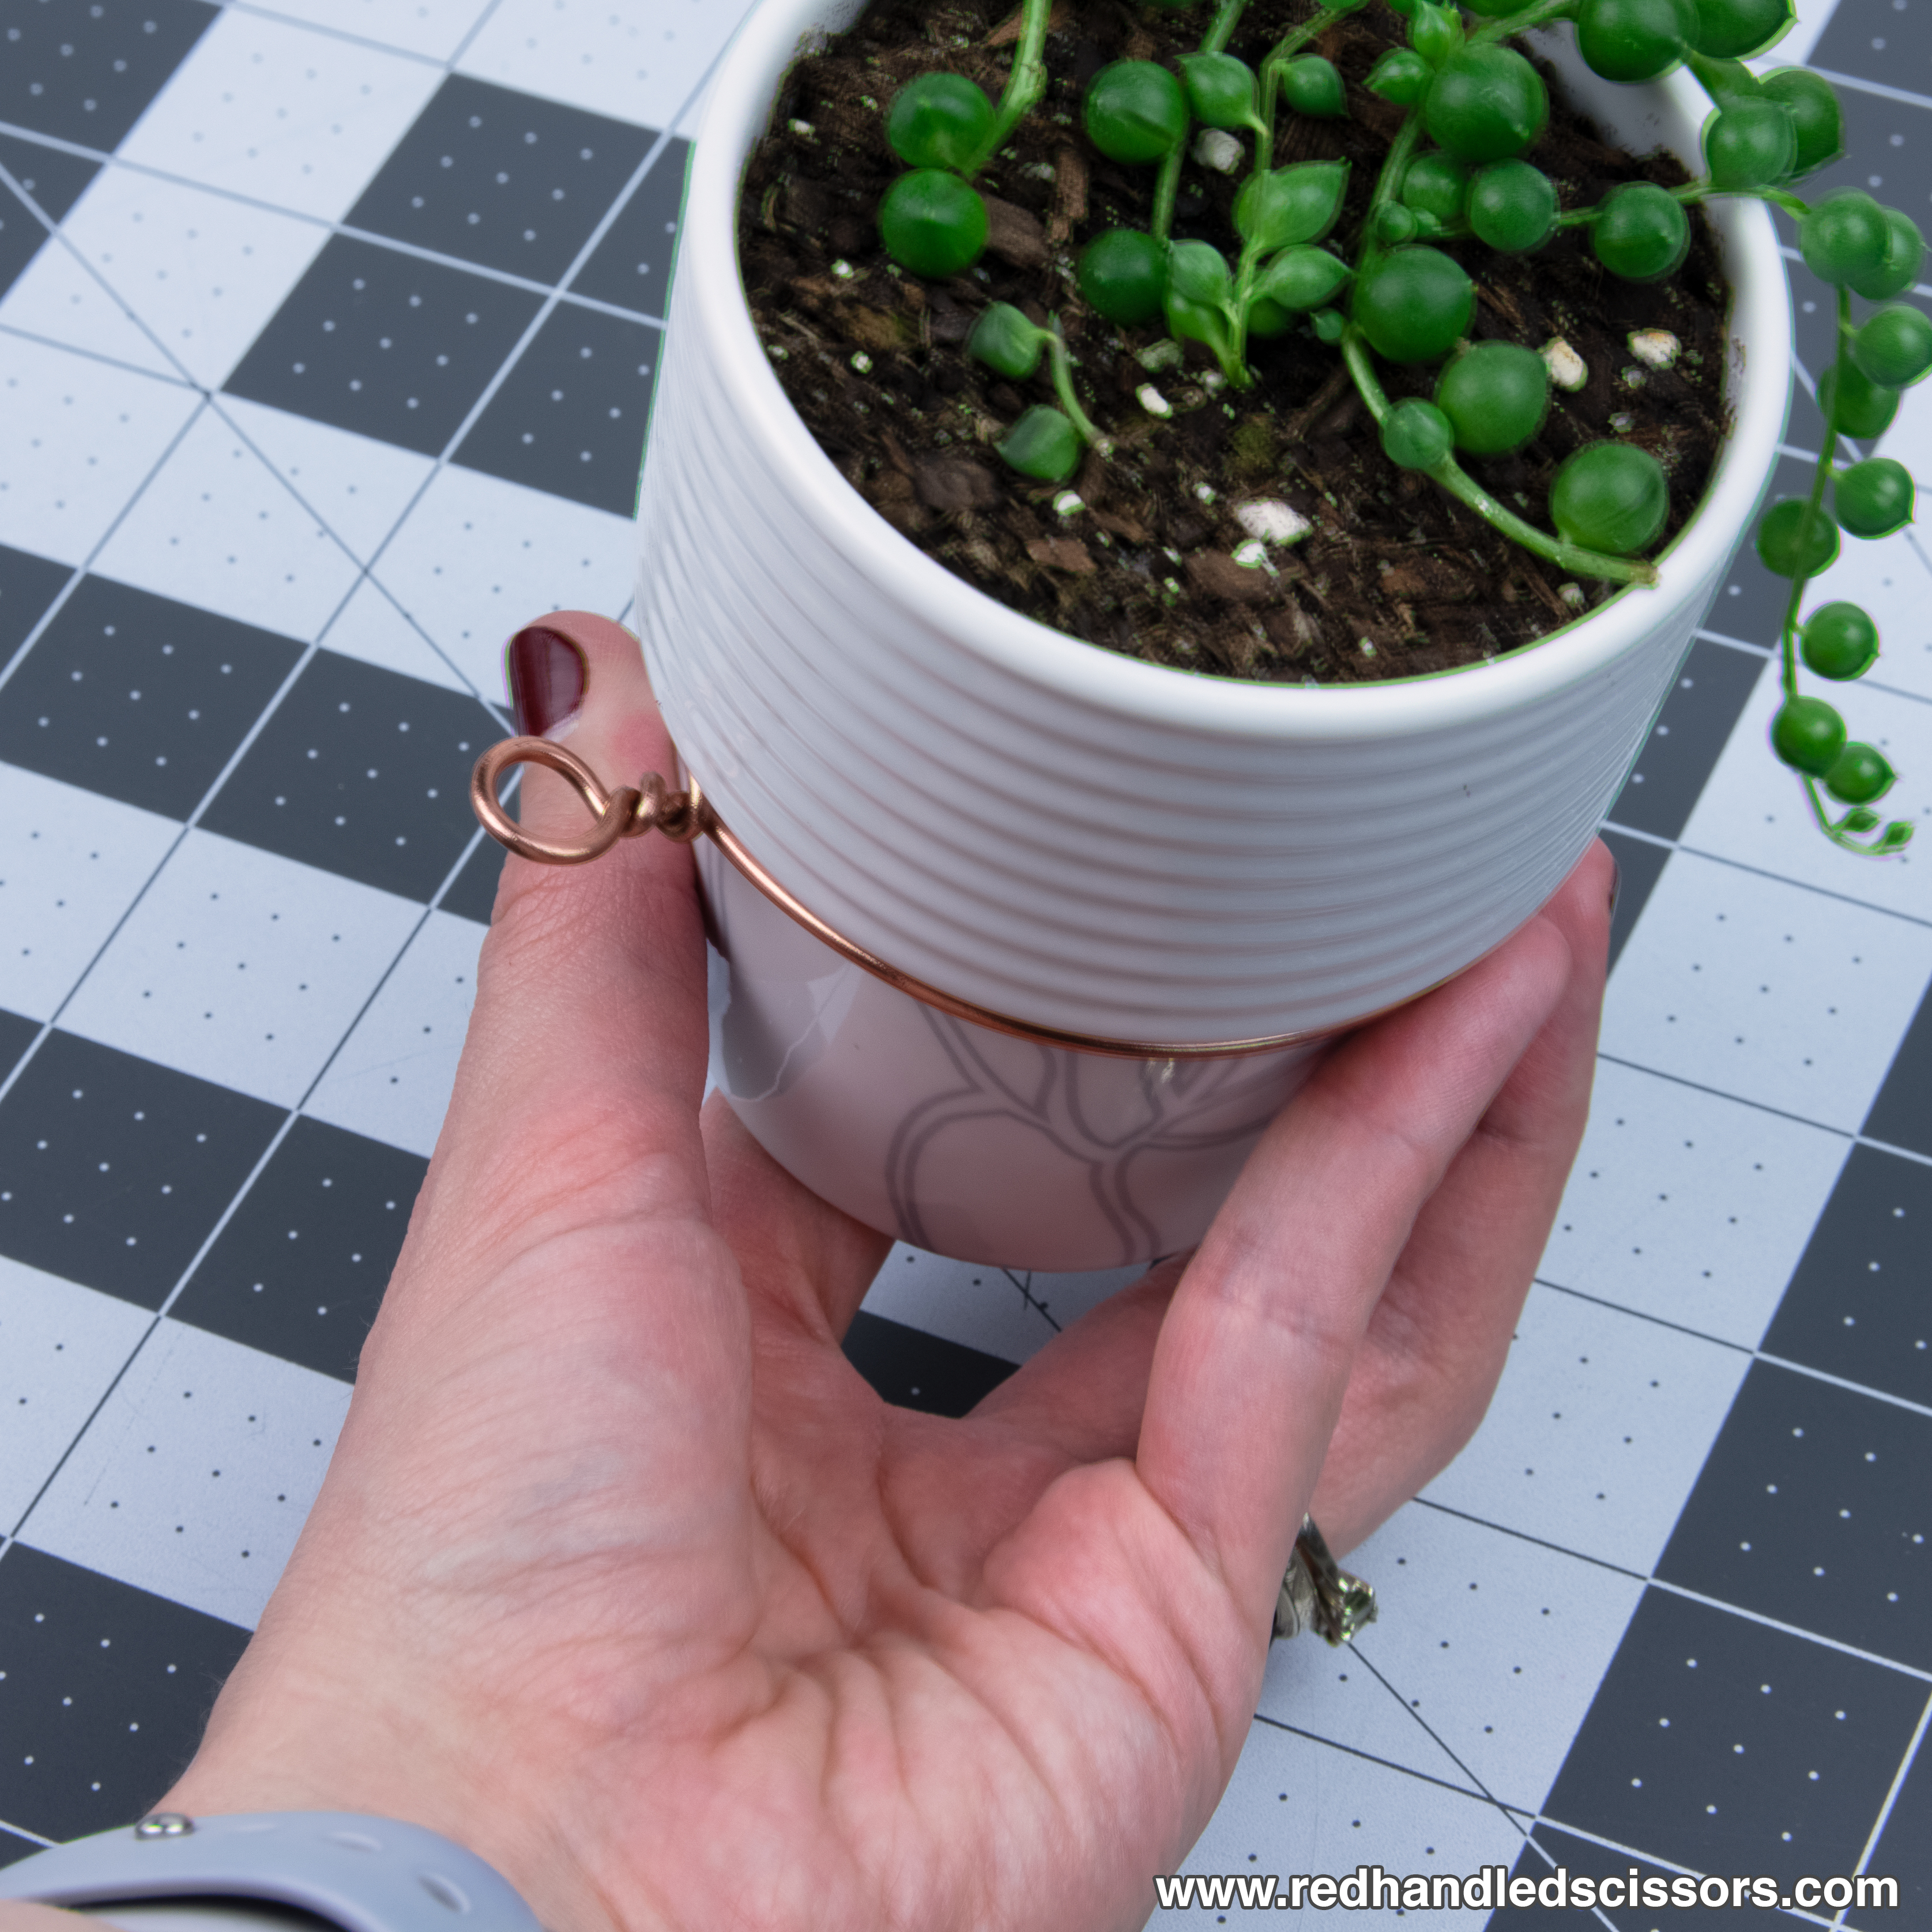
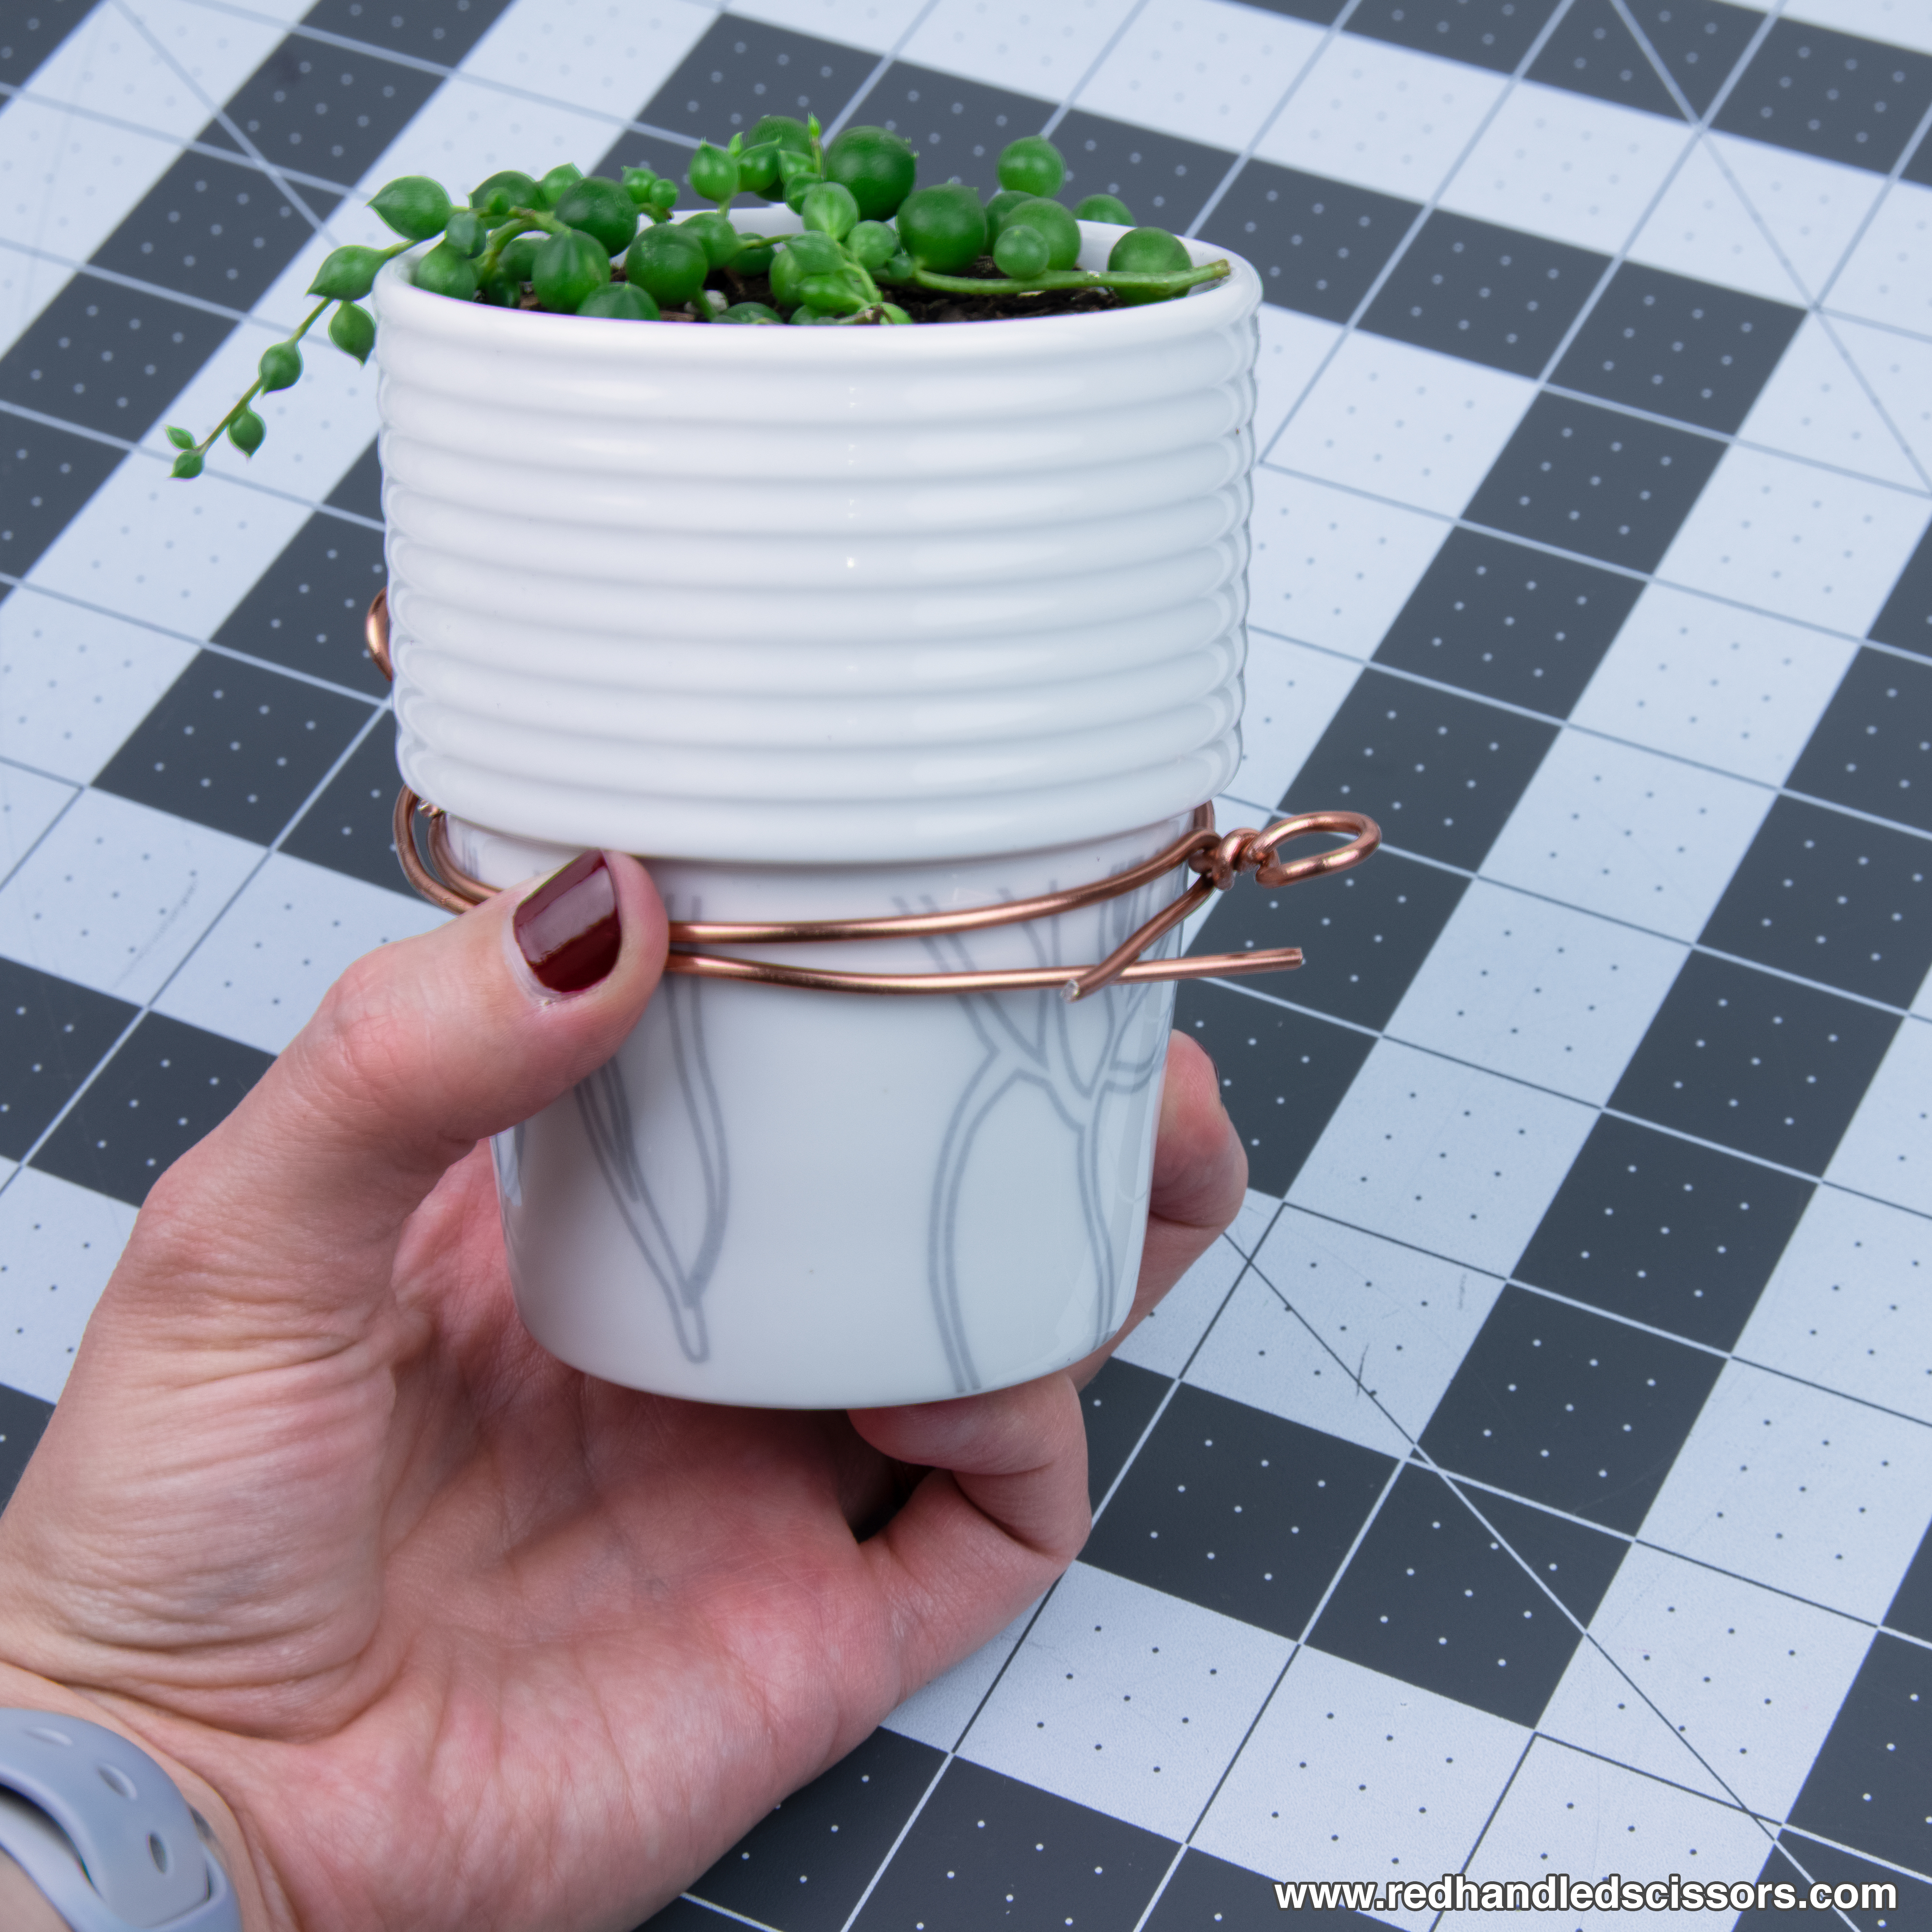
Slide the first wire band into place on the planter, then wrap the second length of wire around the pot right below the band you just put into place and repeat steps 6 and 7.
When finished, slide the second band into place with the hanging loop positioned on the opposite side of the first to check the fit. (The rings should fit closely, but not feel too tight against the planter.)
Step 9:
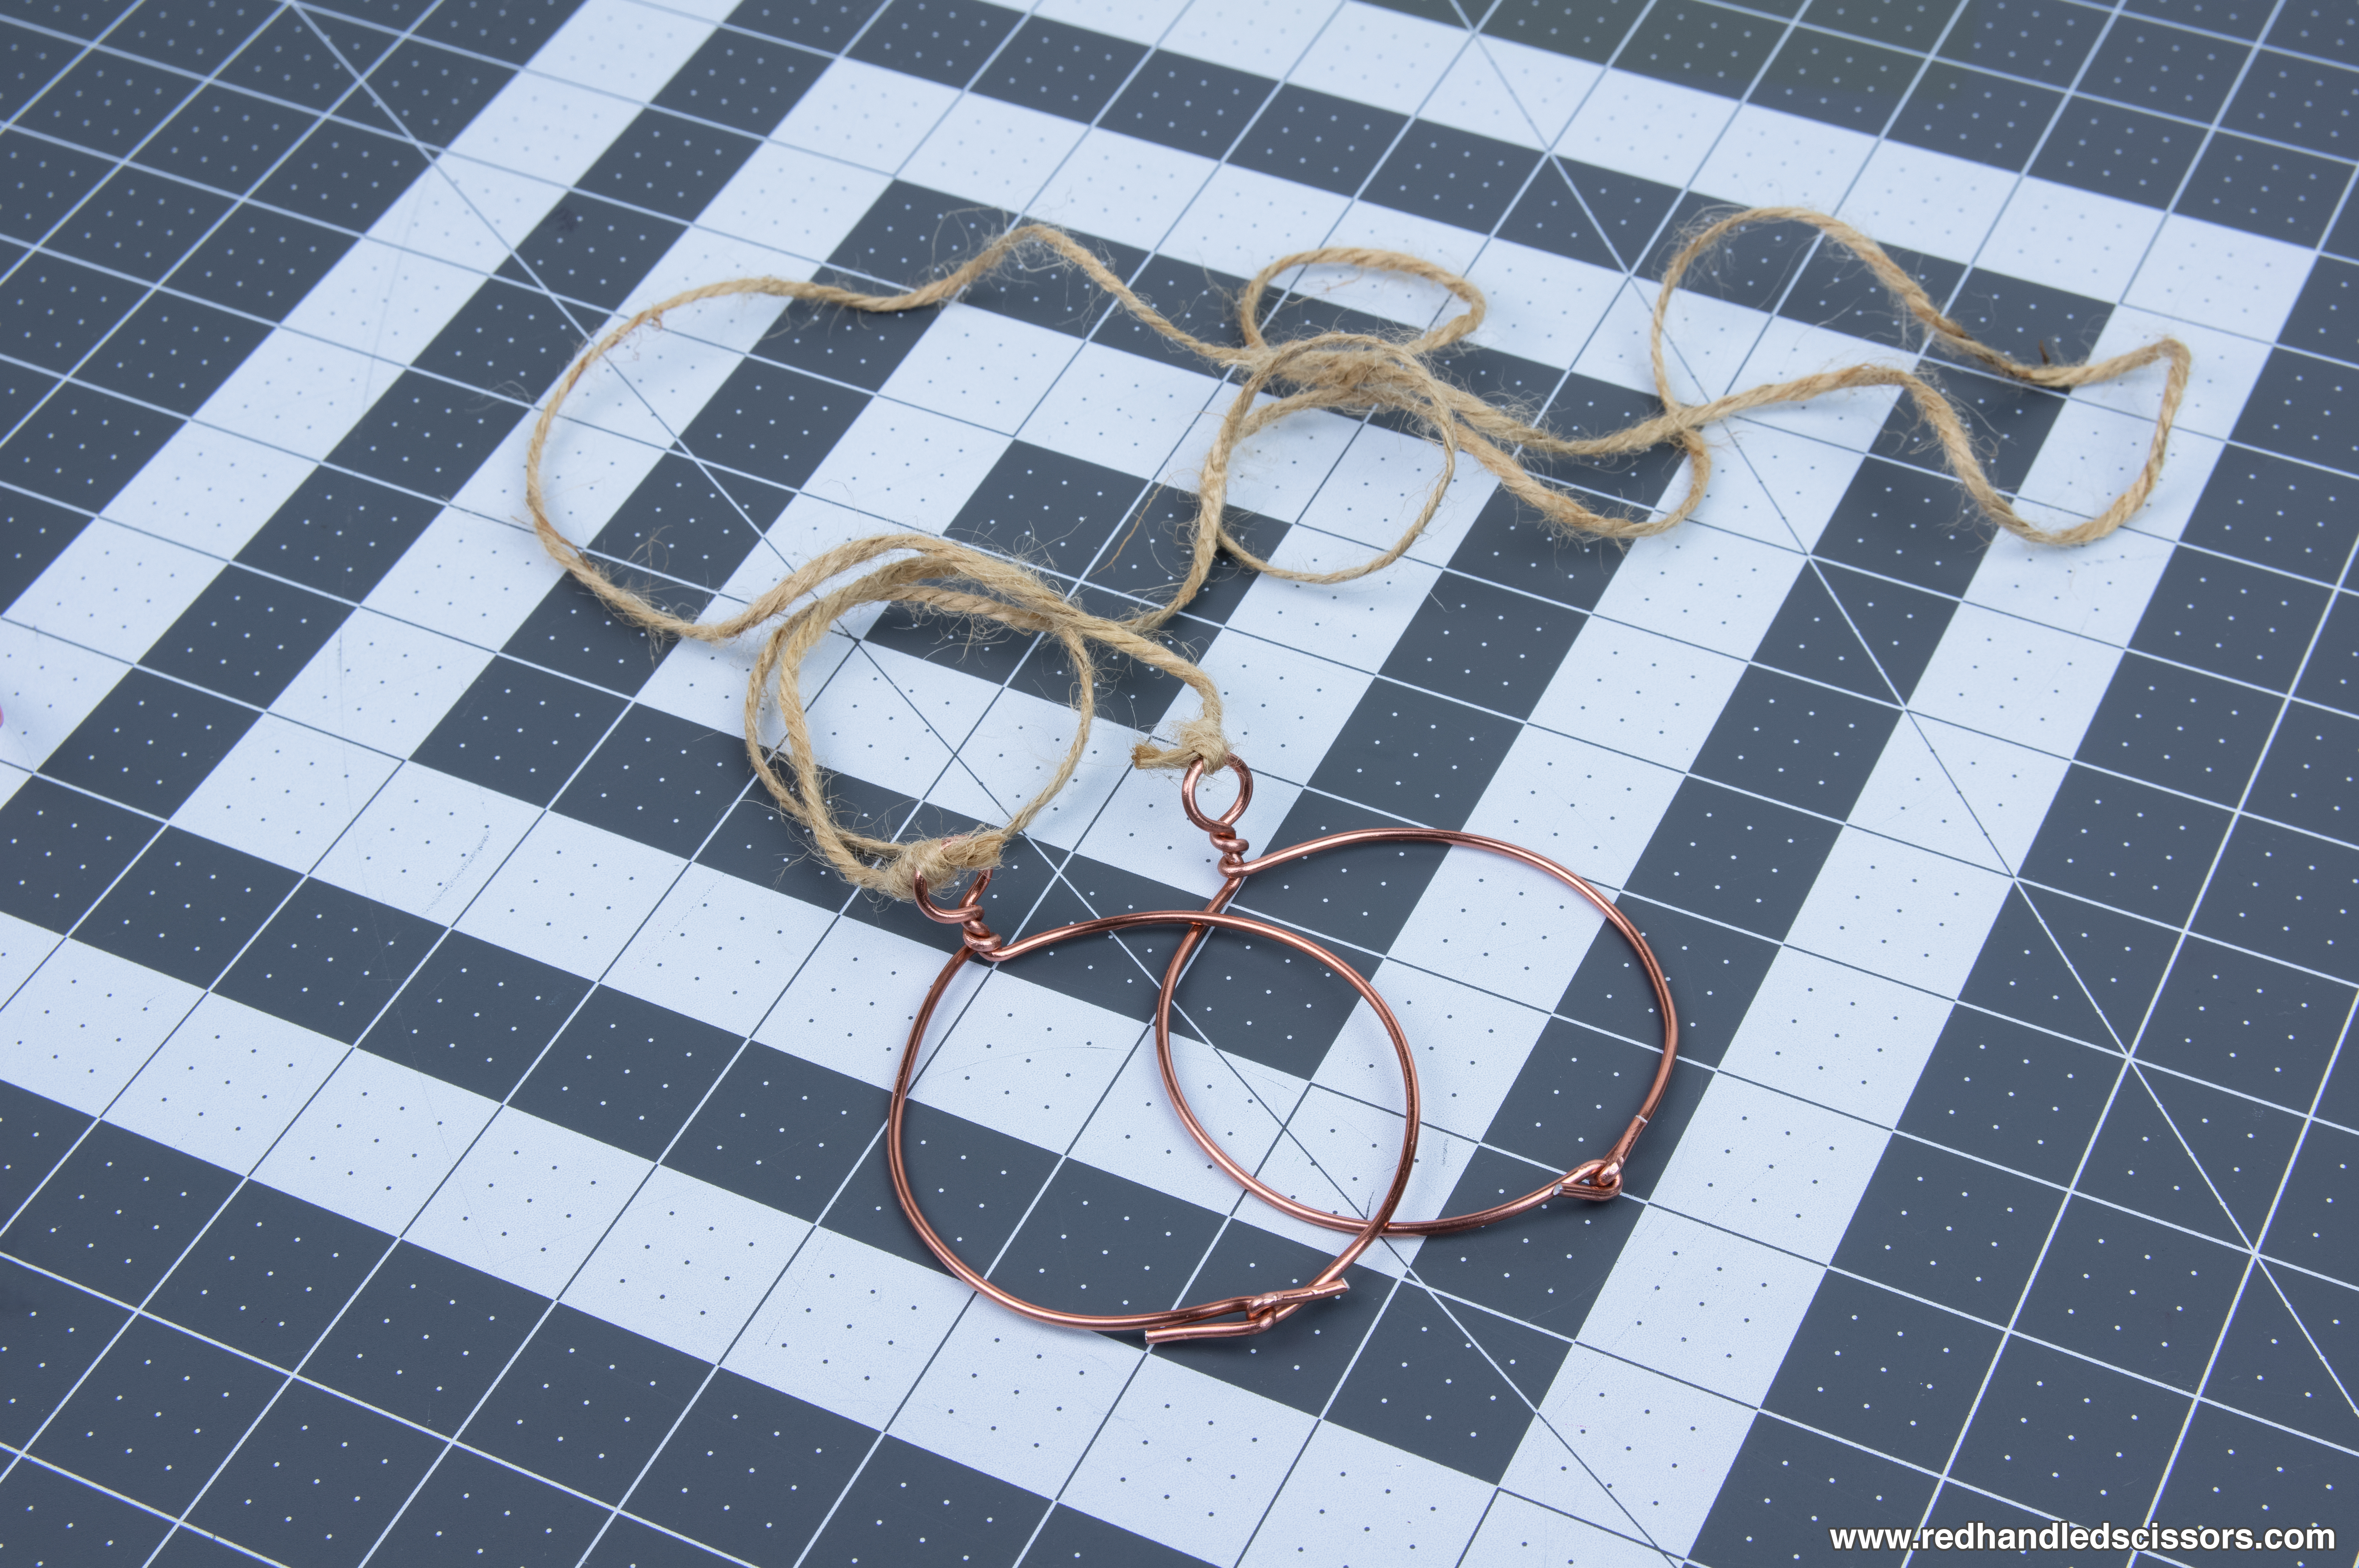
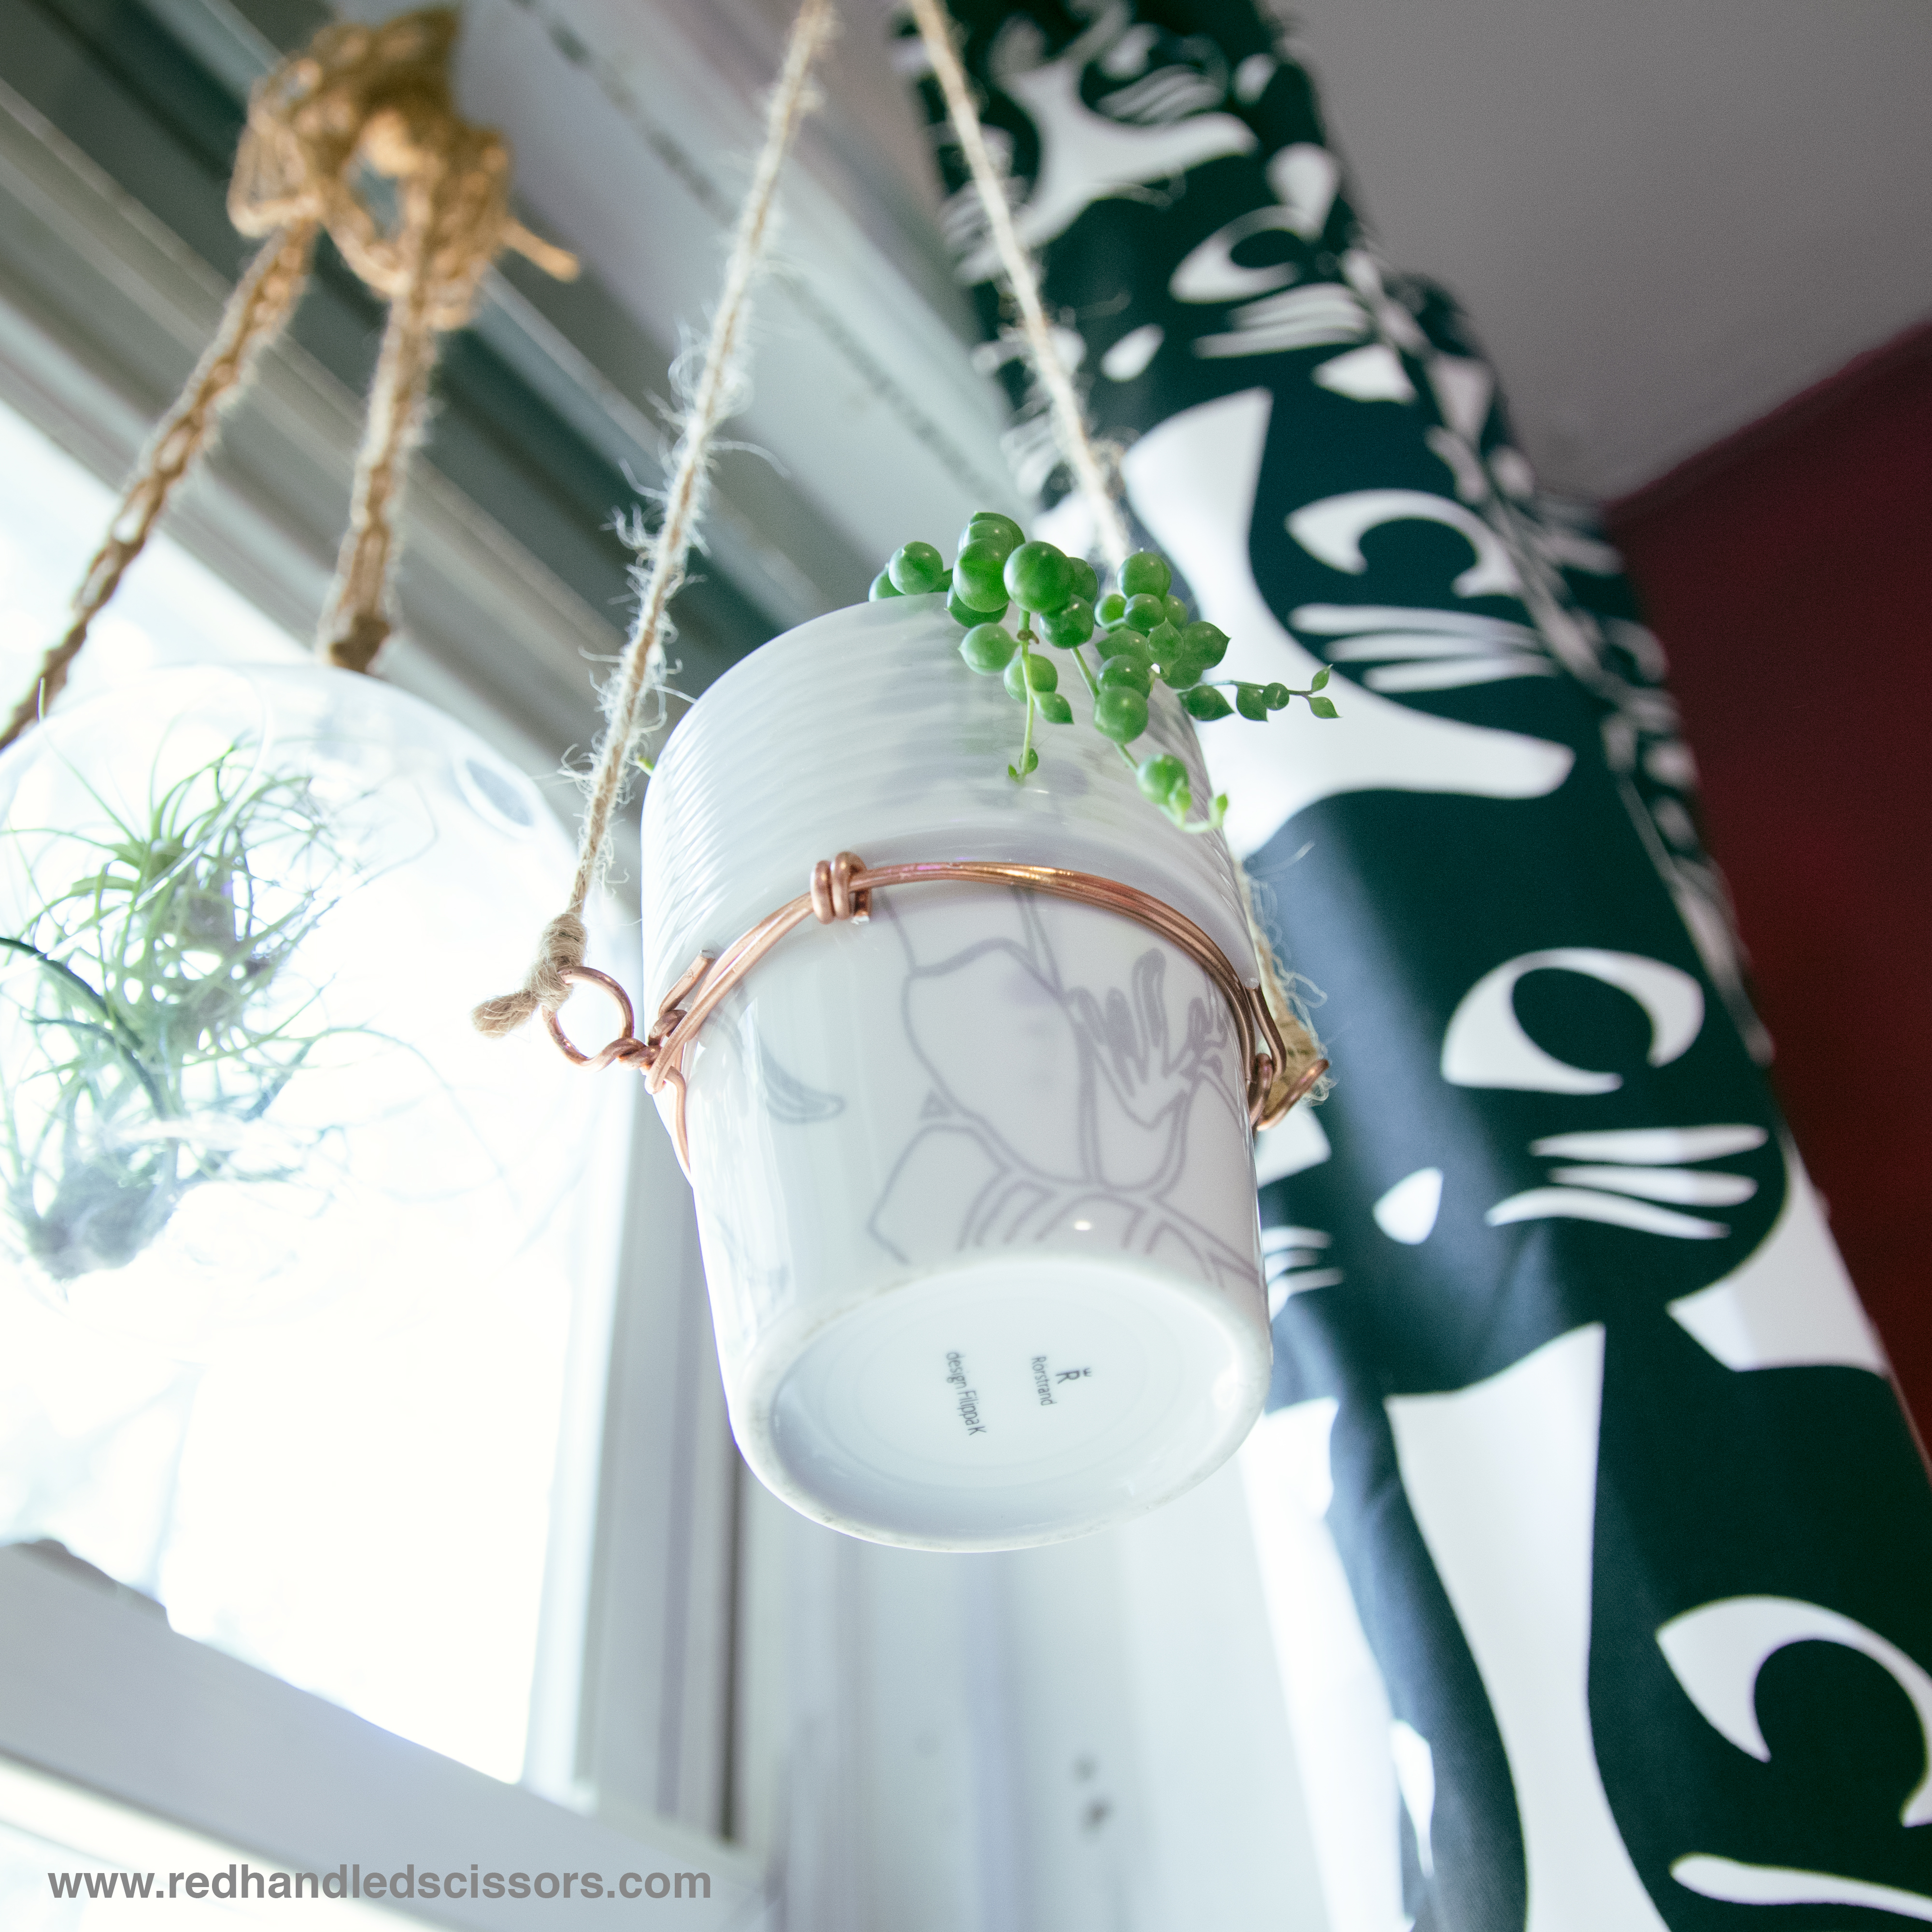
Cut a piece of twine to an appropriate length for wherever you’re planning to hang your planter, then attach the twine to each of the hanging loops with a strong, secure knot. (I like a scaffold knot.)
Step 10:
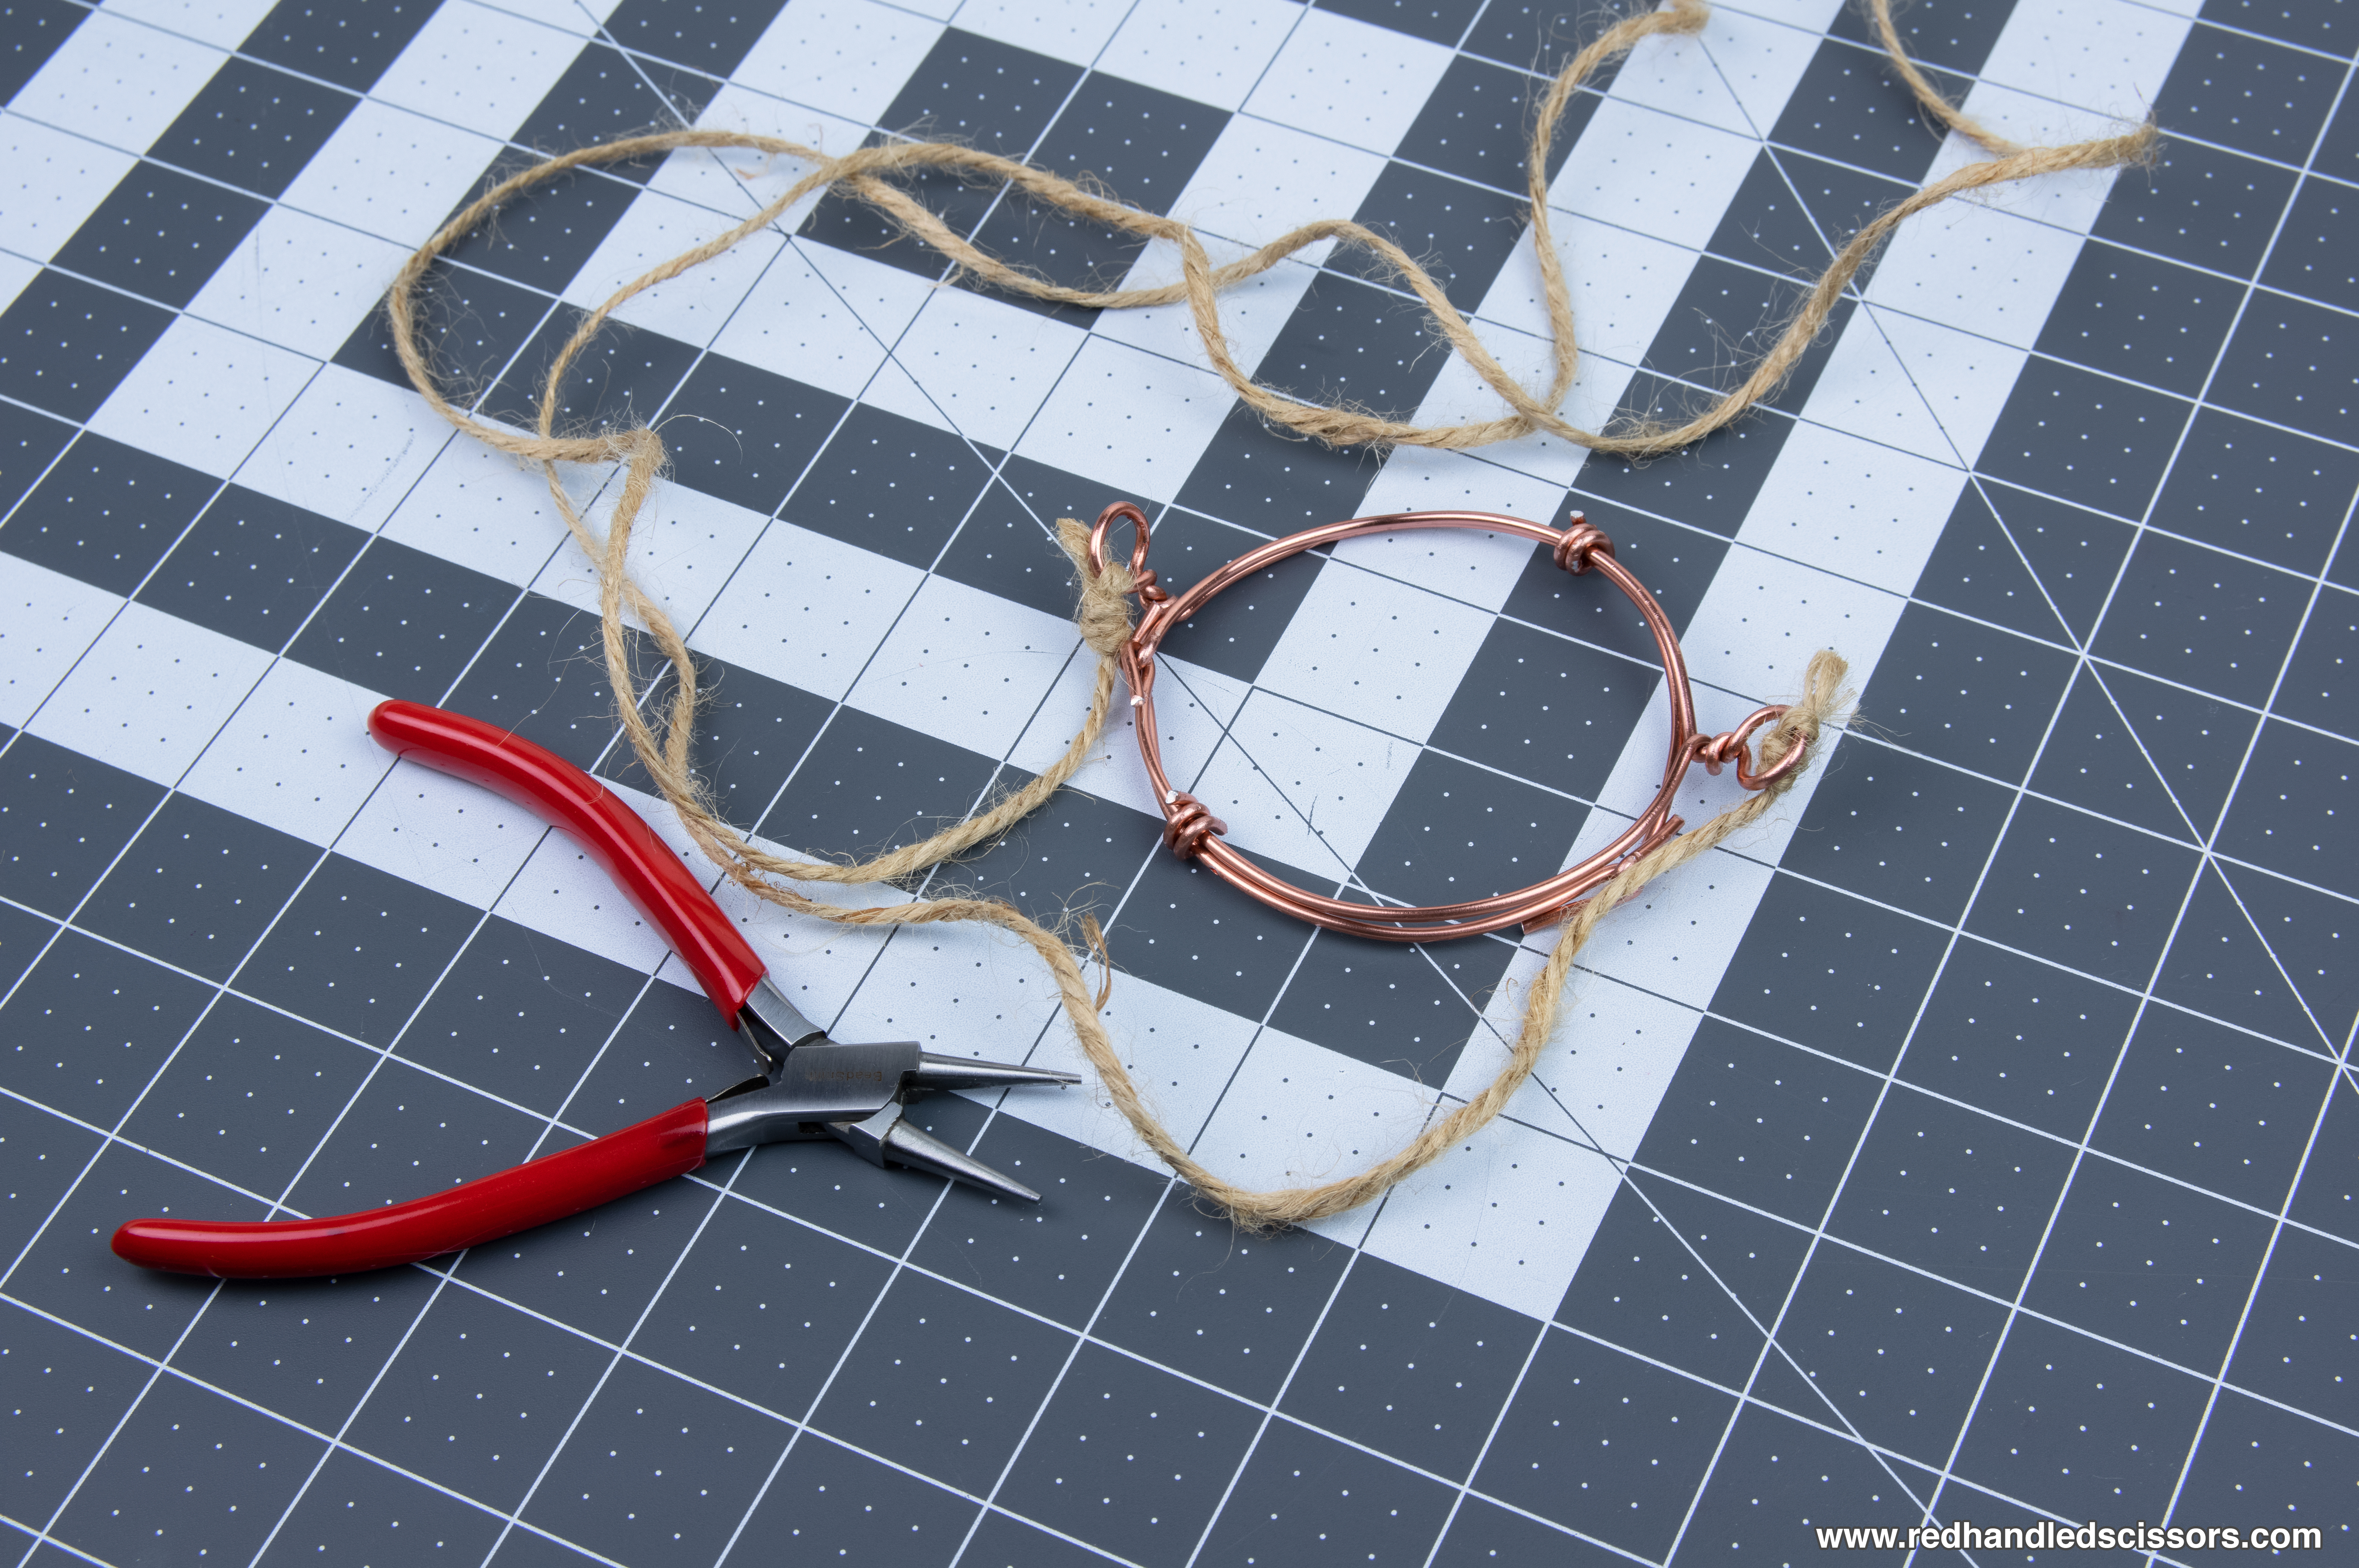
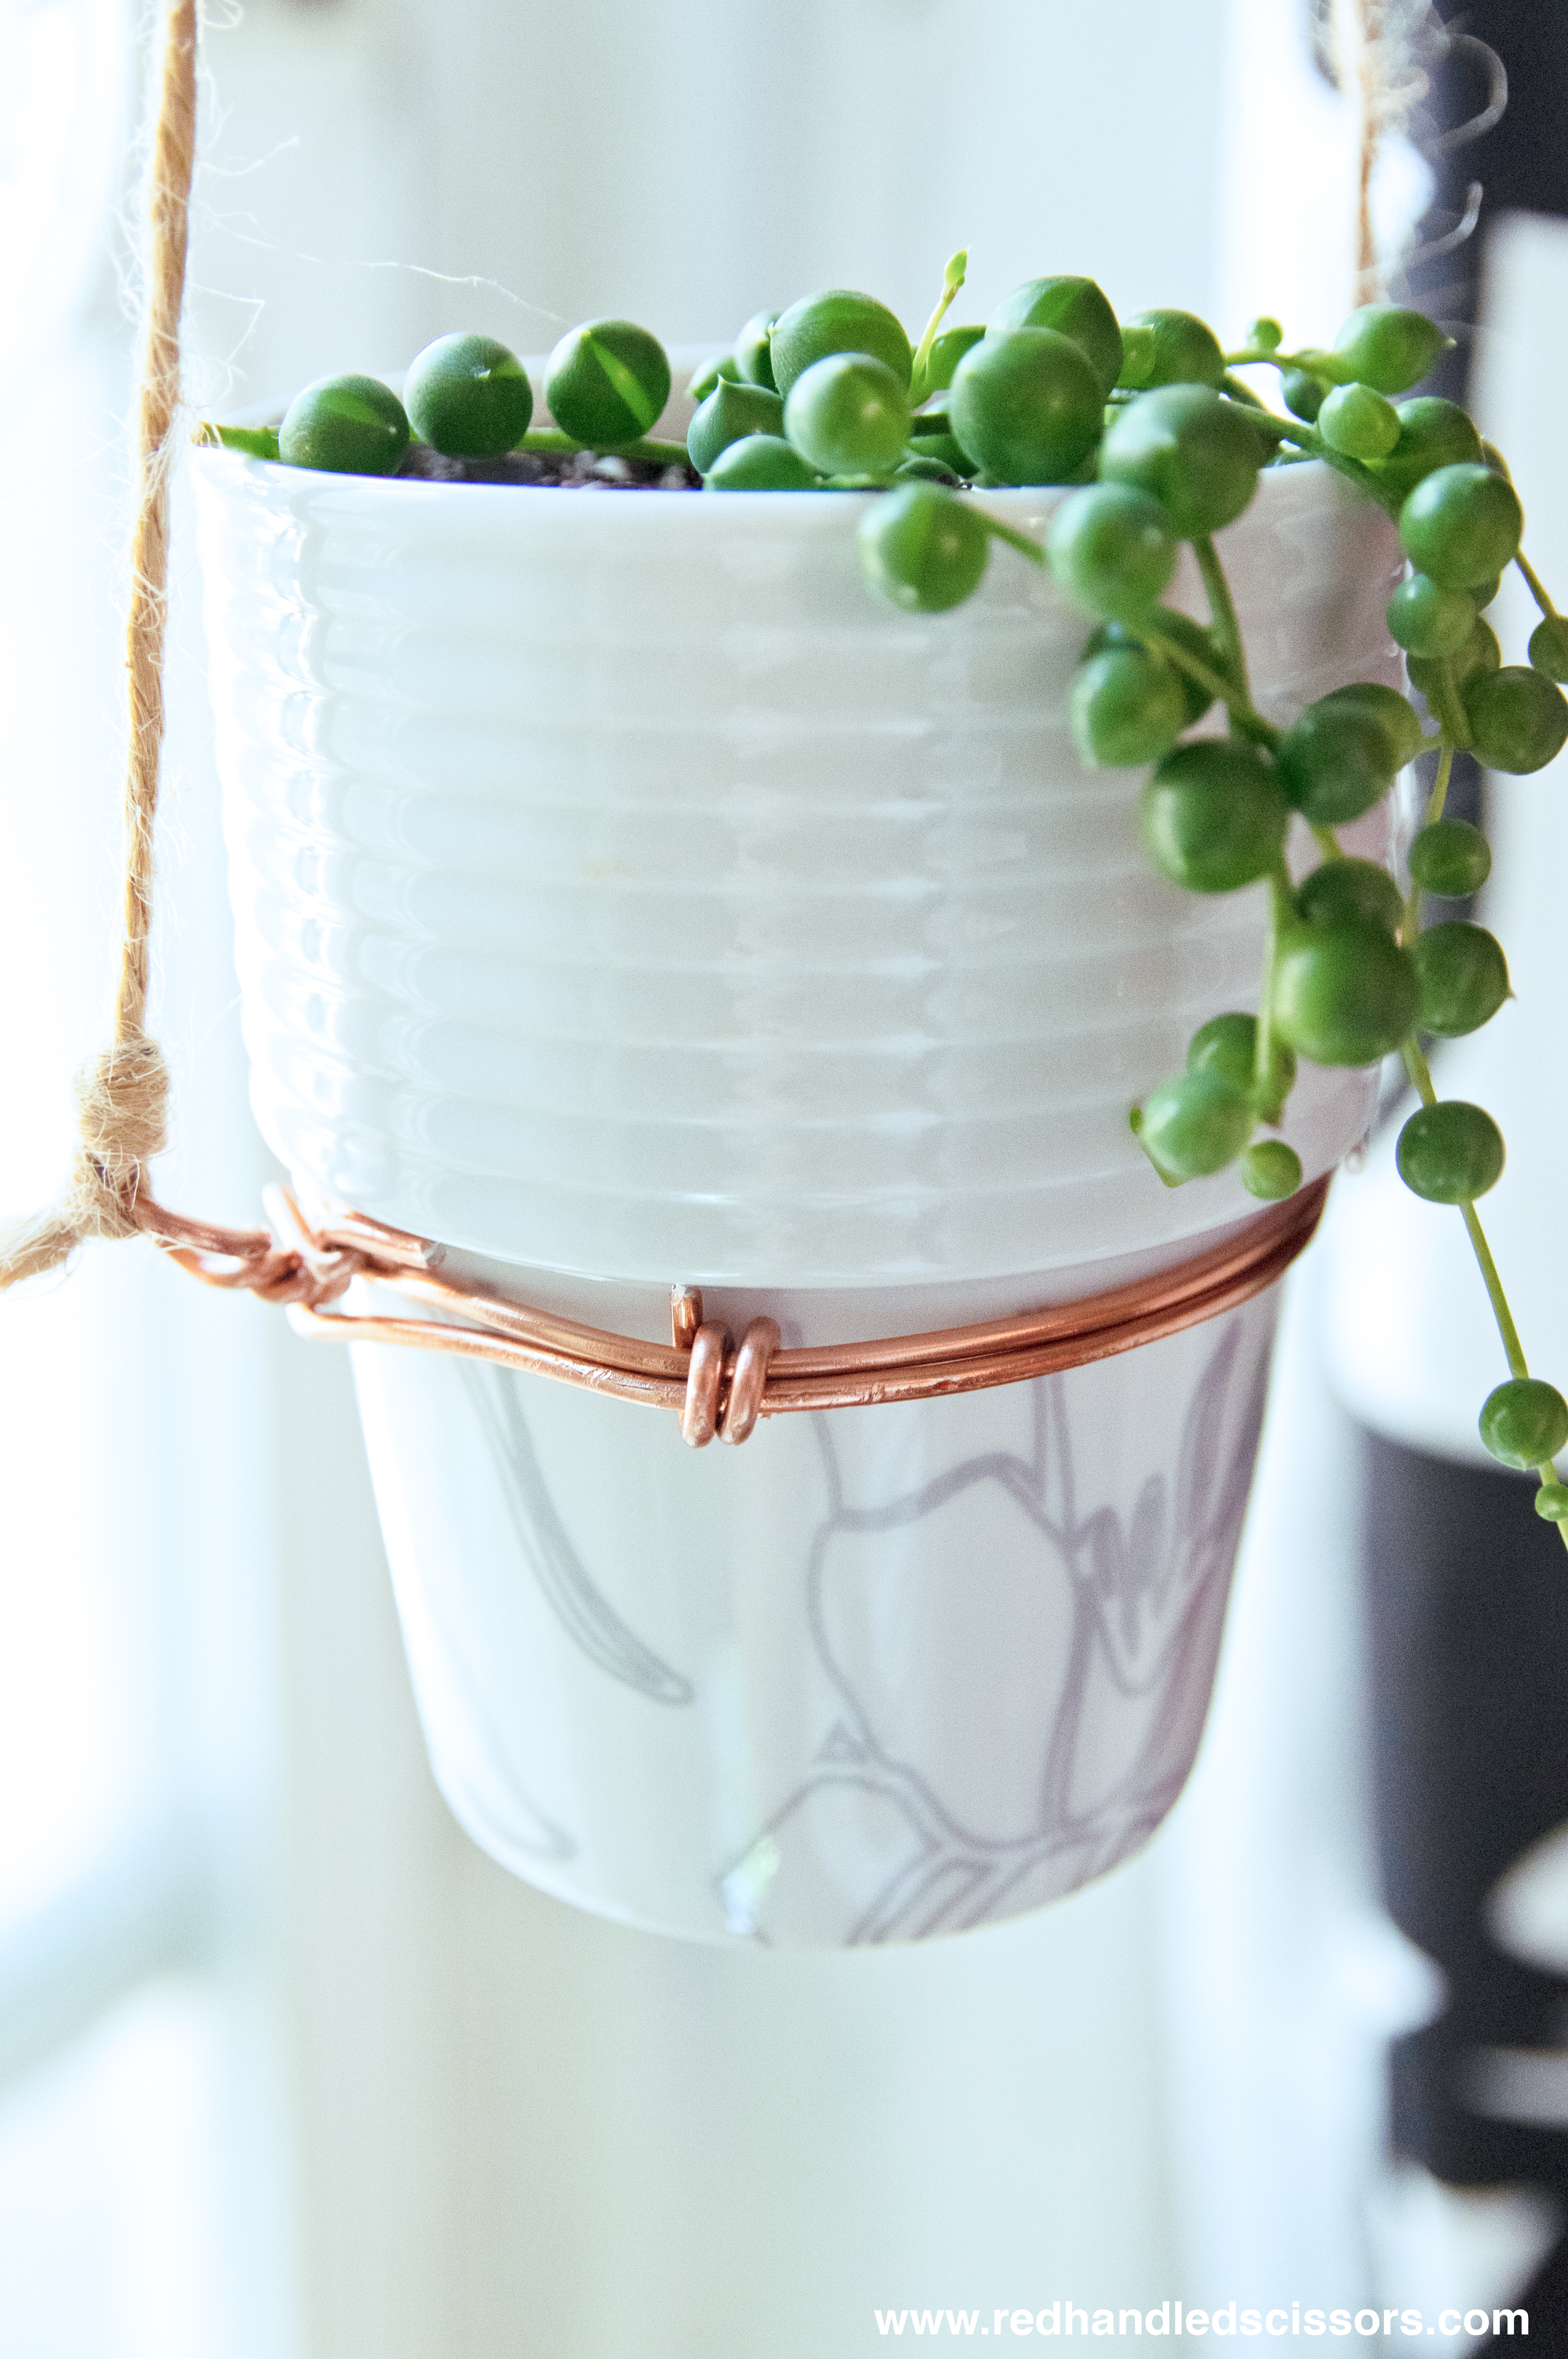
To ensure stability—and to keep the hanging loops from sliding towards each other and tipping your plant—join the two rings together on each side by looping leftover wire firmly around them, then test the fit on the planter again, making sure everything still fits snugly enough that it won’t slip over the lip of the planter.
Step 11:
Trim any excess twine, then hang as desired.
More fun plant-related projects:
♥ Air plant chandelier
♥ Wine bottle planter
♥ Beer bottle water globe
Permissions and Licensing:
© 2018 Haley Pierson-Cox. All Rights Reserved. If you’d like to use this tutorial, pattern, design, or imagery for something other than personal use, please contact me to discuss permissions and licensing.