
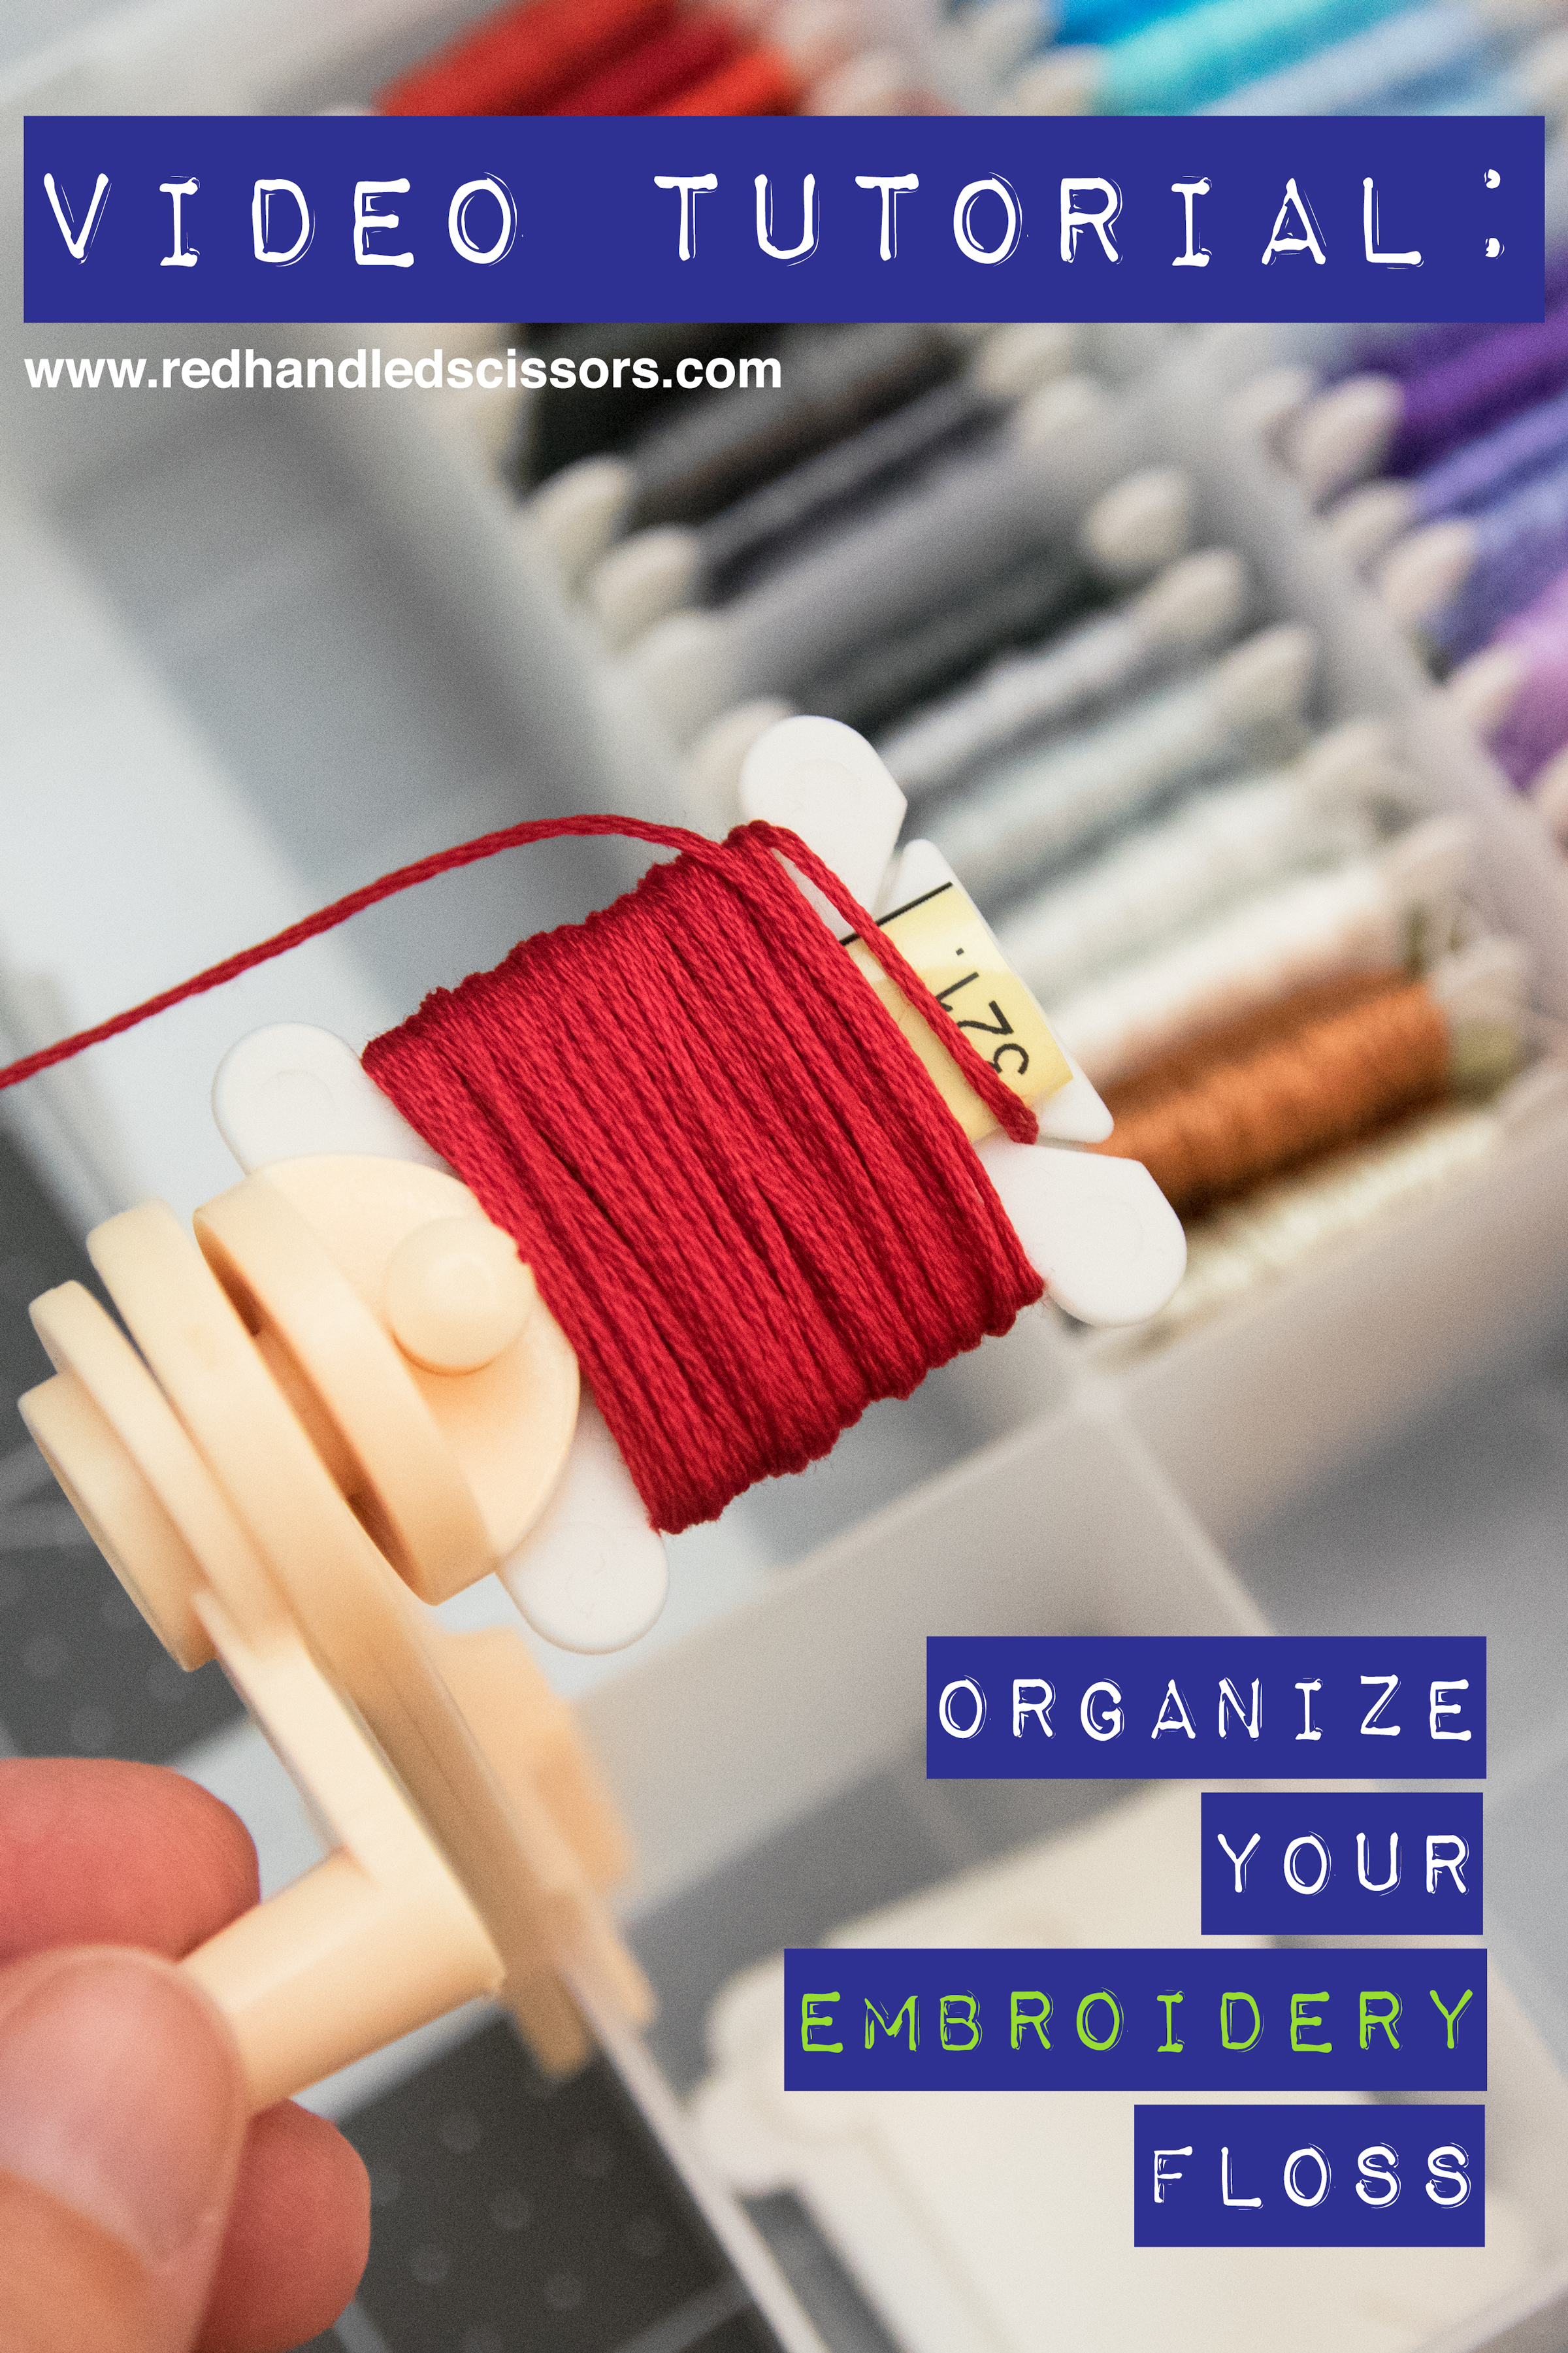
Hello, friends! I made you a video tutorial all about organizing embroidery floss (because I’m a giant geek). Hooray!
But first: For about 50 irritating logistical reasons, I had to restart my YouTube channel from scratch when I changed my site to Red-Handled Scissors. So, pretty please subscribe here?
Note: If you were subscribed to my old TZoM YouTube channel, you won’t get to see my new videos, so you’ll definitely want to subscribe to the new channel too!
[subscribe to the RHS YouTube channel]
If you’re the TL;DW sort (too long; didn’t watch) when it comes to video, the supply list and basics are below.
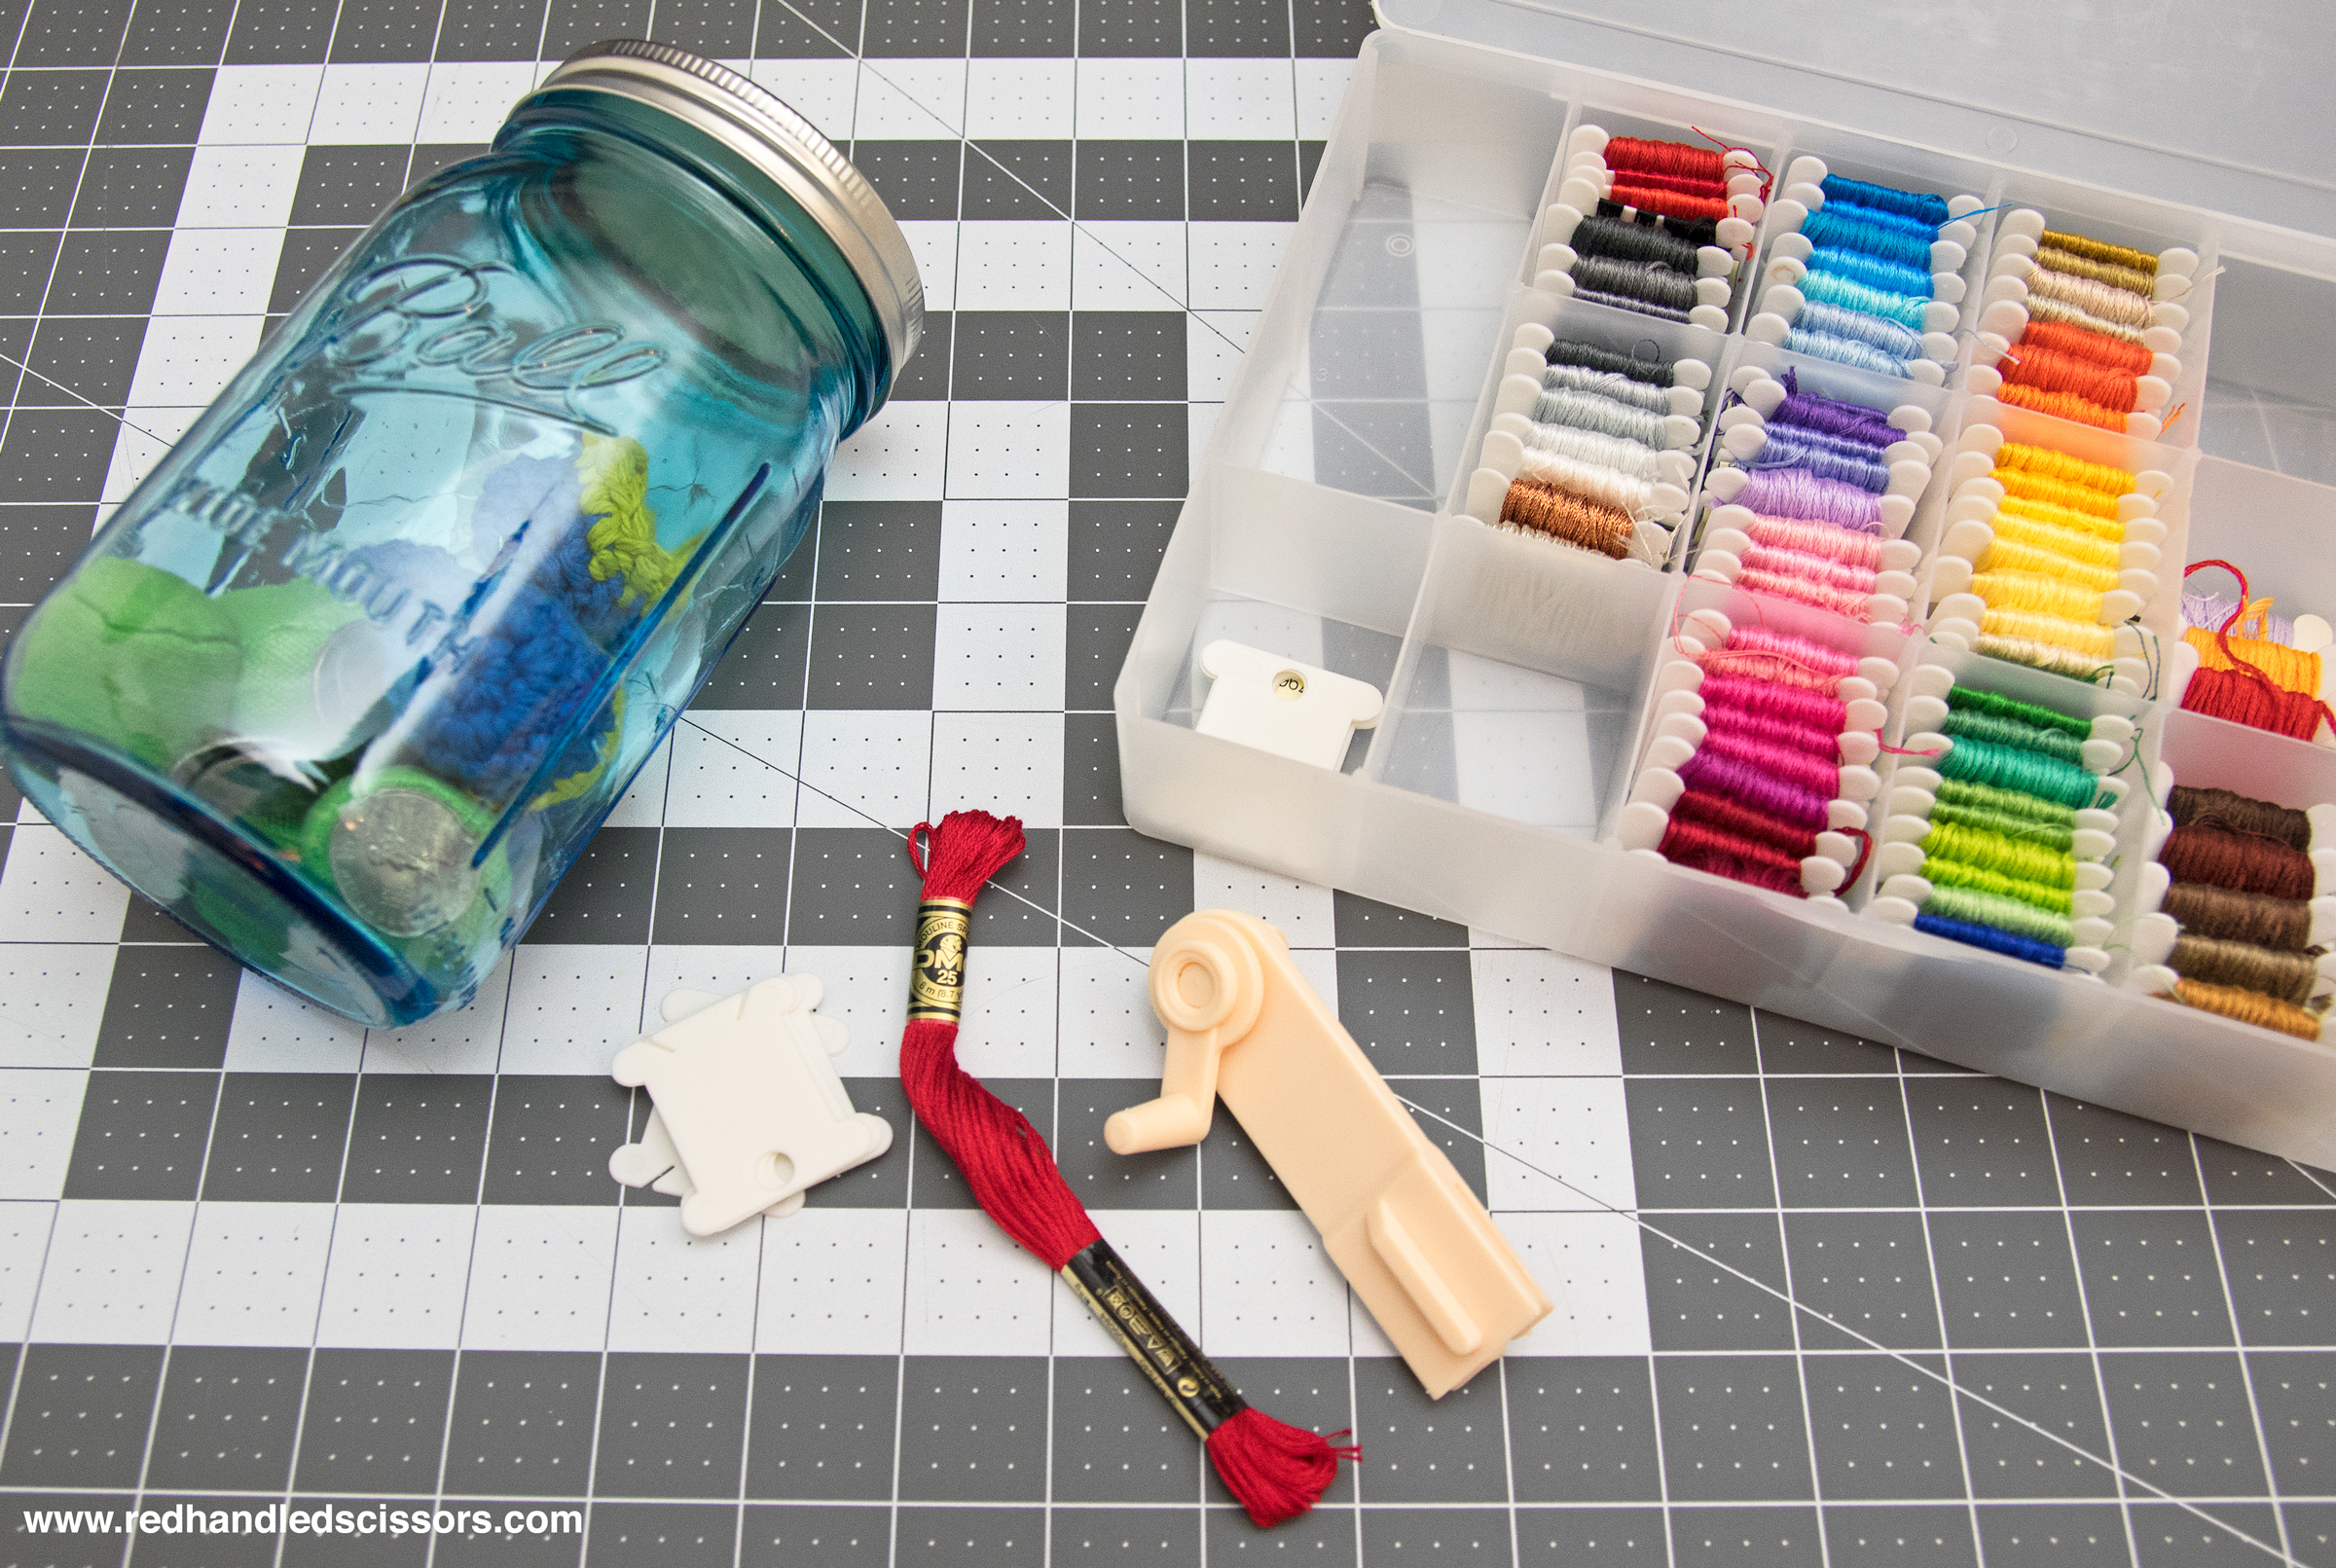
Supplies:
* Embroidery floss [affiliate link]
* Embroidery floss bobbins [affiliate link]
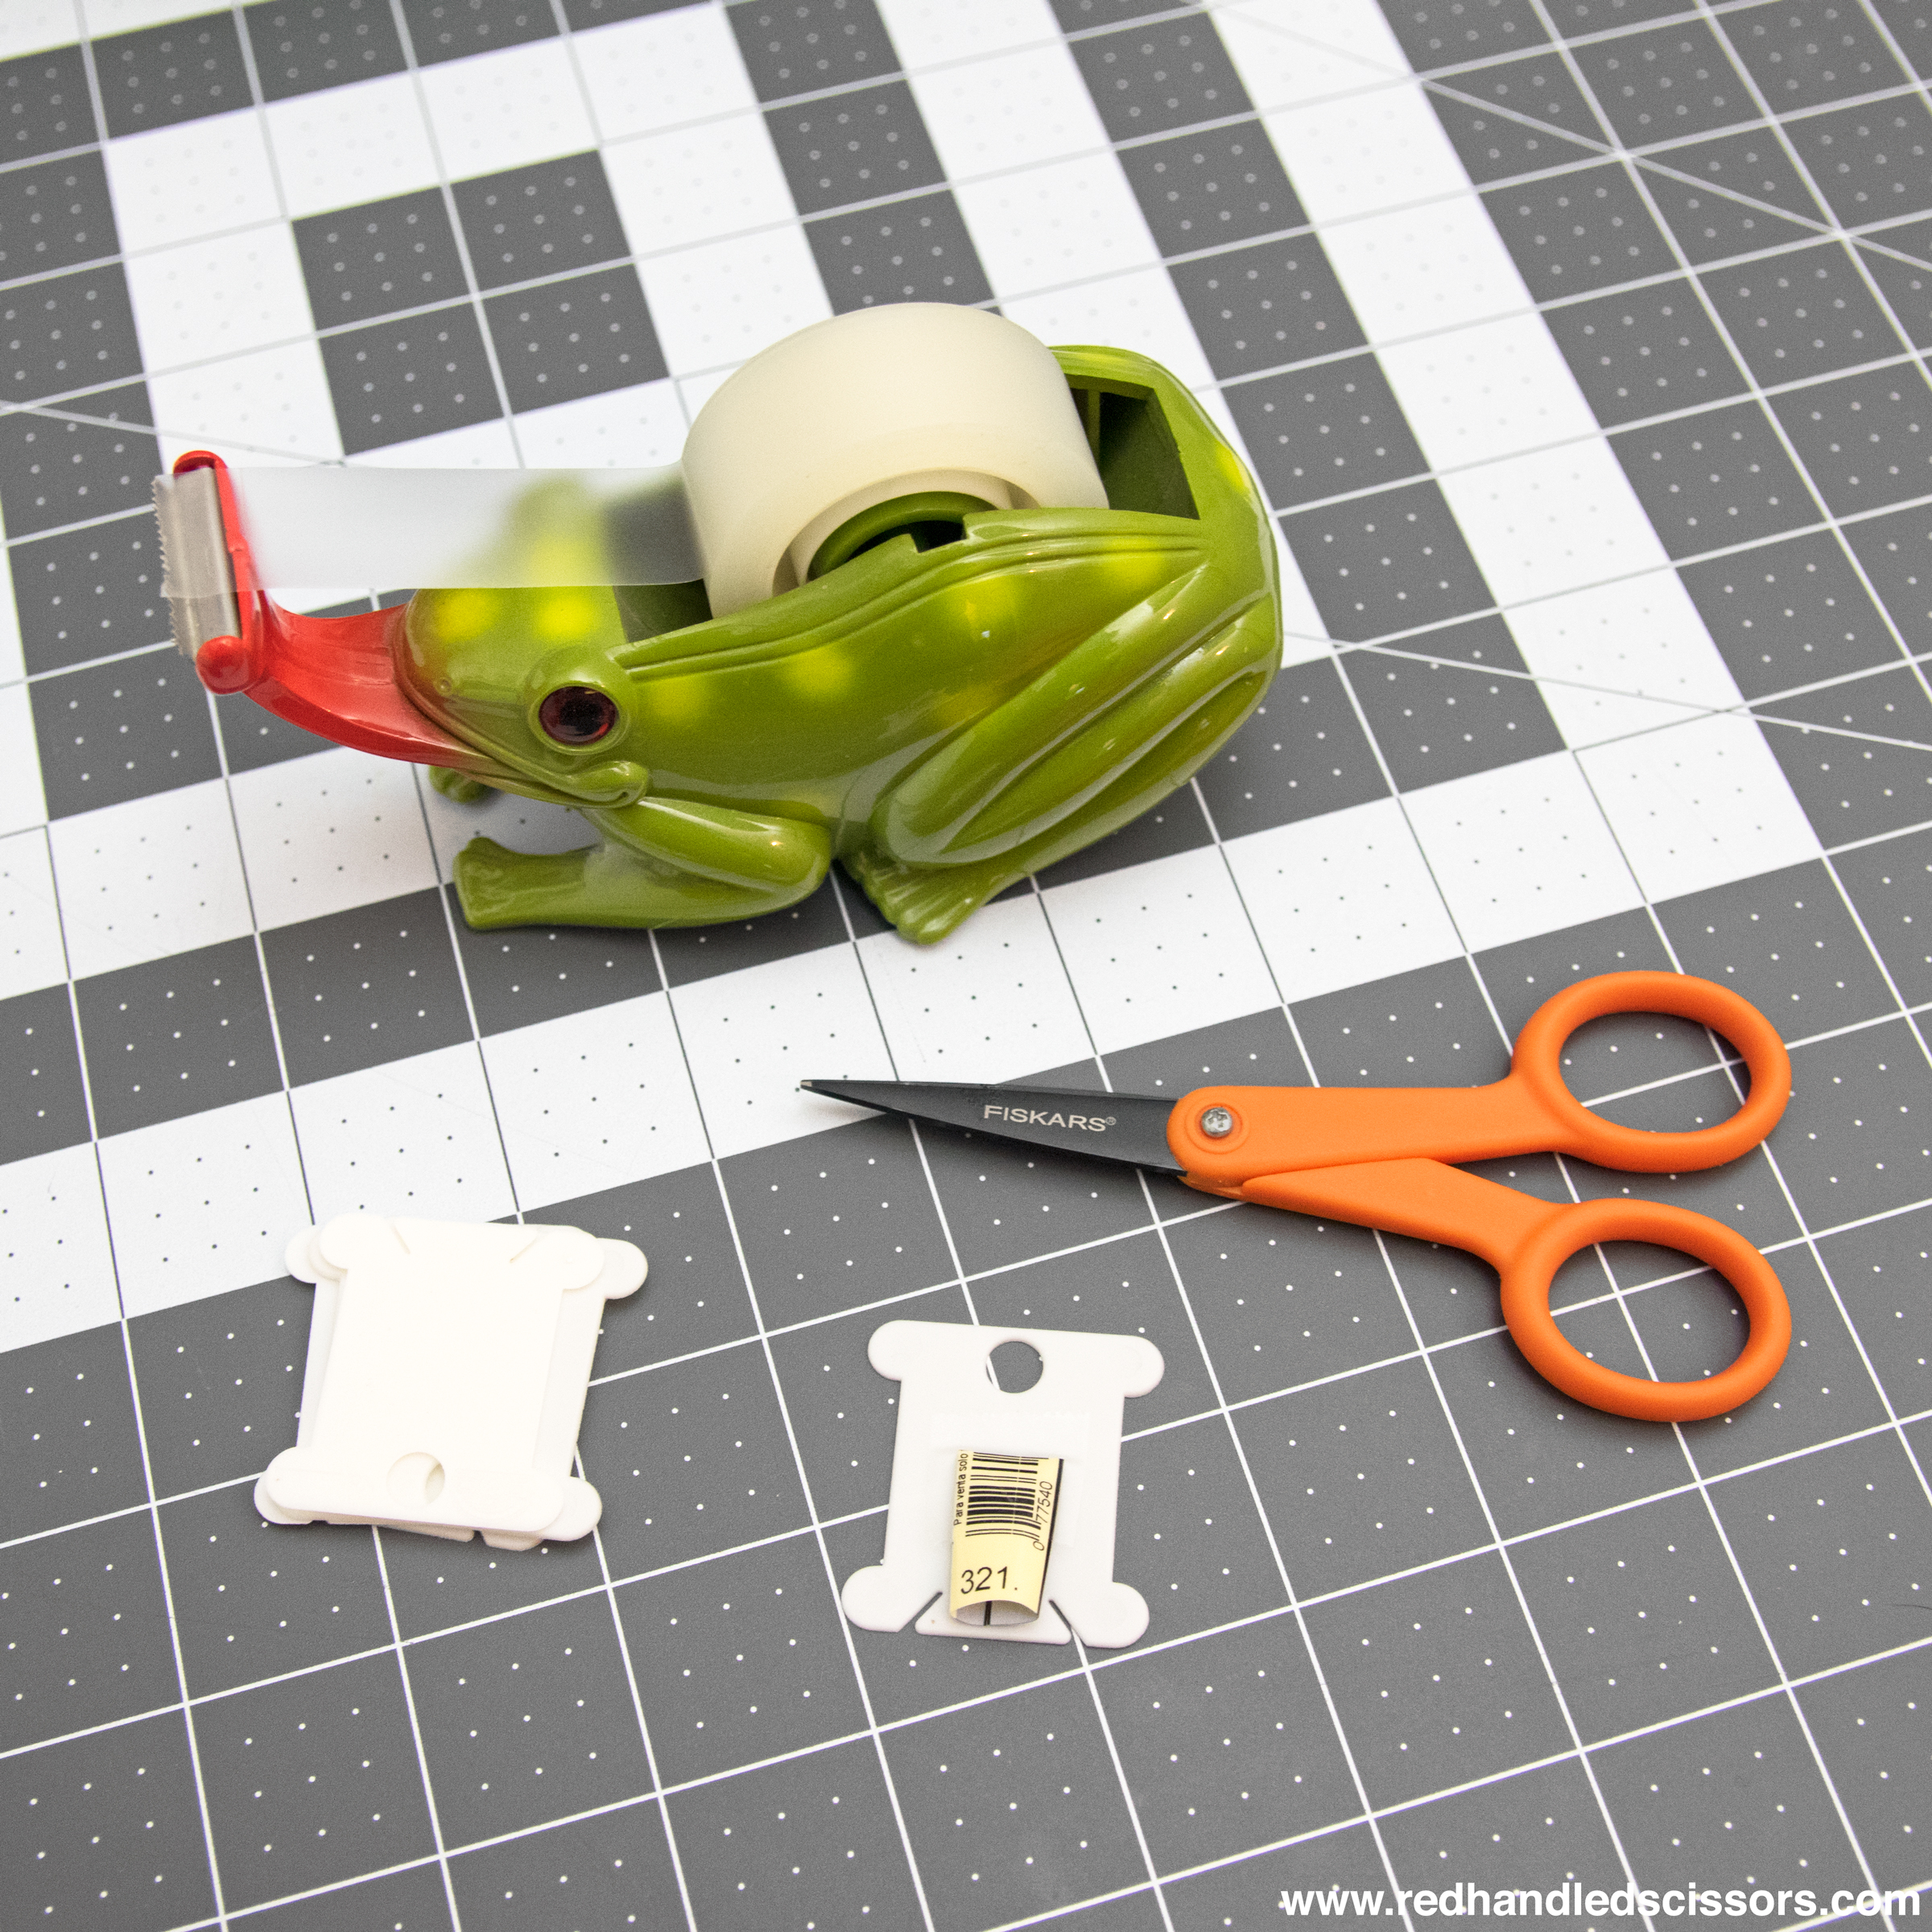
* Scotch tape [affiliate link]
Tools:
* Embroidery floss bobbin winder [affiliate link]
* Embroidery floss box [affiliate link]
* Binder rings
* Scissors [affiliate link]
* Mason jar [affiliate link], filled with something heavy
* Printed DMC embroidery floss color card [affiliate link] or DMC embroidery floss color card with real thread strands (optional)
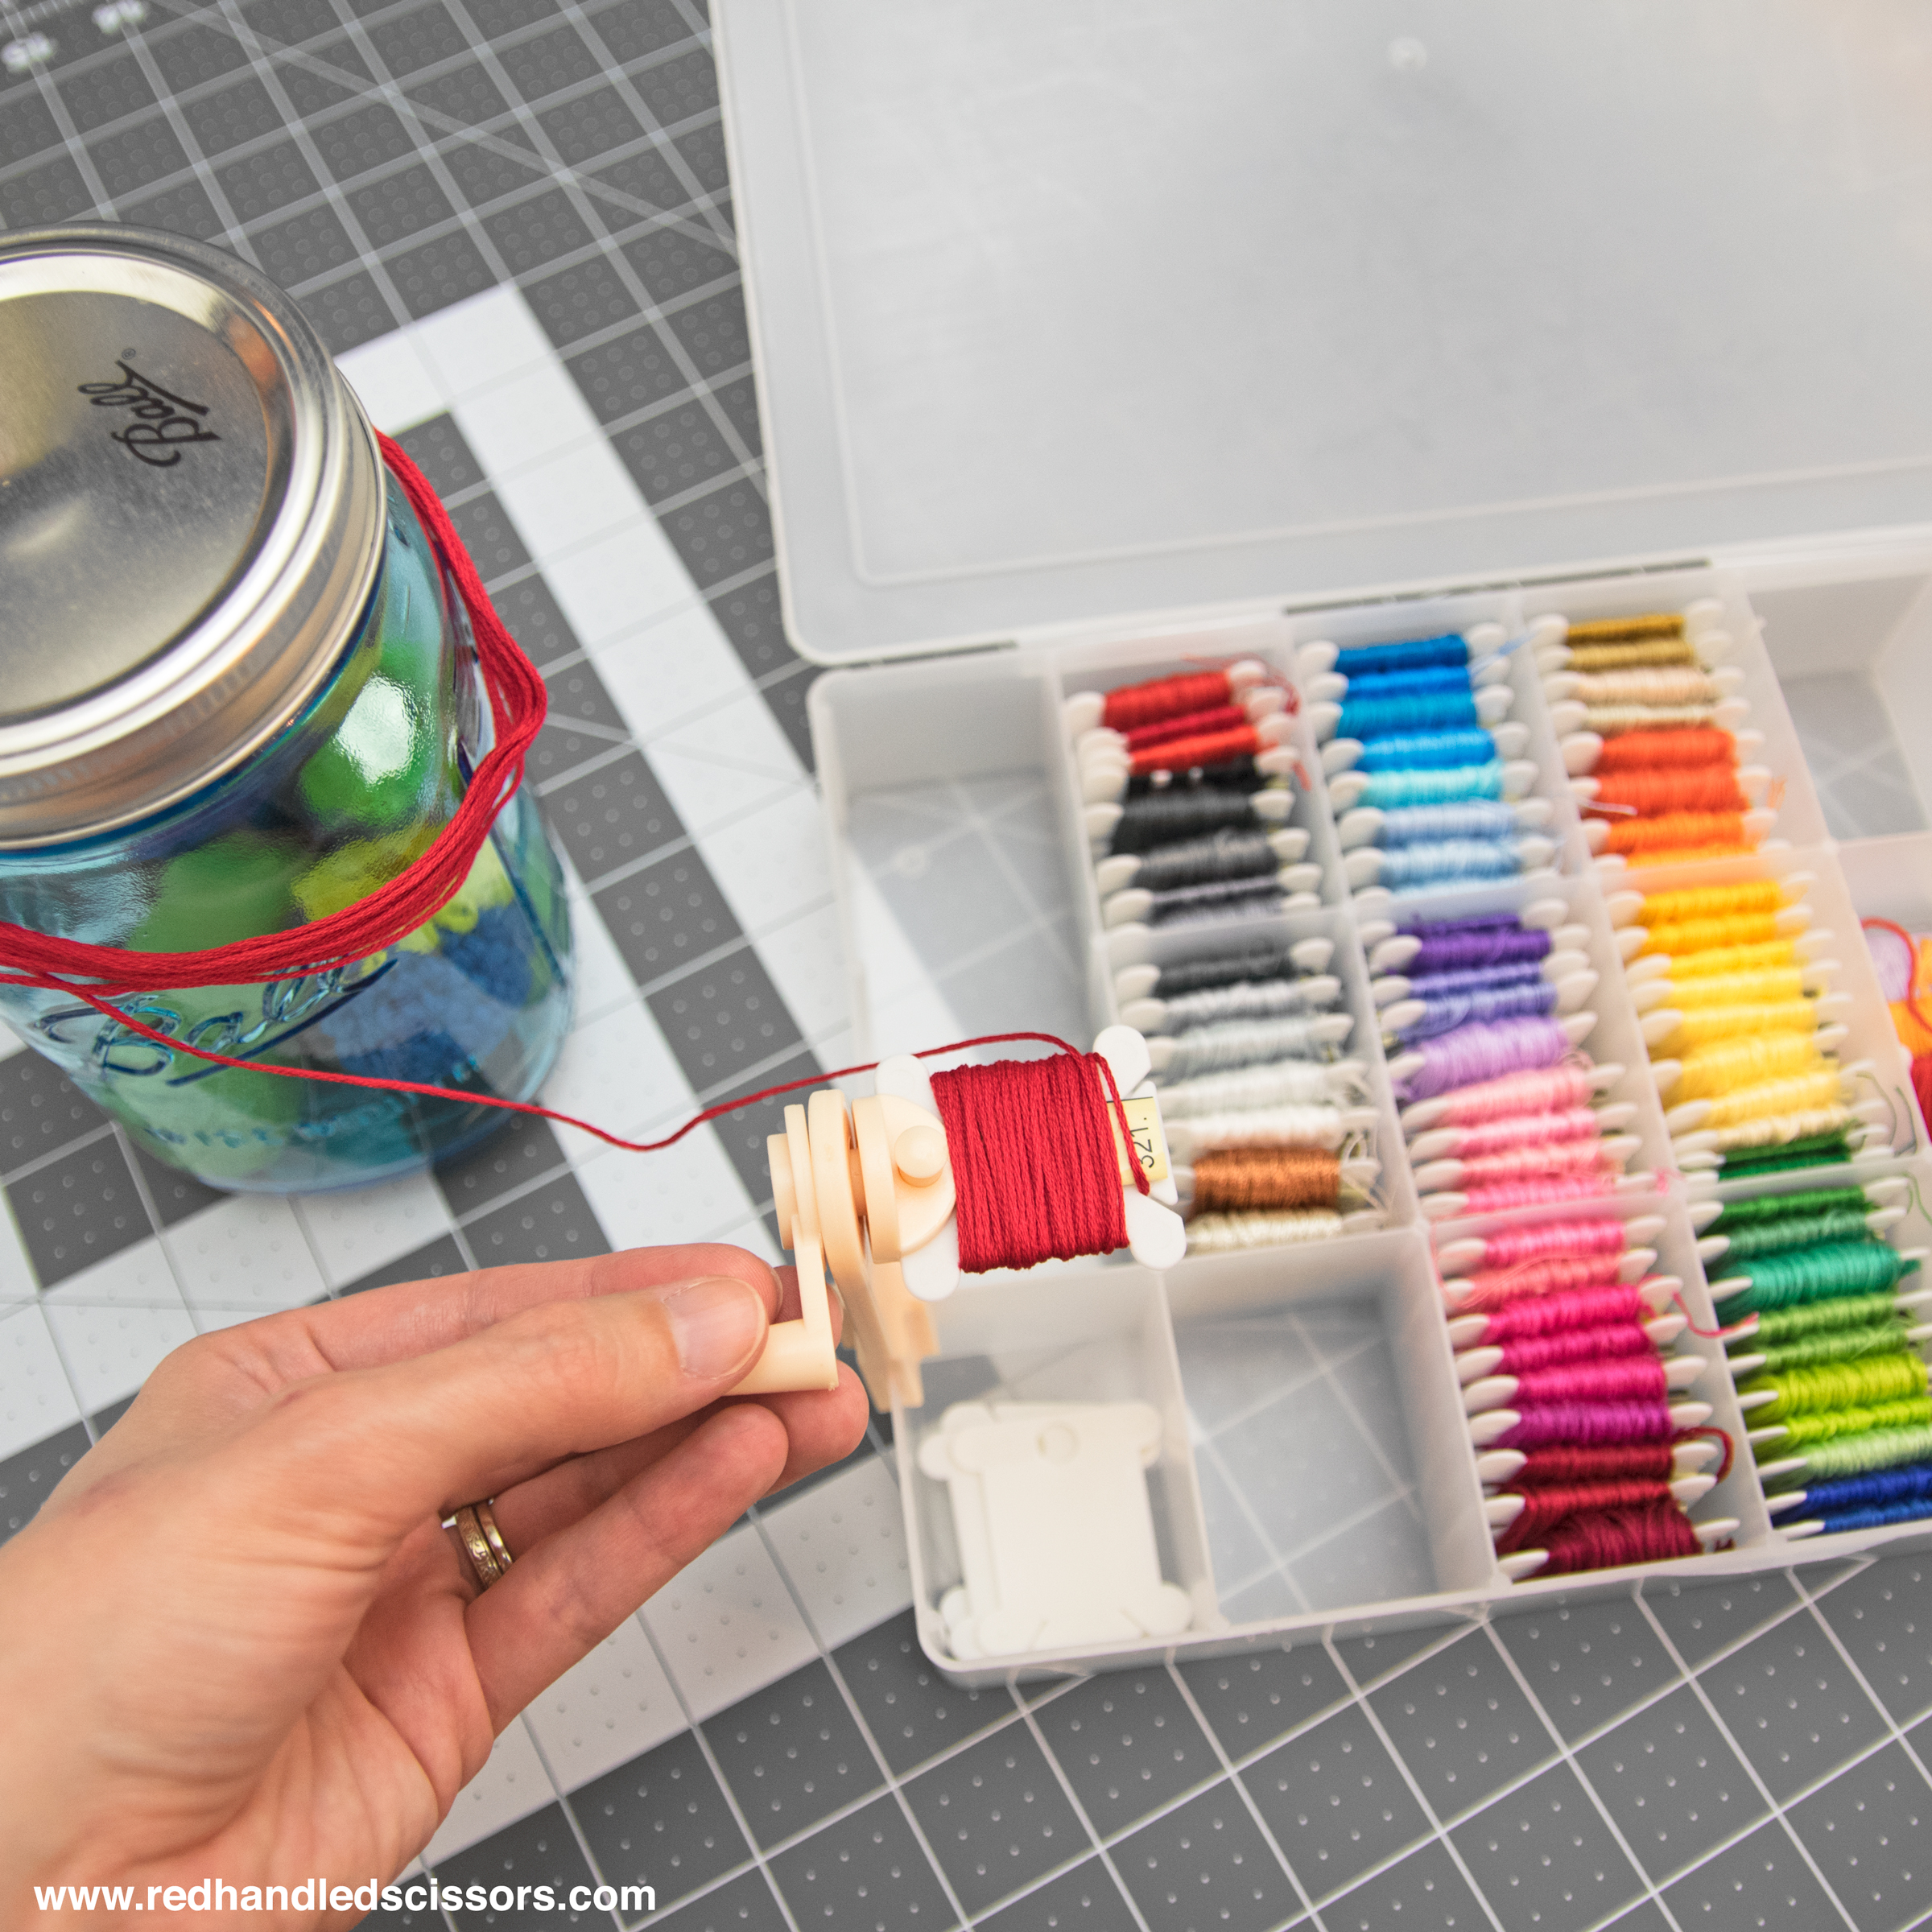
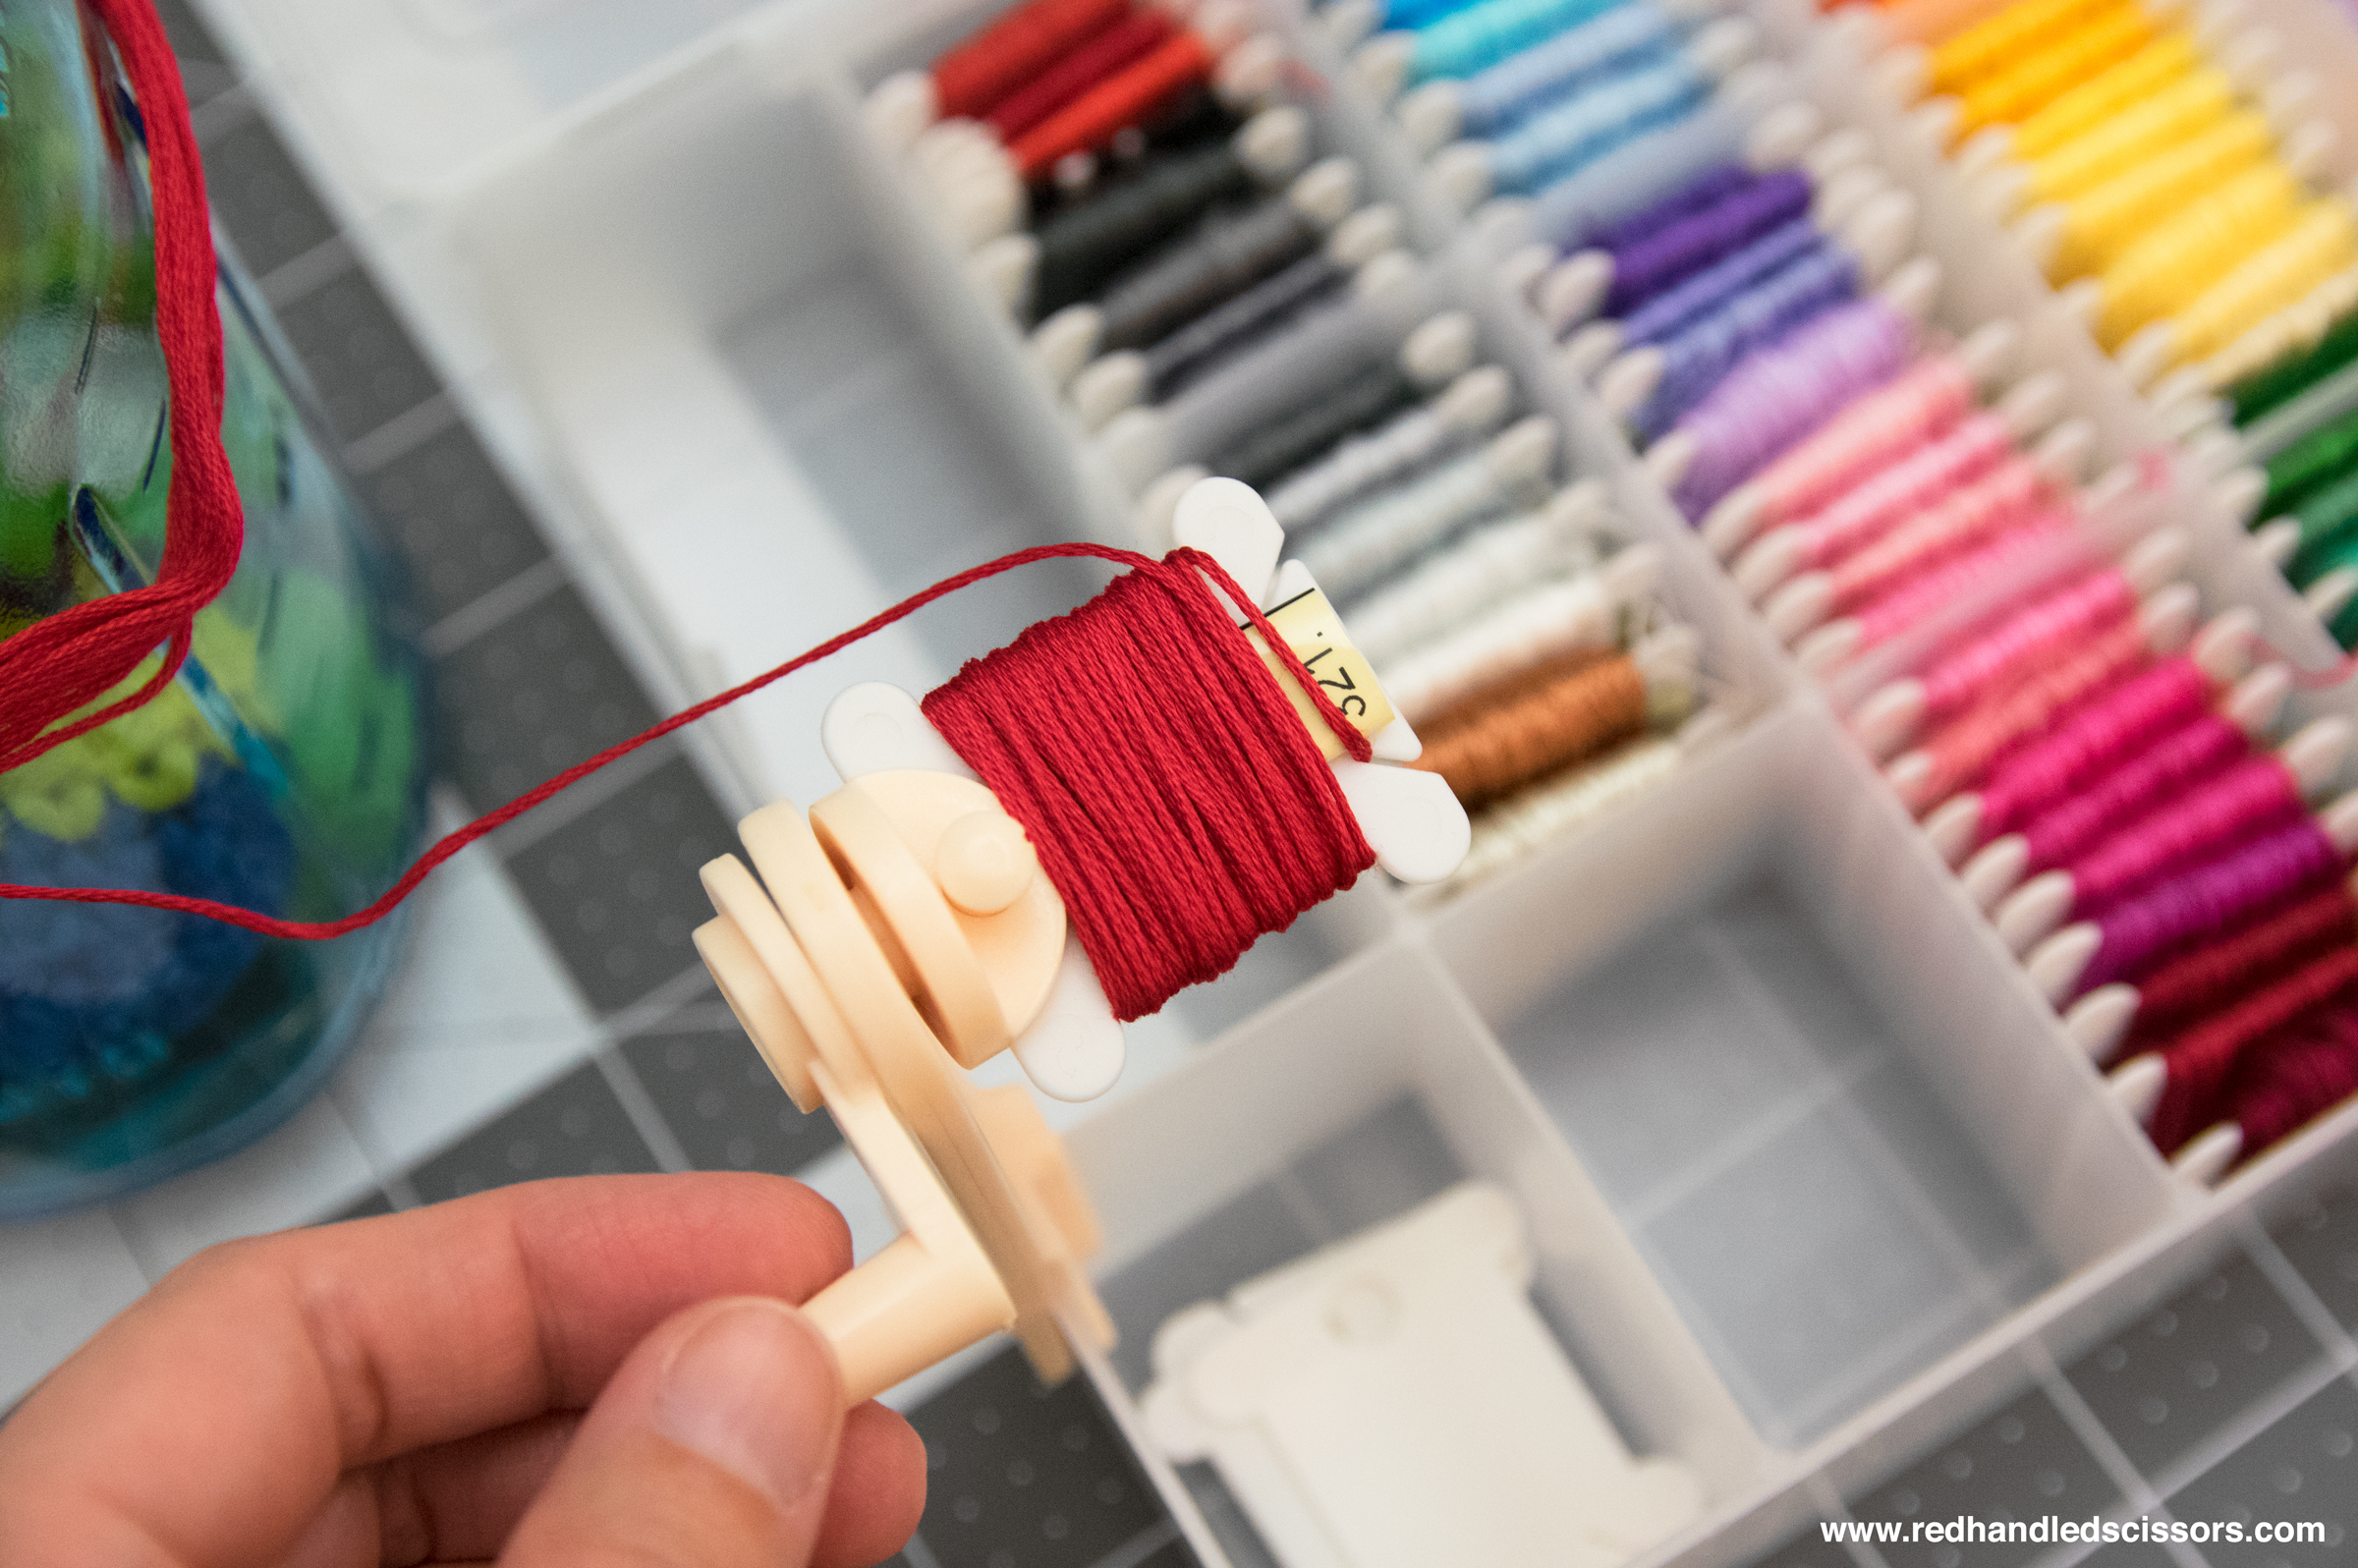
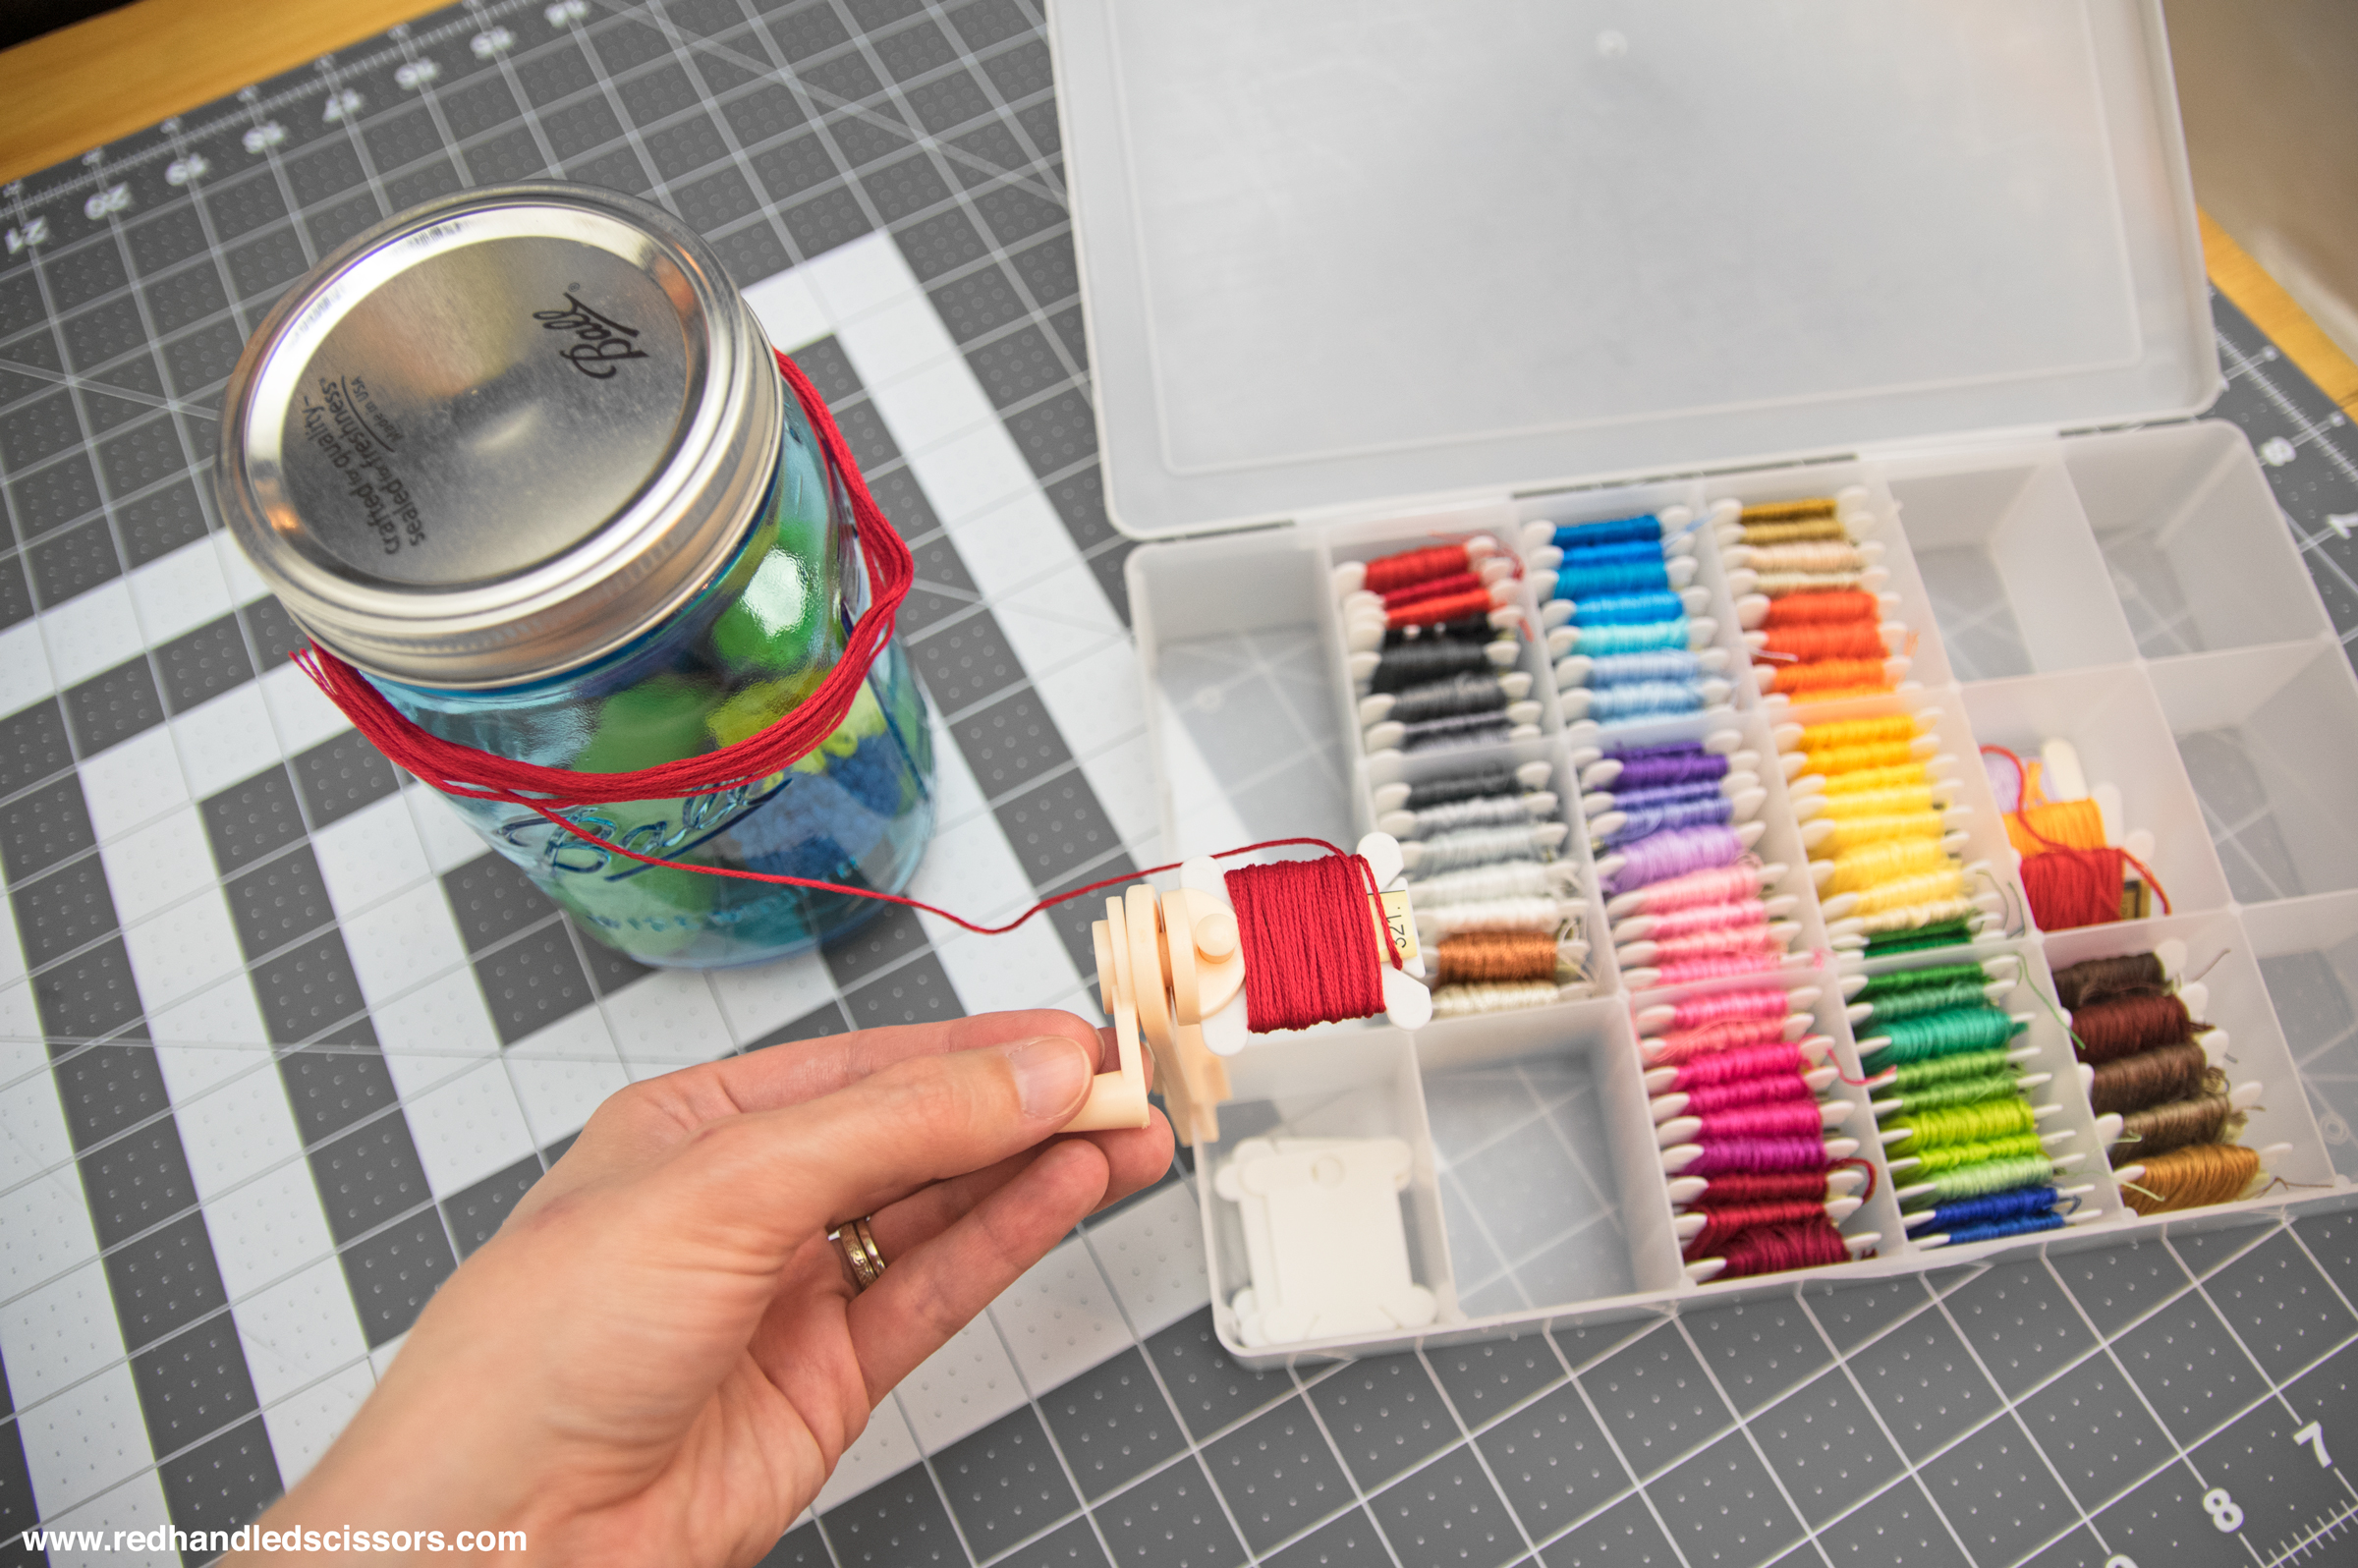
An embroidery floss bobbin winder is a simple tool that’s pretty easy to use: Remove the tags from your skein of embroidery floss, then loop the floss around a large mason jar (or other smooth object of a similar size) to keep it from tangling while you wind. Next, load a bobbin into the winder, insert one end of the floss skein into one of the notches on top of the bobbin, then turn the handle on the bobbin winder to begin winding. When done, tuck the second end of the floss skein into the second notch on top of the bobbin.
Tip: Use your non-winding hand to apply gentle tension to the floss and to guide the floss evenly along the length of the bobbin as you wind. (See the GIF above.)
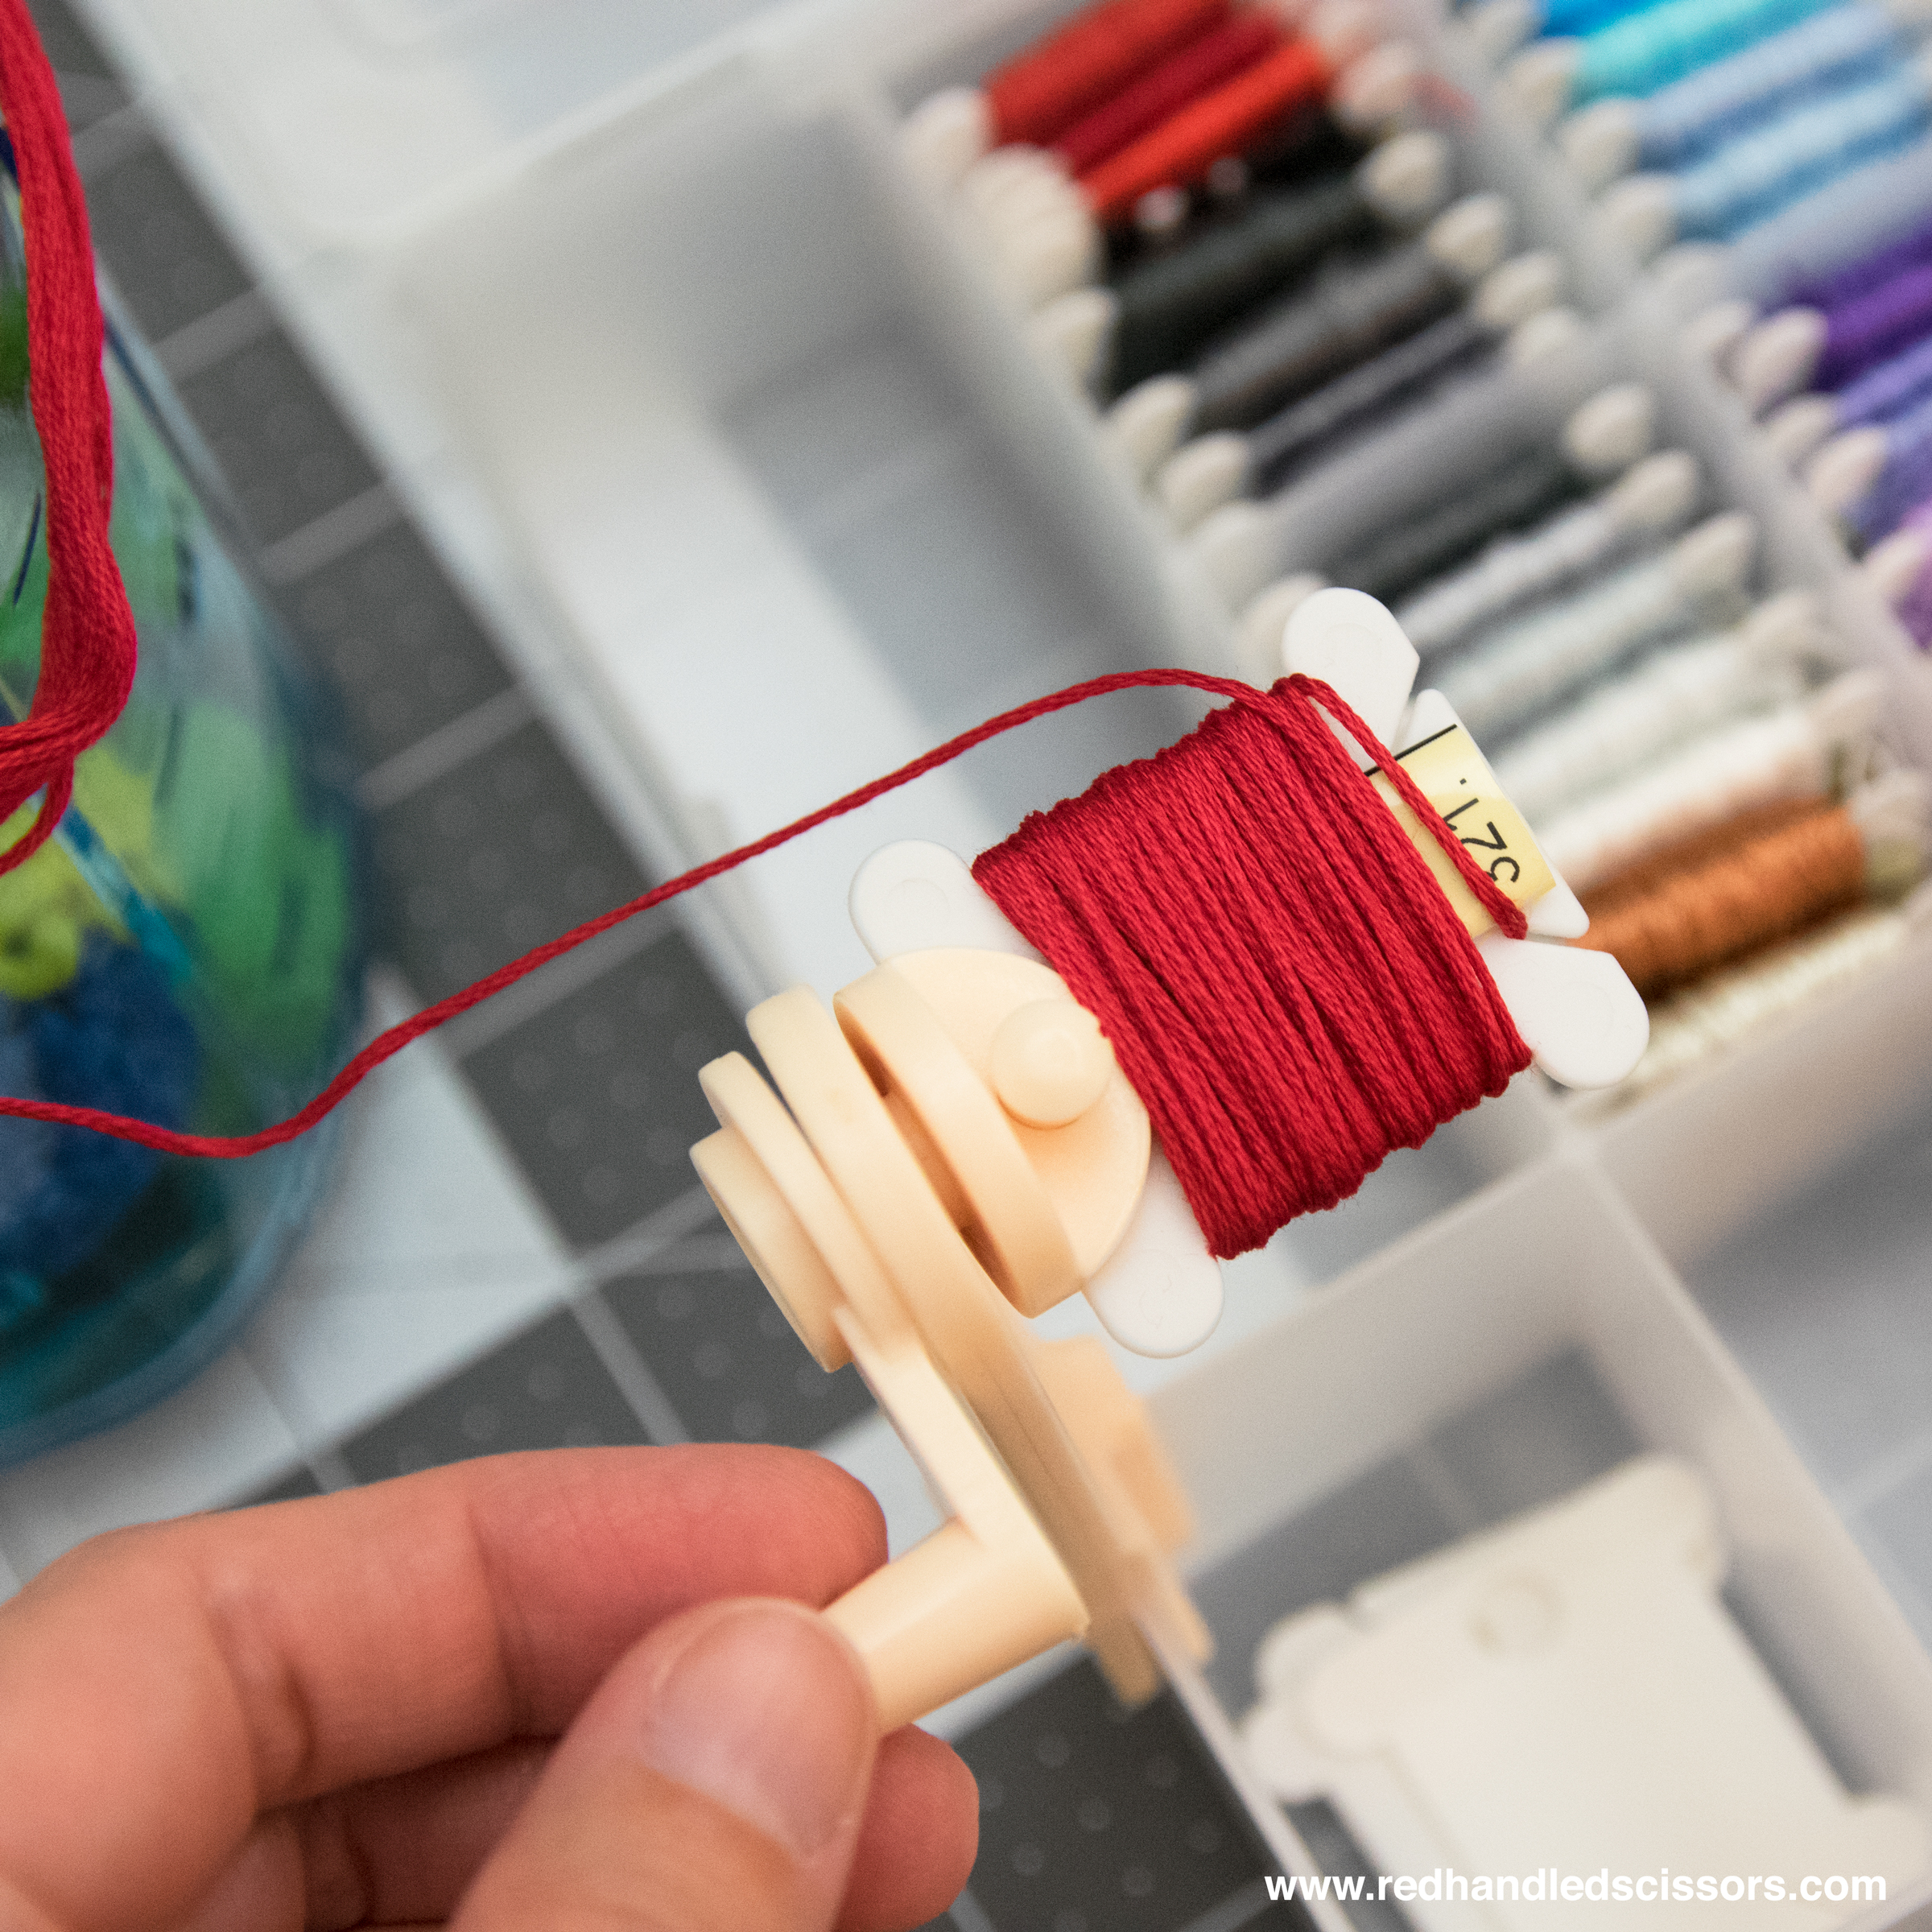
To avoid future headaches/confusion, keep track of floss color numbers by trimming the tag from each skein to fit onto the bobbin, then securing it in place with a small piece of scotch tape.
Tip: Make sure the tag is flush with the bottom of the bobbin so you’ll be able to read the color number even when the the bobbin is full.
Okay. Everything’s on bobbins. Now what?
When it comes to storage, I prefer to keep my embroidery floss box organized by color family (reds, blues, yellows, etc.), then by color number within each color family. That way, I can both quickly find the color I’m looking for, and I can see right away if I’m running low on a favorite shade. This storage method is also great when I’m using a floss color card to select colors—a quick glance will tell me if I’m ready to start stitching, or if it’s time for a trip to the craft store.
Leaving home with your project in tow?
The same hole that’s used to attach the bobbins to the bobbin winder does double duty as your new crafting BFF. Next time you’re stitching on the go, string all the colors you’ll need onto a binder ring for easy, no-mess access. (The image above is an Instagram photo of my own embroidery floss binder ring in action. Perhaps you’d like to follow me there too?)
Whew. I think that’s just about all I have to say on the floss nerd front.
So, what about you? Getting ready to tackle your own out-of-control floss drawer? Have a favorite organization suggestion that I didn’t cover? Share your tips/clean craft room geekery in the comments! (There are just about as many “right” ways to keep embroidery supplies tidy as there are stitchers—my favorite methods are definitely just the tip of this particular iceberg!)
I am looking to by a replacement dollhouse sewing machine exactly like the one in your picture! Can you help me find one?
I don’t think there’s a dollhouse sewing machine in any of the photos in this post, but I do have one, and I’m sure it’s shown up in other photos on my blog—I’m guessing you spotted it on another post. I bought mine at a sewing store in Basil, Switzerland, but I did a quick search for “dollhouse sewing machine” on Amazon and found one just like it: http://amzn.to/2Dwm6mo (affiliate link). Hope that helps!
Beautiful work