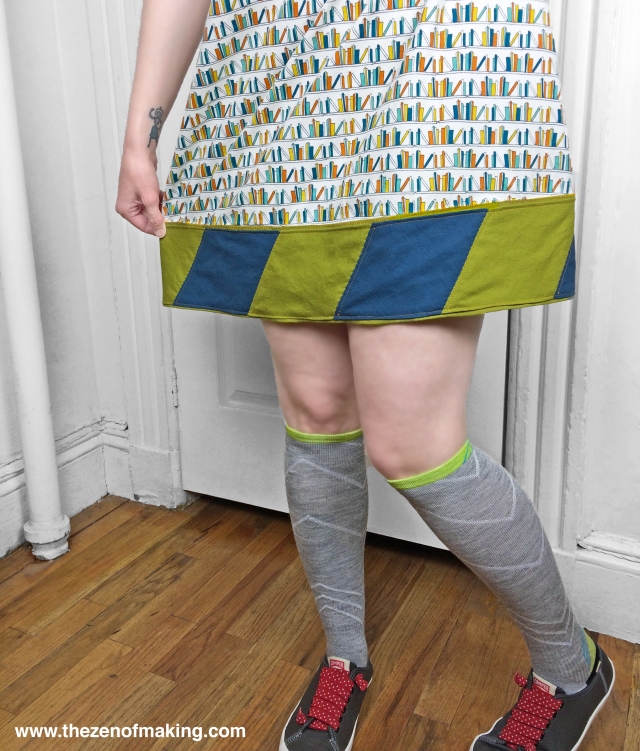
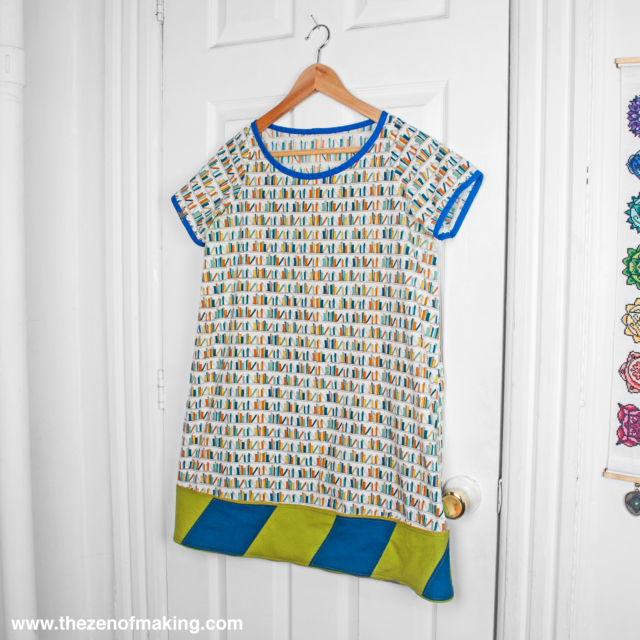
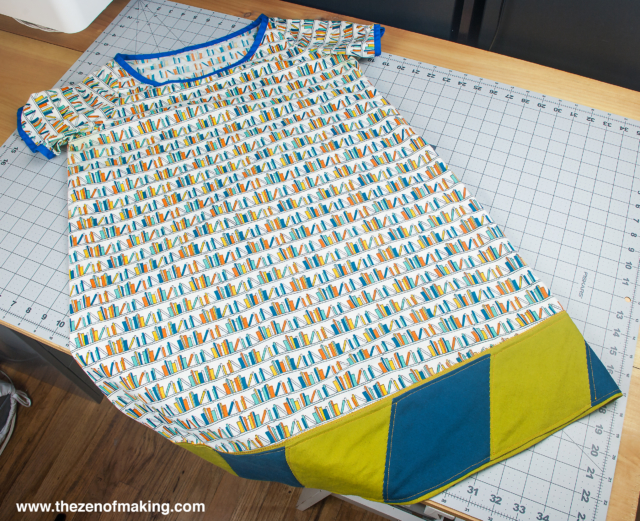
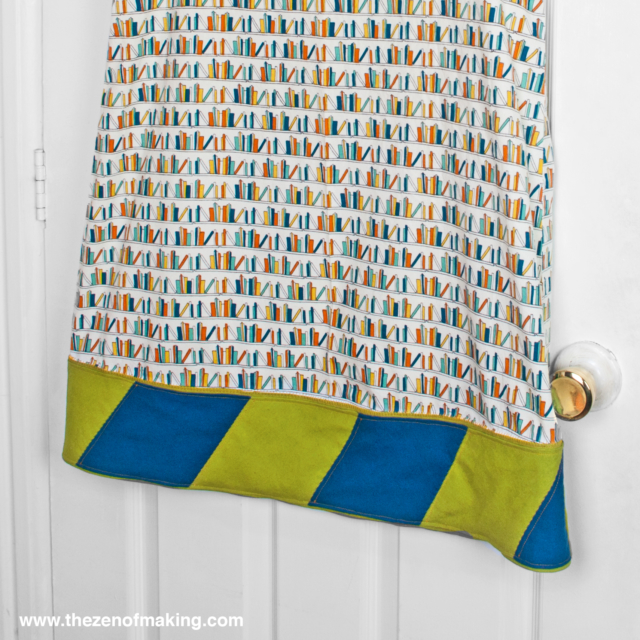
Have a skirt or dress that’s just a little too short for comfort? English paper piecing can help! (No, really!) Lengthen your hemline in true stitcher style with a 60-degree diamond EPP skirt extender.
This project is part of the Diamond-y EPP Blog Hop + Giveaway, which was organized by my pal Diane from CraftyPod in celebration of the release of her latest book, All Points Patchwork! Click here to read more about the hop, then be sure to enter the giveaway below. Looking for even more inspiration? Scroll all the way down to the bottom of this post to see the rest of the diamond-inspired EPP projects!
About the book:
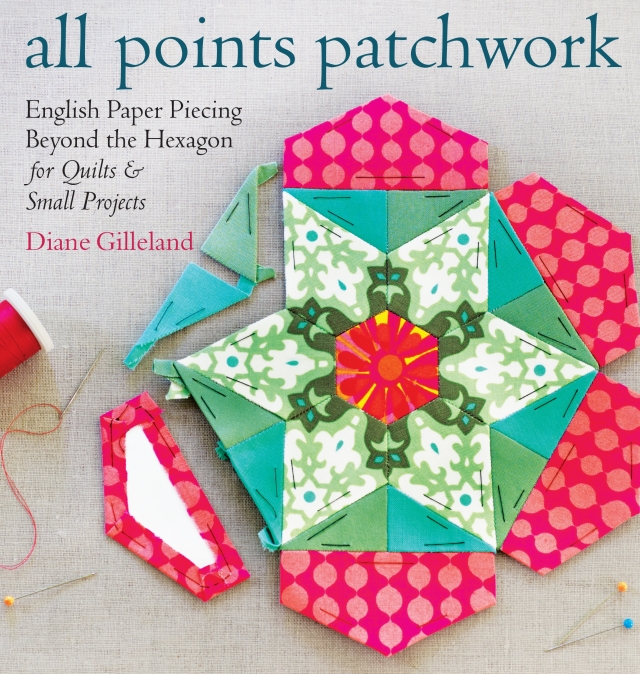
As you guys may have noticed, I’m a little bit in love with English paper piecing. But, do you know what I’m a whole lot in love with? My pal Diane Gilleland’s AMAZING new book, All Points Patchwork: English Paper Piecing beyond the Hexagon for Quilts & Small Projects (affiliate link).
Whether you’re new to stitching or a master quilter, Diane brings a staggering wealth of EPP knowledge together in one beautiful book that’s part detailed reference guide, part dazzling project inspiration portfolio, and entirely delightful! It’s only been available for a few weeks, but it’s already secured a permanent spot on my sewing book shelf.
More info: The All Points Patchwork website.
Enter the Clover giveaway!
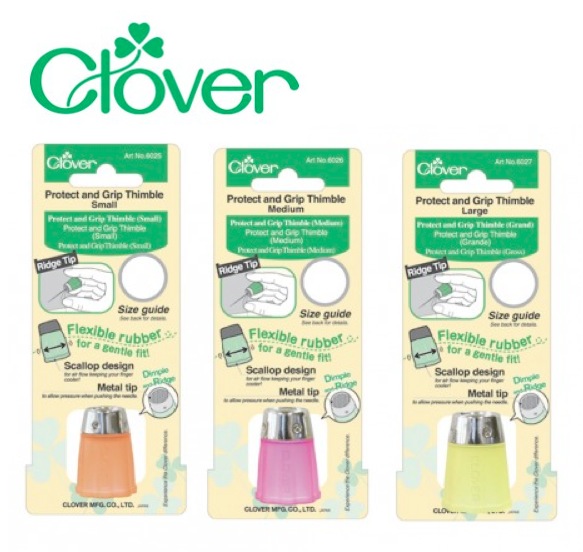
Clover has generously provided Diane with a set of Protect and Grip Thimbles as a giveaway for The Diamond-y EPP Blog Hop! Hooray!(Side note: I have and use these thimbles, and they’re pretty darn great—if you haven’t tried them, you definitely should.)
Through the magic and convenience of Rafflecopter, you can enter the giveaway below:
Giveaway details:
* Both USA and international entries are welcome
* Entries end at midnight on Sunday, June 14th
Now, how about we make a thing?!
Please note that the links to supplies and tools that are provided below are affiliate links, and I will be compensated if you choose to make a purchase after clicking through.
Supplies:
* 60 degree diamond template PDF, printed at actual size (full scale)
* Cotton fabric in coordinating colors, 2+ fat quarters (each fat quarter makes about 6 diamonds)
* Backing fabric, see your own measurements from step 1 for yardage
* Glue stick
* Hand quilting thread, a color that will blend in with your fabrics
* Machine sewing thread, a color that will contrast with your fabrics
* Cardstock (for printing the templates)
* A Skirt or dress in need of lengthening
Tools:
* Fabric scissors
* Hand quilting needle
* Paper scissors
* Clover Wonder Clips or straight pins
* Quilting ruler
* Sewing machine
* Access to a computer with printer
Step 1:
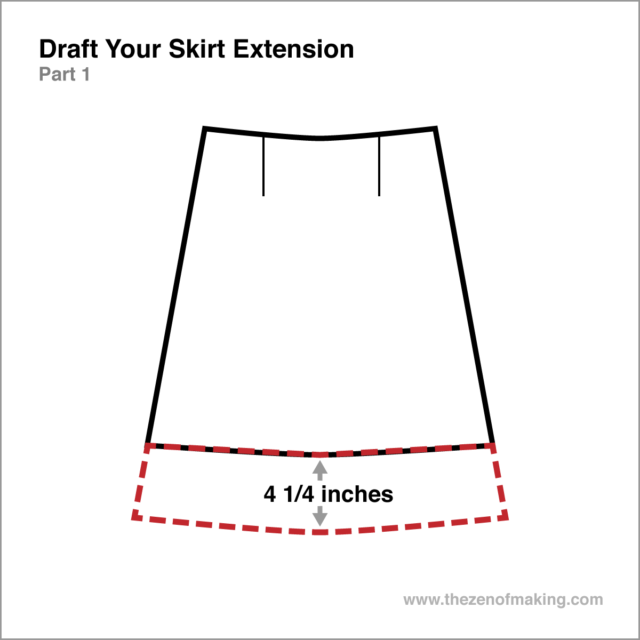
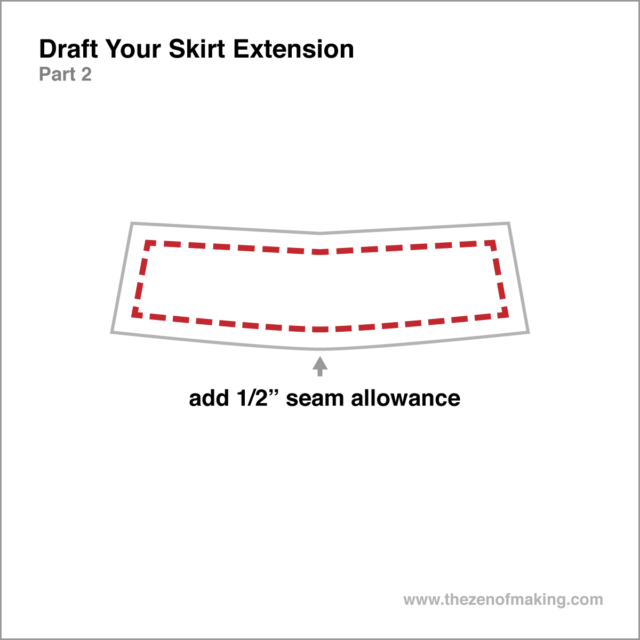
Draft your skirt extension pattern on paper as shown above (the red dashed line denotes the extension), then add a ½" seam allowance around the outside edge.
Cut out the pattern with paper scissors.
This project will lengthen the skirt by 4¼".
Step 2:
Print the 60 degree diamond template PDF on card stock or heavy paper at full scale. (Print as many as you’ll need to go all the way around the bottom of your skirt—I printed 6 for mine.)
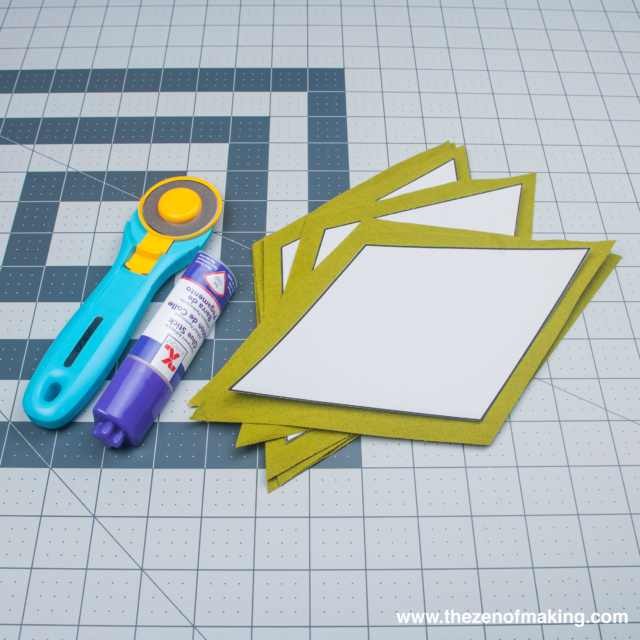
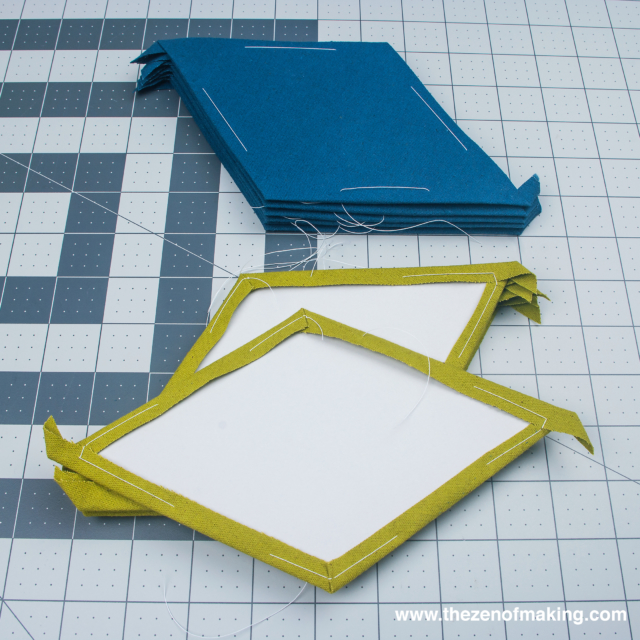
Use paper scissors to cut the templates out, then baste the fabric to the templates.
Note: When cutting out the fabric, you’ll want to position the templates on the bias so your diamond strips will stretch horizontally along with your skirt fabric as you move. Just make sure you don’t accidentally stretch them out of shape while sewing!
If you’re new to EPP, head on over to part 1 of my EPP series to learn how to use the templates with fabric. (Or, better yet, pick up a copy of Diane’s book for even more tips!)
Step 3:
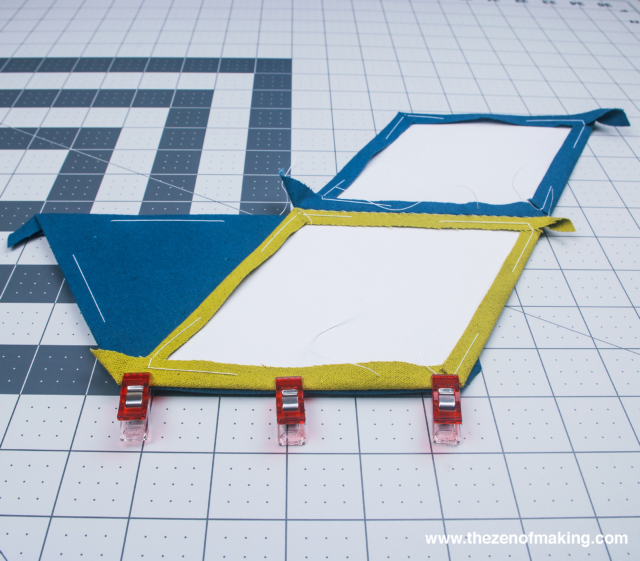
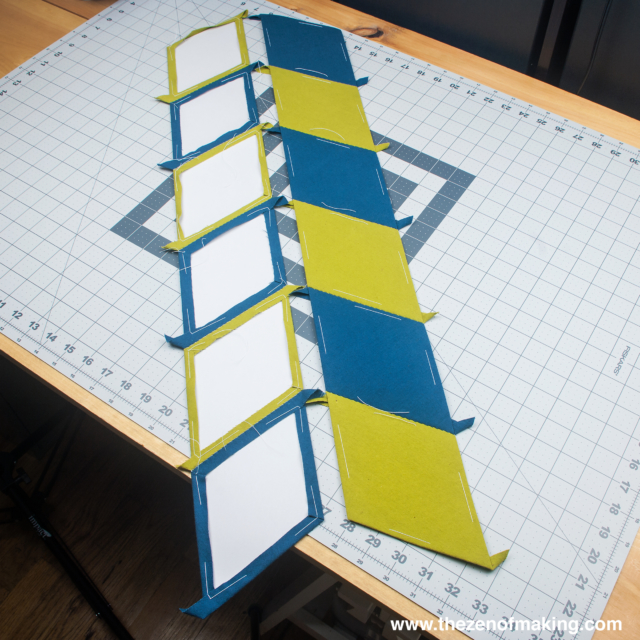
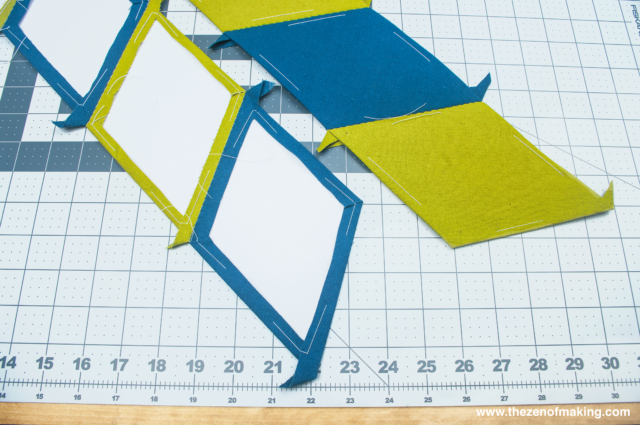
Join the diamonds together to create two rows. (Each row should be at least as long as the skirt extension pattern that you drafted in step 1.)
Once again, if you’re new to EPP, head on over to part 2 of my EPP series to learn how to piece EPP shapes together.
Step 4:
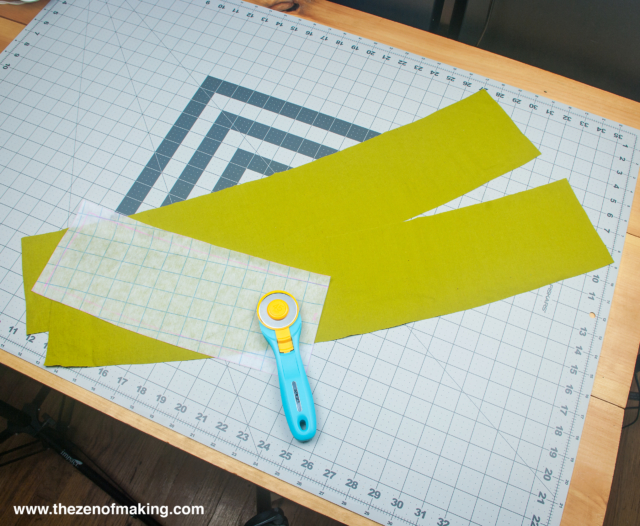
Use the pattern you made in step 1 to cut two pieces of backing fabric.
Step 5:
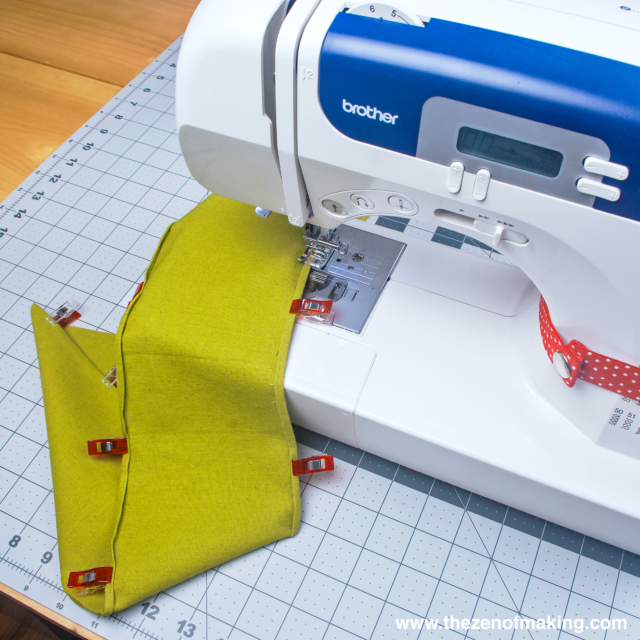
Hem the top and bottom edges (the long edges) on both pieces of backing fabric.
Remember: You included a ½" seam allowance in your pattern.
Step 6:
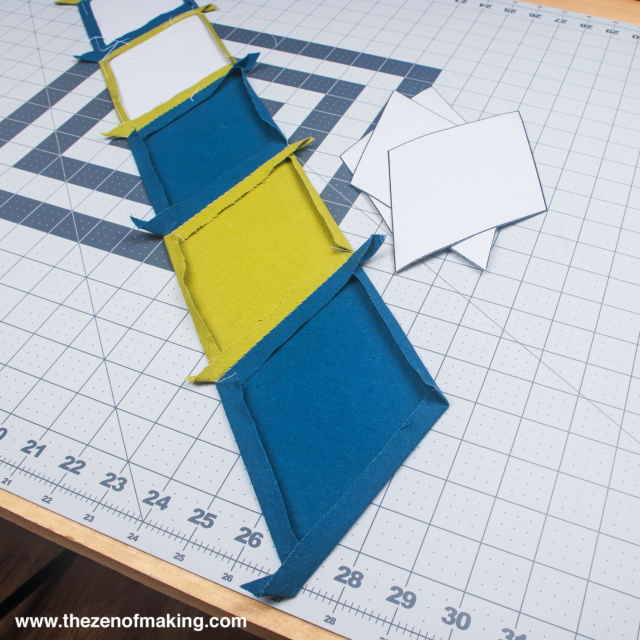
Remove the basting stitches and paper templates from your strips of diamonds.
Step 7:
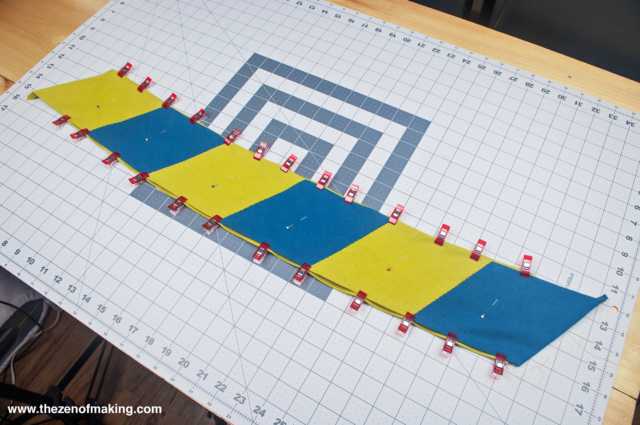
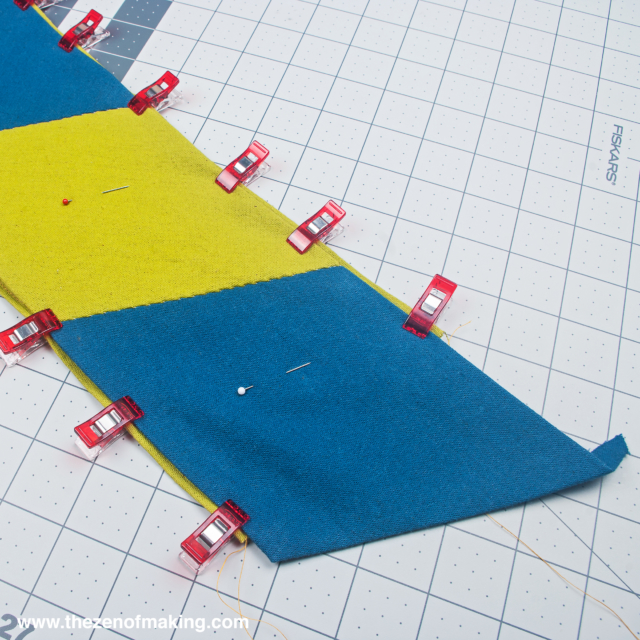
Center each of the diamond strips on each piece of backing and clip or pin in place.
Step 8:
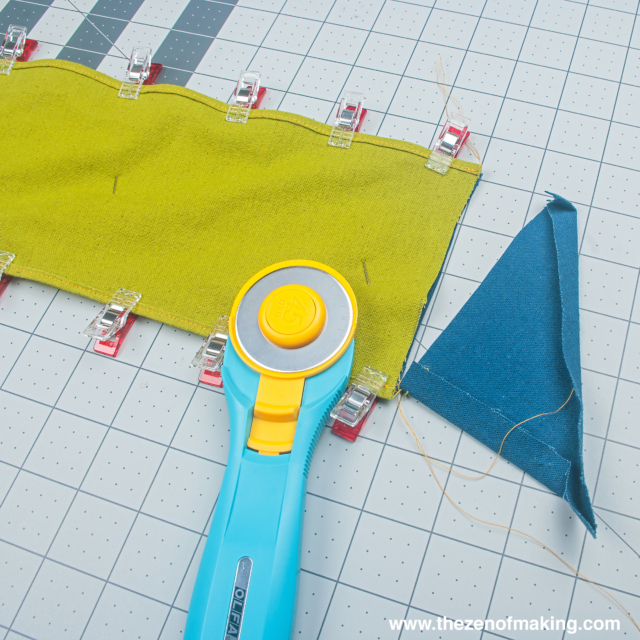
Trim any excess length from the ends of your diamond strips.
Step 9:
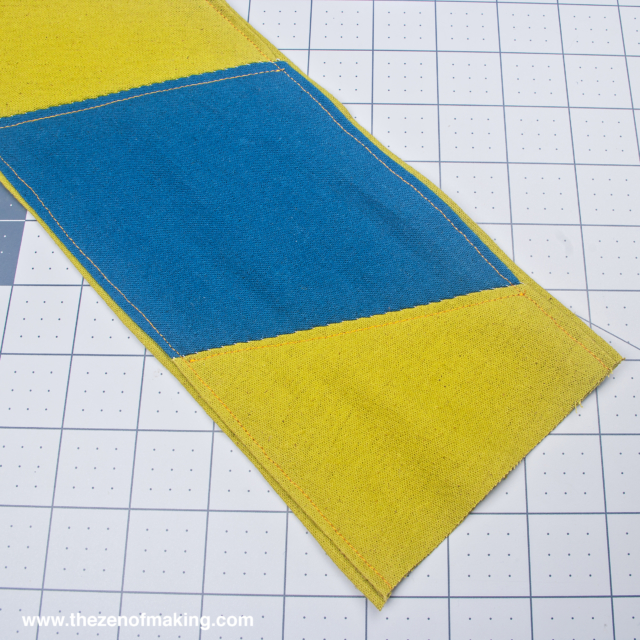
Sew the diamond strips to the backing pieces along the top and bottom edges, then add some decorative diagonal stitching if desired.
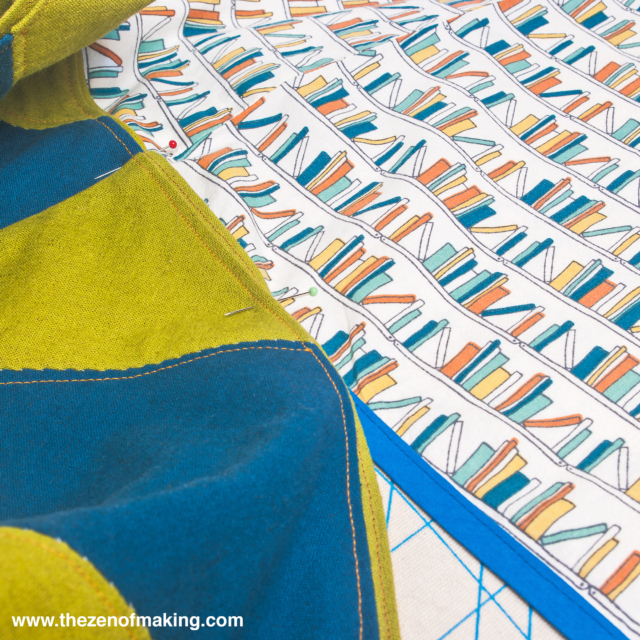
Once the diamond strips are attached to the backing, sew the front and back of the skirt extender together along the side seams, using your ½"seam allowance. (I used a french seam on mine to avoid fraying.)
Step 10:
Pin the skirt extender to the bottom hem of the skirt.
Step 11:
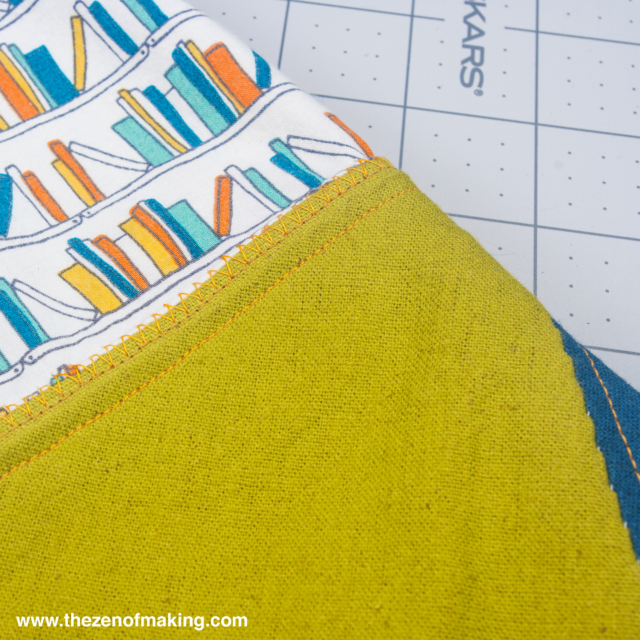
Sew the skirt extender to the skirt using a zigzag stitch across the seam.
Step 12:
Press the skirt and skirt extender to remove any wrinkles.
This savvy skirt solution is great for adults and kids alike! (It’s ideal for both growth spurts and refashion projects!)
More projects from The Diamond-y EPP Blog Hop:

I love Clover and I think these thimbles would be great to use. I don’t care for the hard metal thimbles, but the softer sides make these very usable.
This would be handy for someone who is clumsy as me while quilting.
Seriously digging both your shoelaces AND those awesome socks.
Super cute! I have a dress that could use some more length, but I’m not brave enough for all those seams just yet!