
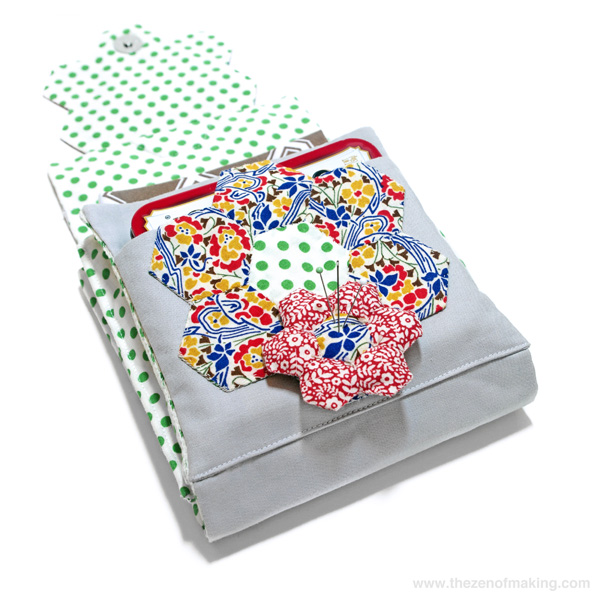
Love your English Paper Piecing Travel Kit? Enhance your on-the-go quilting experience with a handy little pincushion designed specifically to snap onto the pocket of my popular hexie-inspired pouch!
See? Perfect fit!
Please note that the links to supplies and tools that are provided below are affiliate links, and I will be compensated if you choose to make a purchase after clicking through.
Supplies:
* English Paper Piecing Travel Kit (You can find the tutorial here.)
* English Paper Piecing 1/2" Hexagon Template PDF, printed on cardstock at actual size (full scale)
* Cotton fabric scraps or fat quarters, two contrasting prints or colors
* Hand quilting thread, a color that will blend in with your fabrics
* ¾" magnetic snap
* Glue stick
* Wool roving
* Pearl cotton embroidery thread
Tools:
* Fabric scissors
* Hand quilting needle
* Small crochet hook
* Paper scissors
* Clover Wonder Clips or straight pins
* Fabric pen
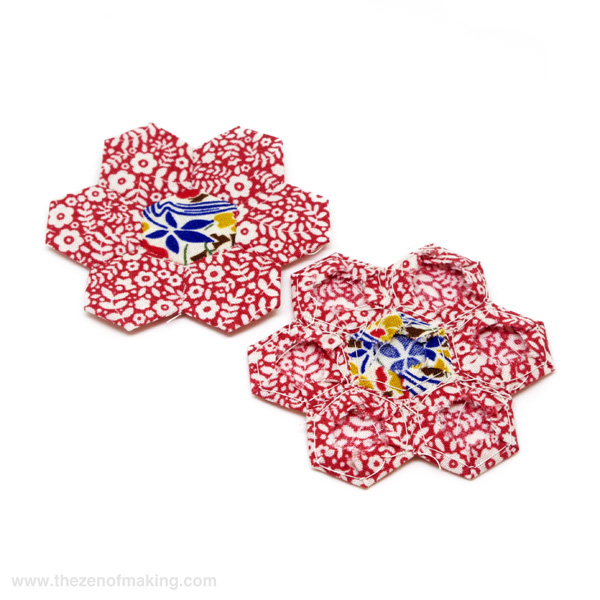
Step 1
Print the English Paper Piecing 1/2" Hexagon Template PDF at full scale on cardstock, then carefully cut out the individual hexagon shapes.
Next, construct two hexagon flower blocks by following Part 1 and Part 2 of my English Paper Piecing Tutorial Series.
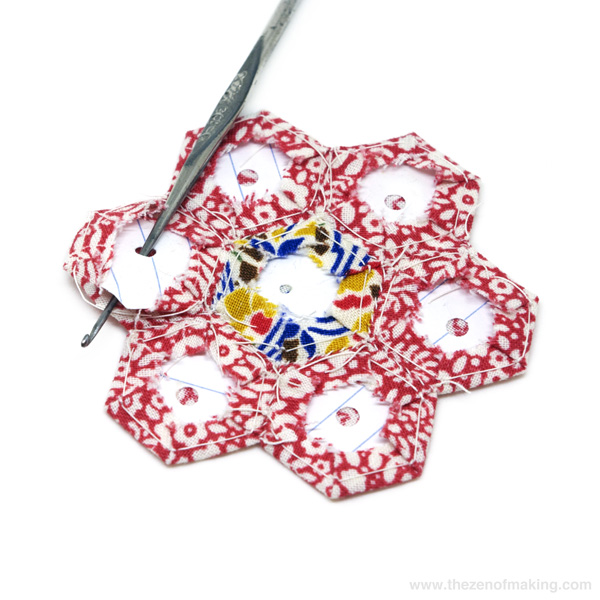
Step 2
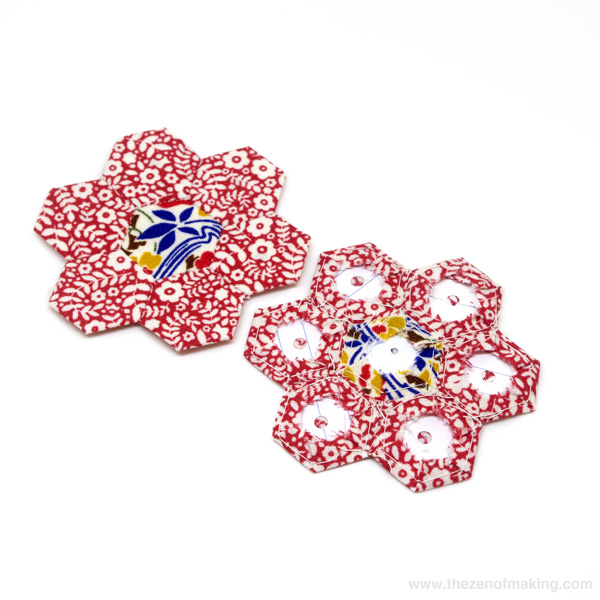
Use a small crochet hook to remove the paper templates from the two hexagon flower blocks.
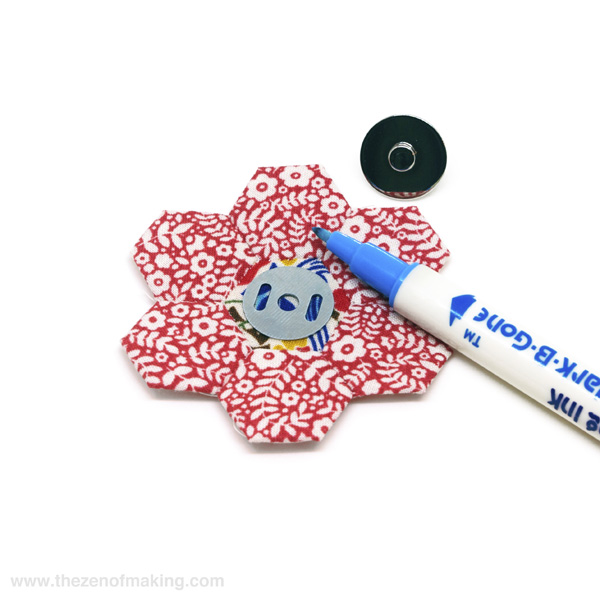
Step 3
Select one hexagon flower block, then use the back of the snap to mark the snap position on the right side of the fabric in the middle of the center hexagon.
Step 4
Using fabric scissors, carefully snip through the marks you made in step 3, then press the front of the snap through the right side of the fabric and into place.
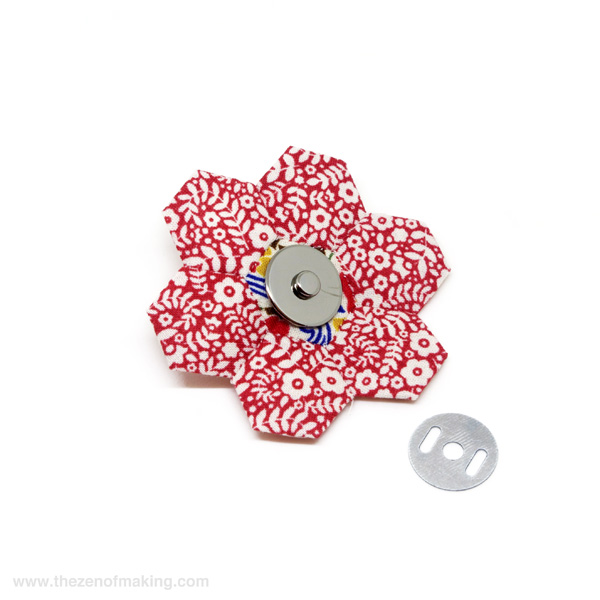
Step 5
Turn the block over, then secure the back of the snap in position by pressing the tabs from the front of the snap open.
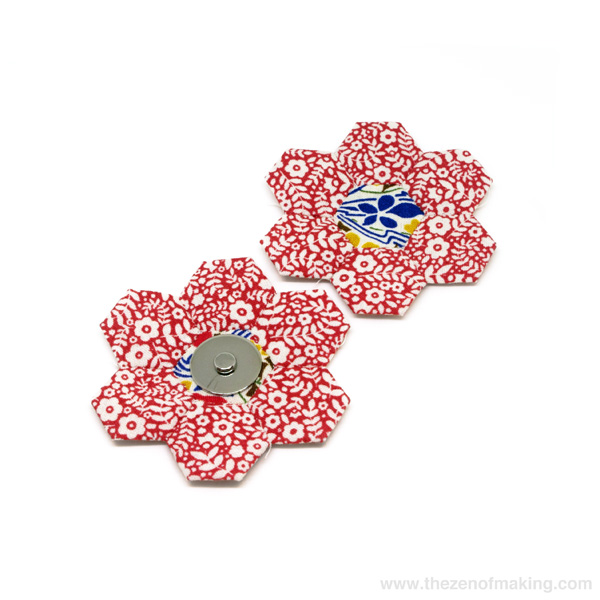
Step 6
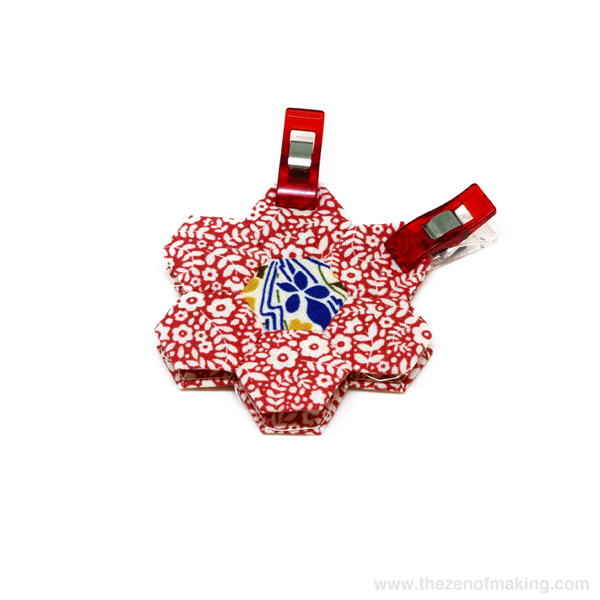
Stack the two flower blocks on top of each other with wrong sides together, taking care to line up the edges of each petal.
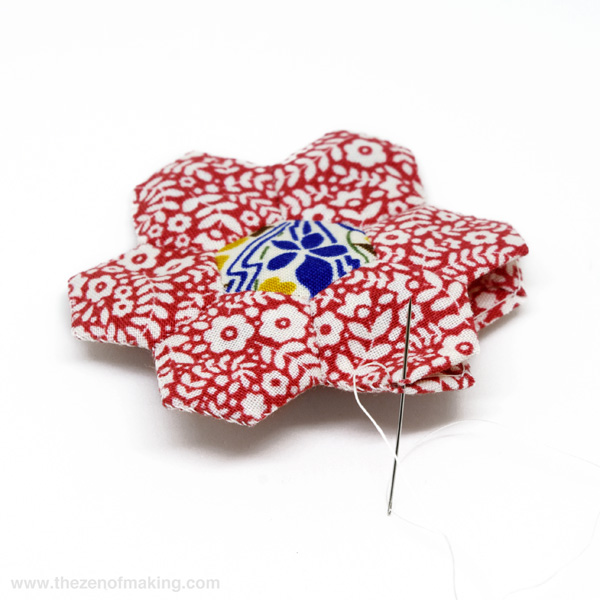
Step 7
Join the two blocks together by whipstitching around the outside edge, pausing briefly to stuff the pincushion when about two petals remain.
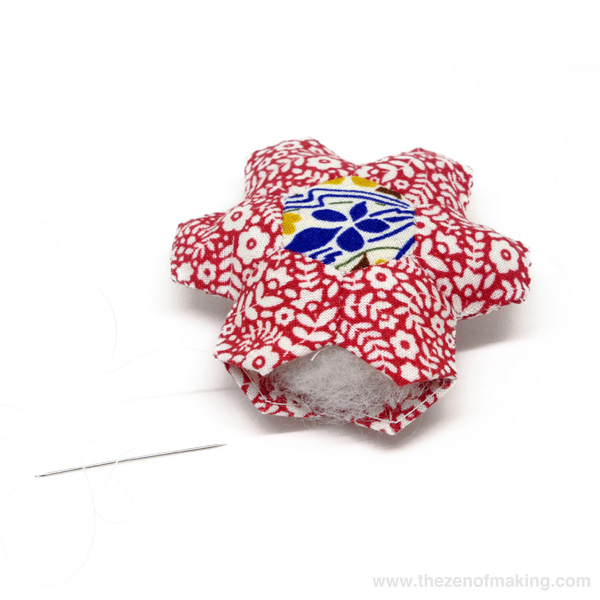
Step 8
Stuff the pincushion with wool roving.
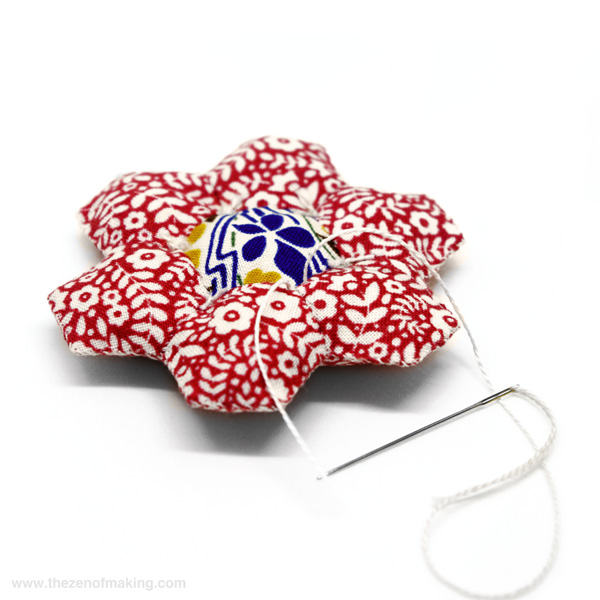
Step 9
Finish whipstitching around the edge, closing the rest of the opening.
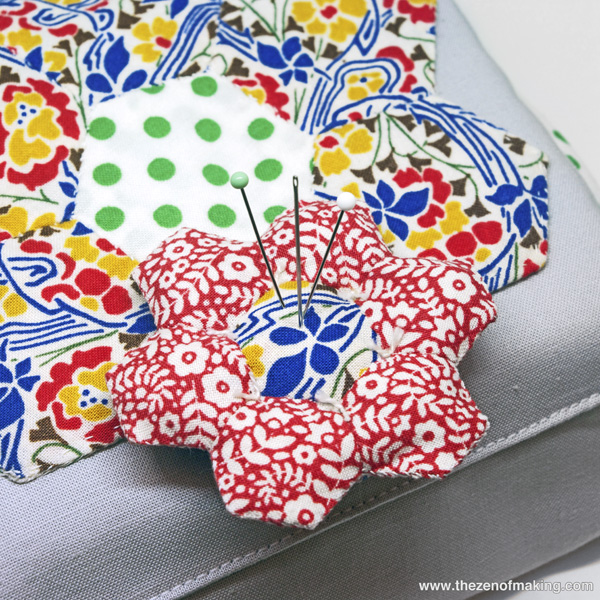
Your pincushion should now resemble a small flower-shaped pillow with a snap on the back.
Step 10
To finish, add some tie quilting at each of the six points on the center hexagon.
To do this, use pearl cotton embroidery thread to sew a small u-shaped stitch down into the top piece of the pincushion, out through bottom bottom piece, and then back up again. After each stitch, secure the quilting in place by tying a tight knot on top of the pincushion with the ends of the thread.
Your pincushion is now ready to be used with your English Paper Piecing Travel Kit!
When you’re stitching on the go, use the male side of the snap on the back of the pincushion to attach it to the female side of the snap on the pocket of the travel kit. Then, when you’re done sewing, simply unsnap the pincusion and store it inside the kit until the next time you need it.
Thanks for sharing the tutorial, pattern and techniques. In the list of materials was a crochet hook, I wondered why but discovered it was ingenious way to remove the template.
I am so excited to find your site and print the patterns. I am starting today making hexies. Thank you!
Great instructions! The best I have seen! Now where can I find directions to make a small quilt? Do I use three layers? Do I baste them together? Do I hand quilt around the Hexies? Do I press the Hexies before I remove the templets? Would appreciate any help. Thank you.
Thanks!
Here’s a link to my giant hexie lap quilt tutorial, which should answer most of your questions above: https://www.redhandledscissors.com/2014/07/tutorial-giant-hexie-flower-lap-quilt-12-hexies-less-blog-hop.html
I am finding it difficult to download the hexie travel kit pattern. Can you help. Pages are blank and the title Travel Kit is underlined but rest of page clear.
Thank you in advance.
Cecilia
Hi! Everything is working normally for me, so I’m not exactly sure what the issue you’re encountering is. (The EPP travel kit tutorial post is very image-heavy, so it’s possible that it’s just loading slowly? I’m not seeing that on my end, but it seems like that could be the problem.) If you’re just trying to download the pattern, here’s a direct link to the PDF: https://www.redhandledscissors.com/pdf/English_Paper_Piecing_Travel_Kit_Pattern.pdf
Does the kit use the small altoid tins or the larger ones?
I use a large Altoids tin.
Hi Haley,
This is delightful, with super instructions for every part of the travel kit. Can’t wait to start :)
One itsy bitsy thing: the link for the Altoids Tin kit no longer works – the site has changed it’s address. I searched and found it at :
https://makezine.com/2012/07/31/project_altoids_tin_travel_embroidery_kit/
Hope that’s ok.
Thanks, Carole! Make used to have redirects in place from when CRAFT merged with them so that project links would be automatically updated, but it seems like they’ve removed them. I updated the Altoids Tin Sewing Kit page with the updated link. :)
The travel kit is so confusing any chance you could label the pattern better. I am having a heard time deciding which is the first fold line. Thanks
I remembered this post from when you first posted it. ( it’s now 2025) and came by to download your hexie template. Love the travel kit too! It’ll be super handy for me to take to my craft club.