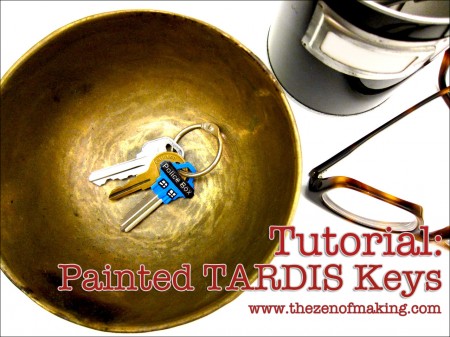
Turn your house keys into a geeky work of art with this Doctor Who-inspired painted TARDIS key tutorial!
Painted keys are way more fun than plastic key identifier rings, and they’re a great way tell your keys apart without adding extra bulk. Alternately, if you’d rather make a version that’s more decorative than functional, you can always string the key onto a chain and wear it as a necklace instead. (Go ahead and pretend it’s the key to the TARDIS—I won’t tell!)
Supplies:
* 1 key
* Blue paint marker, medium tip
* White paint marker, fine tip
* Black paint marker, extra fine tip
* Permanant pen or marker, fine point * optional
* Mod Podge, Matte Finish
* Rubbing alcohol or window cleaner
* Cotton ball
* Toothpick
Tools:
* Paper scissors
* Binder clip, medium size
* Small sponge brush
* Computer and printer
**Please note that the links provided in this post are affiliate links, and I will be compensated if you choose to make a purchase after clicking through.**
Step 1
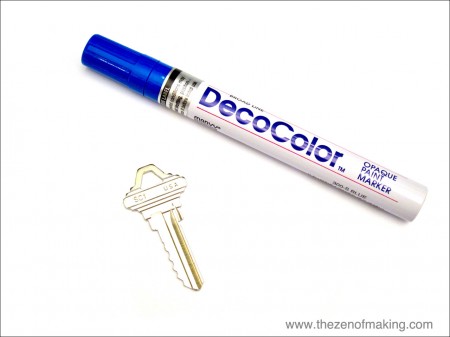
To remove any dirt or oil, clean the key thoroughly with a cotton ball dipped in rubbing alcohol or window cleaner.
Step 2
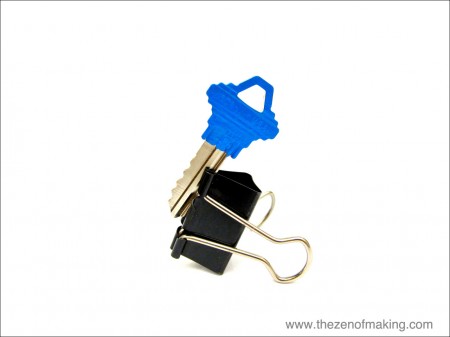
Use the blue paint marker to apply the background color evenly to the front and the back of the key, allowing it to dry completely before moving on to the next steps.
To keep from smudging the paint, you can use a binder clip to hold the key in place while it dries.
Step 3
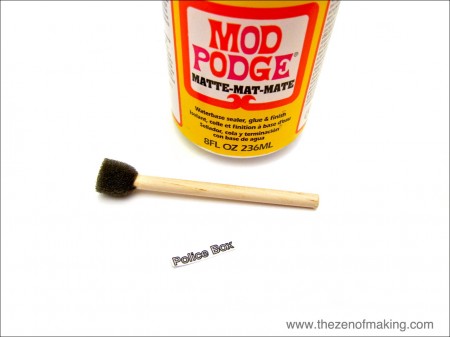
Print out the words “Police Box” in a size 12 outline font, then trim the paper so that only a rectangle containing the words remains. (You can adjust the font size as needed to fit your key.)

Step 4
Apply a thin layer of Mod Podge to the back of your Police Box rectangle, then press it into place on the key.
- Tip: If you have an unsteady hand, fill in the white space as described in step 5 before bonding the rectangle to the key.
Step 5
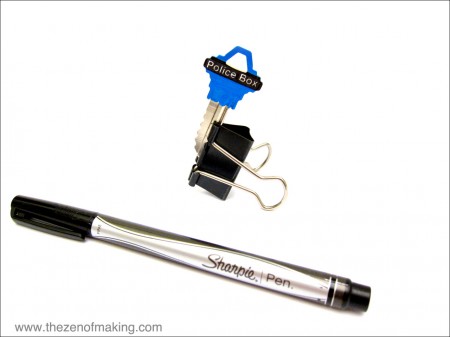
Once the Police Box rectangle is dry, use either a black fine point permanent marker or an extra fine tip paint marker to carefully color in the white space, leaving only the letters visible. To finish, use the black paint marker to expand the rectangle to fit the size of your key, filling in color on the top, bottom, and both sides as needed.
Update: Having trouble filling in the white space? Here are some tips:
-
I used my OttLite detail lamp
to make sure that I had the clearest view possible. A bright desk lamp or a sunny day are great low-cost substitutes for specialized lighting.
-
If the fine tip of the Sharpie pen isn’t small enough for you to get the detailed lines that you want, I’d suggest trying a Micron pen in size 005 (0.2mm)
. Micron pens are relatively inexpensive and the ink is high quality. (Since you’re going to seal the paper with Mod Podge, the ink doesn’t actually have to be as permanent as the ink found in the Sharpie pen.)
-
You can combine good lighting with an old school hands-free magnifying glass
to make the details clearer. I rarely do this until I’m already really frustrated, and I always wish I’d done it sooner. (Mind you, take care not to burn holes in your paper.)
Step 6
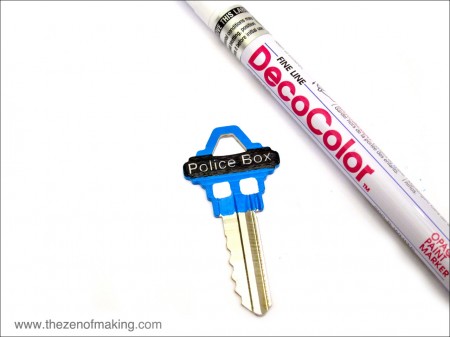
Use the white paint marker to draw squares for the windows.
If you make a mistake, allow the paint to dry, then use a toothpick to dot blue paint over the white paint to cover up the error. (You can use this method for any painting mistake in this project.)
Step 7
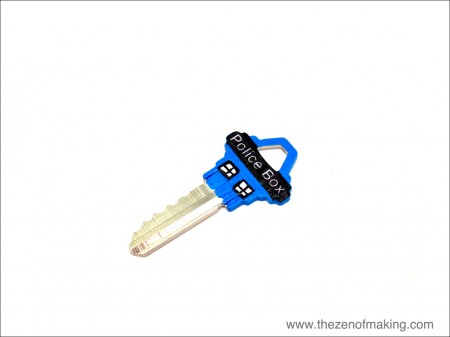
When the window squares have dried completely, use the black paint marker to outline each window and draw the grilles.
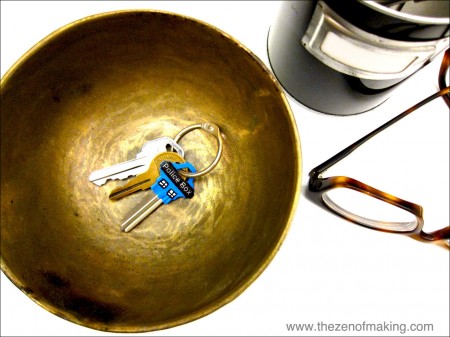
When all of your paint is dry to the touch, use the sponge brush to apply a layer of matte Mod Podge over the entire painted surface. Allow to dry completely before adding the key back to your keyring.

This is so fun!! I haven’t ever seen Doctor Who – but I’d love to try out your methods for embellishing our keys. Thanks!! :)
You’re welcome! Let me know if you come up with any cute ideas. :)
Great DIY project!
I’m not sure why, but my last comment shows a link at the end of the comment to a blog post that is not mine??
Hm. Must be a CommentLuv glitch. I removed the link. Thanks for letting me know! (That French vanilla cake looks amazing, BTW!)
This is all kinds of wibbly-wobbly-timey-wimey awesome.
Thanks!
Love this!!
I’d love to see something for Sherlock or other geeky options! Please be inspired so I can copy you – *grin*.
Trying to think of what I’d make for Sherlock. Perhaps the front of 221b?
We love it and posted it on Geek Crafts: http://geekcrafts.com/tardis-key/
Thanks, Brian!
Love it! What a great idea!
Does the key get bigger on the inside than it is on the outside?
Of course!
I was wondering if normal Acrylic paint works because I don’t have access to any paint markers. Thanks!
The paint markers that I used for this project are oil-based, which usually yields move vivid colors and a longer wear, but I don’t see any reason why you couldn’t use acrylic paints for this project–especially if you can heat cure it when you’re done.
This is a nice idea, but it’s super hard to fill in the black on the “police box” part. I have tried and failed SO many times to do that delicate work, and it looks awful every time. I tried making the “police box” bigger so the job is easier, but then it takes up way too space and I don’t have room to draw in the windows. I wish I hadn’t wasted $20 on supplies for something I can’t pull off… I can’t afford to throw away money like that.
Hi, Alex. Thanks so much for your feedback–I’d be willing to bet that you’re not alone in your frustration. I don’t have the steadiest of hands, so your comment really got me thinking about how I managed to do such fine detail work for this project (rest assured that it took me several tries to get it right).
Here are some tips that you might find helpful:
1. I used my OttLite detail lamp to make sure I had the clearest view possible. A bright desk lamp or a sunny day are also great low-cost substitutes for specialized lighting.
2. If the fine tip of the Sharpie pen isn’t small enough for you to get the detailed lines that you want, I’d suggest trying a Micron pen in size 005 (0.2mm). Micron pens are relatively inexpensive and the ink is high quality. (Since you’re going to seal the paper with Mod Podge, the ink doesn’t actually have to be as permanent as the ink found in the Sharpie pen.) Here’s a link to the pens: http://www.amazon.com/Sakura-30064-6-Piece-Micron-Assorted/dp/B00161NK54/ref=sr_1_4?ie=UTF8&qid=1349793963&sr=8-4&keywords=micron+pen (This is an affiliate link.)
3. You can combine good lighting with an old school magnifying glass to make the details clearer. I rarely do this until I’m already really frustrated, and I always wish I’d done it sooner. (Mind you, take care not to burn holes in your paper.)
I hope this helps! I’ll also add it to the body of the tutorial to help other folks who are struggling with the same issue.
Is there a way to remove the paint if you completely screw up?
Before the paint dries, you can use a cloth and soapy water to scrub the paint off of the surface of the key. If that doesn’t do it, you can also try scrubbing the key with a cloth soaked in paint thinner. Or, as a last resort, very, very fine grain sandpaper might help remove any stubborn spots.
i LOVE this!!! I’ll be making it today, let’s be honest. I’ve done a lot of Doctor Who tutorials for my blog as well, but mostly clothing. I have some Sherlock + Downton Abbey, too if you’re down with BBC in general. I’ll be sure to check back and see if there’s more geekery in the future! <3
http://laviediy.blogspot.com/2013/02/bbc-sweatshirt-refashion-sherlock.html
Thanks! (And, yes, I’m down with pretty much all things geeky.) I’m definitely familiar with your Sherlock sweatshirt refashion–I’m the one who featured it on CRAFT. :)
If you’d like to see more of my geekery, my Doctor Who Craft Tutorial Roundup is linked below.