Contrary to popular opinion, hemming pants can be spectacularly easy, and doesn’t need to involve cutting of any kind. This tutorial started out as a list of instructions for my friend Katy–who took me up on a recent boast that I could teach her how to hem a pair of pants over the internet–but I hope others will find it useful as well.
I used my sewing machine in the photos below, but you don’t need one to sew a simple hem. Just grab a needle, some thread, and a thimble (to help you push the needle through thick fabric), and follow the directions below. If you’ve never sewn before, follow this link to learn a simple backstitch. (A backstitch is a strong hand-sewn stitch. The link is from the TECHknitting blog, but the instructions and illustrations are the better than most I’ve found on sewing sites.)
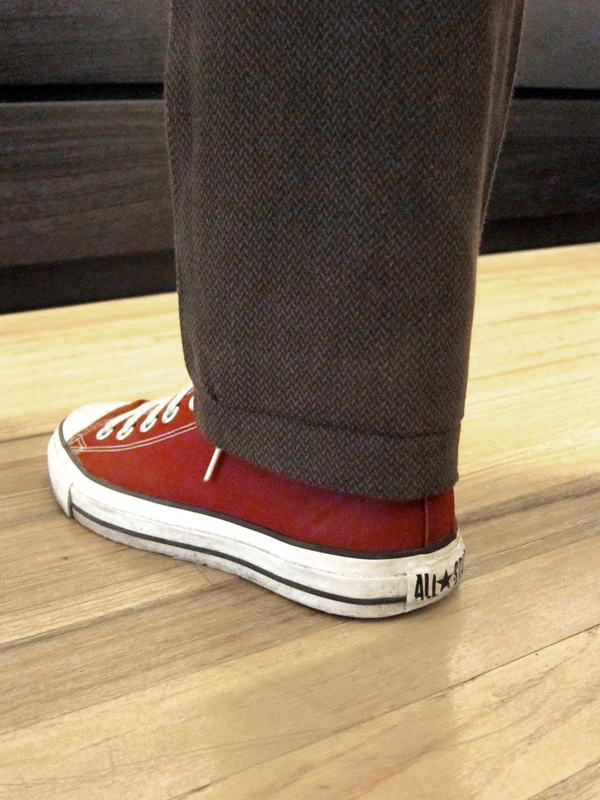
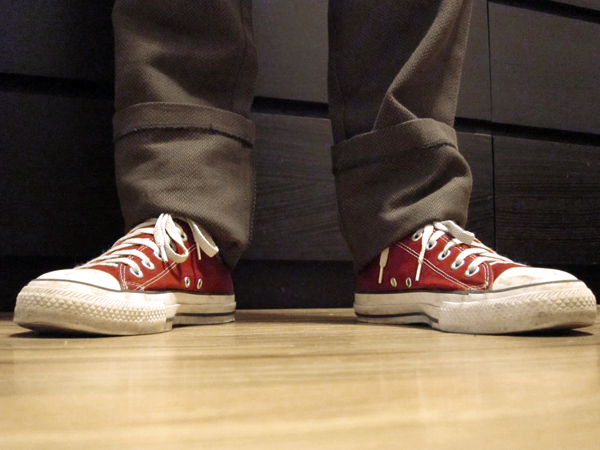
1. Cuff the pants to the desired length.
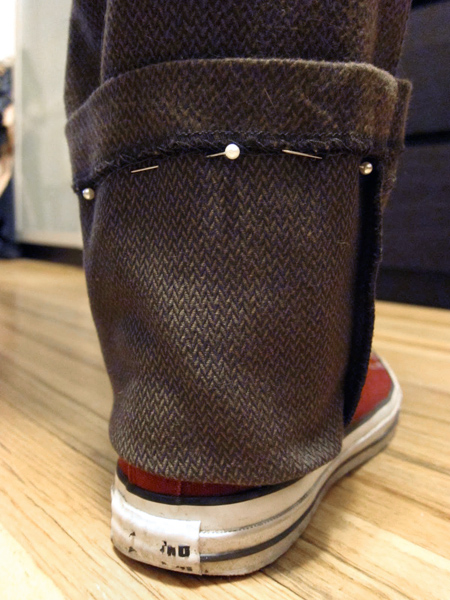
2. Pin the cuffs.
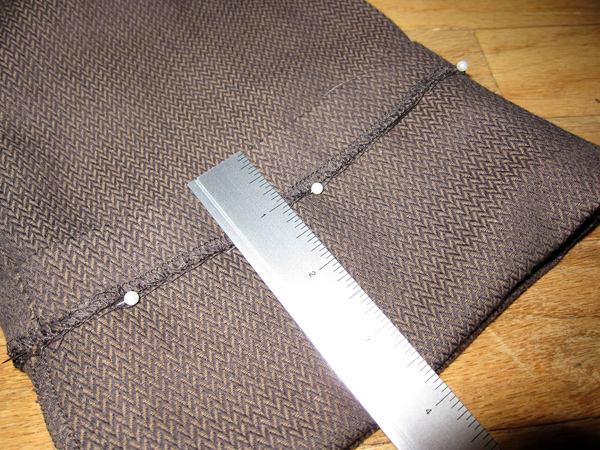
3. Measure the length of the cuff. Contrary to my photo, you should not include the original hem in that measurement. Divide the length in half (a 4″ cuff becomes 2″), and remove the pins. Roll the cuff down to the new length and pin into place. Measure twice.
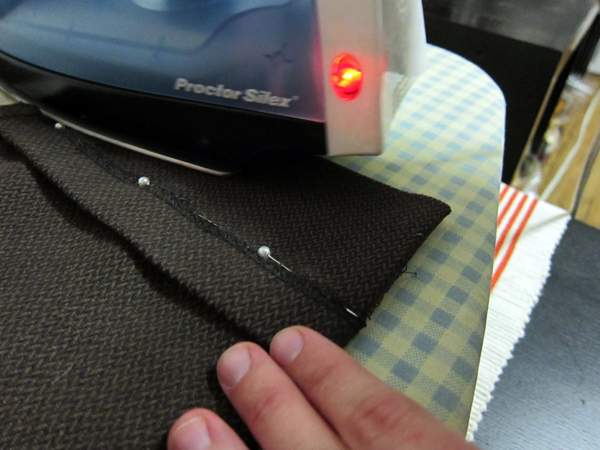
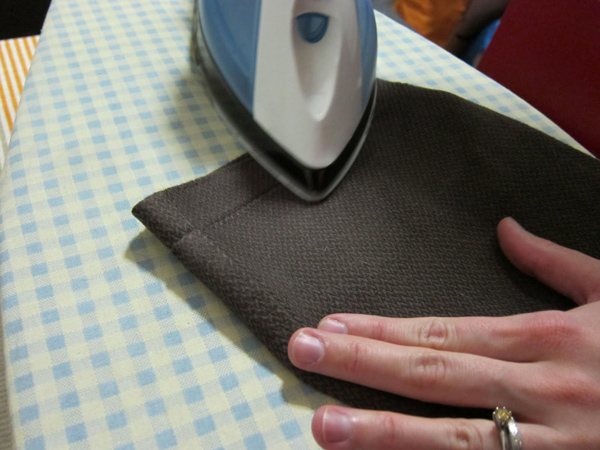
4. Iron a crease into the bottom of the cuff to fix the length. When you’re taking the pins out as you sew, this will keep your hem even.
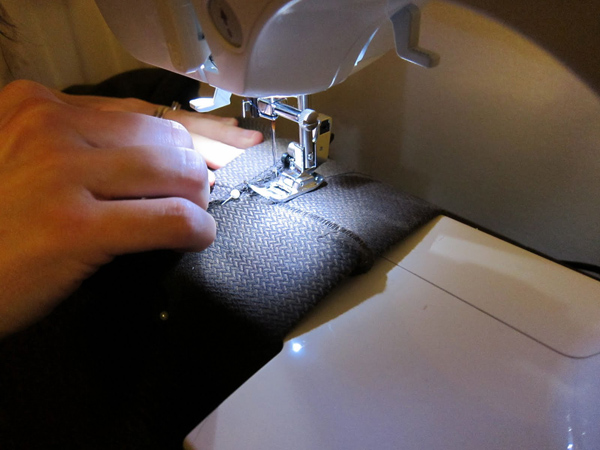
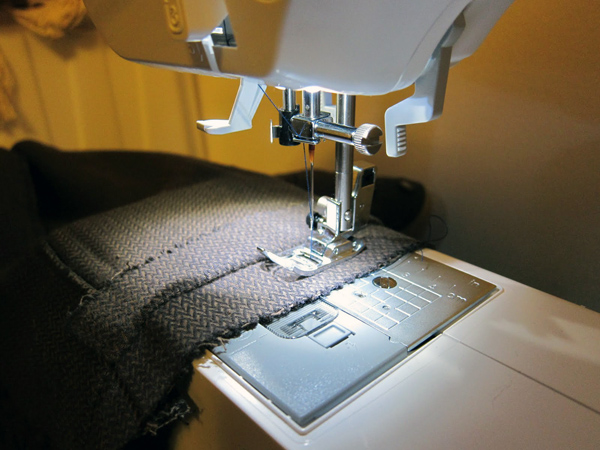
5. Using a straight stitch on a sewing machine or a backstitch by hand, sew along the seam of the original hem, removing the pins in advance of the machine’s stitching. (This preserves the original hem and keeps your stitches straight.) Repeat on the other cuff.
6. Roll down the finished hem and try the pants on to check the length. If the length isn’t right, use a seam ripper to remove your stitches, and try again!
At this point, if your hem was small, and you don’t have a ton of excess fabric, you can head right to step 9.
If you removed a lot of length, you have two options:
A. You can tack the excess fabric to the inside of the pants by turning the pant leg inside out and stitching the top edge of the crease (that you ironed in step 4) to each inseam (the seam running down the length of the leg) with a tiny x stitch. After you finish tacking, move on to step 9.
B. You can cut off the excess fabric and finish the cut edges to prevent fraying. (If you leave the edges unfinished, the fabric will probably unravel, and your hem will fall off. Don’t say I didn’t warn you.) If you’re ready to get rid of the excess fabric, move on to step 7.
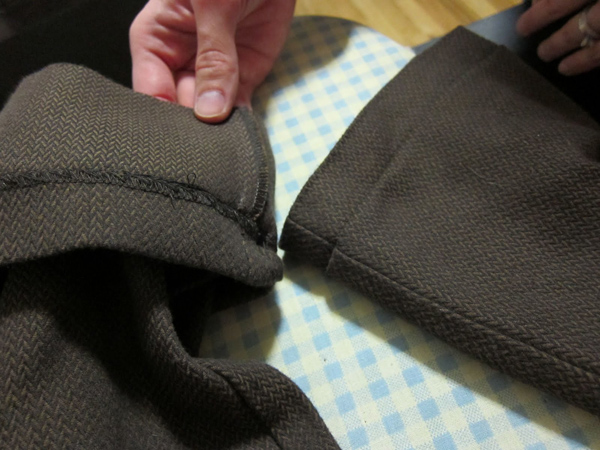
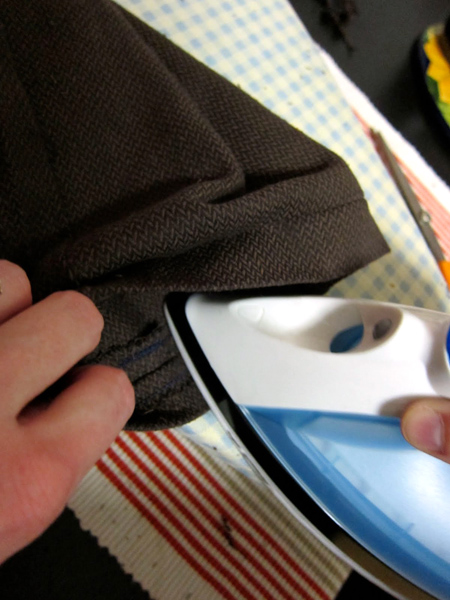
7. With sharp fabric scissors or pinking shears, cut off the excess fabric, leaving about .5″ of extra material. Using an iron, press the seam open as shown above, so you can easily sew a line of stitches next to the raw edges.
8. Stitch around the length of the raw edge. Your stitches should be small, straight machine stitches right next to the raw edge. You can also use zigzag machine stitches or hand backstitches. If you’re sewing by hand, this will take a while, but it will save you a ton of future headaches and repairs, so hang in there!
9. With an iron, press your new hem flat. Turn the pants inside out, and press the hem flat from the inside as well. If you cut off the excess fabric, the finished edges should be pressed open.
10. Admire your handiwork.
This hemming method will work for most pairs of pants, including jeans, corduroys, and slacks. If the pants have a lining, you’ll want to hem that too.

very useful hemming tutorial, thank you for sharing
Glad to help! If you try it, feel free to let me know if anything wasn't clear.
i recognize those shoes!
This was an awesome tutorial Thank you all the way from South Africa.
@Cheridene: Thanks! Glad to help. :)
i recognize those shoes!
@Cheridene: Thanks! Glad to help. :)
Glad to help! If you try it, feel free to let me know if anything wasn't clear.
I so appreciate this tutorial- can you please explain which raw edge I should sew? I feel like when I iron it it creates 2 flaps of raw edges and then I am afraid I will undo what I did. Thanks in advance- I appreciate your reply!
Are you referring to step 8? If so, individually stitch along both of the raw edges (both flaps) that you created when trimming the excess fabric. (You’re just adding a single line of stitches next to the cut edges to keep the fabric from fraying when washed—you’re not actually sewing those flaps to anything else.) I hope that helps!
Very confusing!—which is “original hem?” I would never use directions that actually say: “contrary to this photo…” in them & then go on to re-explain in WORDS. Why not put a correct photo in the first place?
Sorry to confuse you. It would seem that when I wrote that tutorial 10 years ago, I made a mistake with a staged photo, then didn’t have time to go back and re-shoot. I hope you ended up finding the information that you needed–there are certainly many tutorials out there that use the same method that might have been more to your taste.