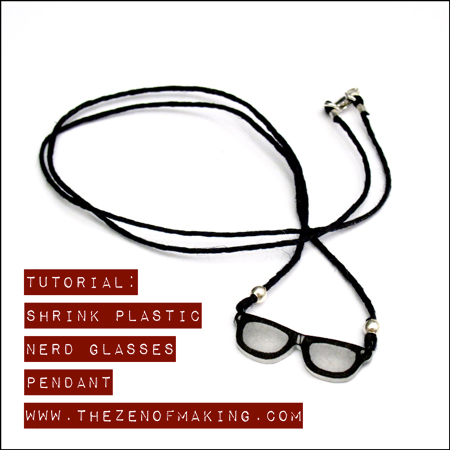
Display your geek pride to the world! Make your own shrink plastic nerd glasses pendant with my free printable PDF pattern and tutorial.
Supplies:
* Shrink plastic nerd glasses pattern PDF
* Shrink plastic, frosted
* 2 jump rings, 3.5mm
Tools:
* Round jewelry pliers
* Paper scissors with detail blades
* 1/8″ paper punch
* Pigment pen, black #05
**Please note that the links provided above are affiliate links, and I will be compensated if you choose to make a purchase after clicking through.**
Step 1:
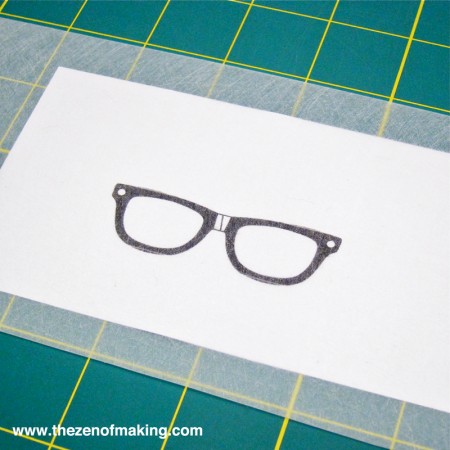
Print out the glasses template, then place the shrink plastic on top of the template with frosted (textured) side facing up. If needed, attach the template to the shrink plastic with tape to keep it from moving.
Step 2:
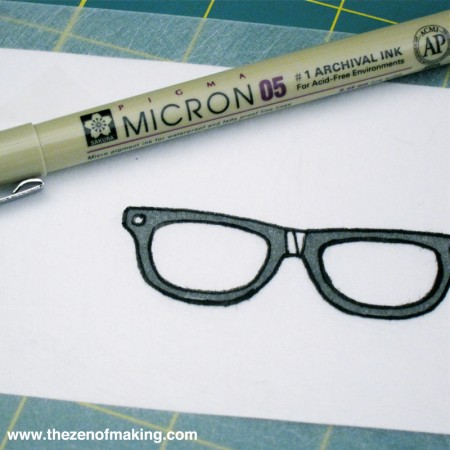
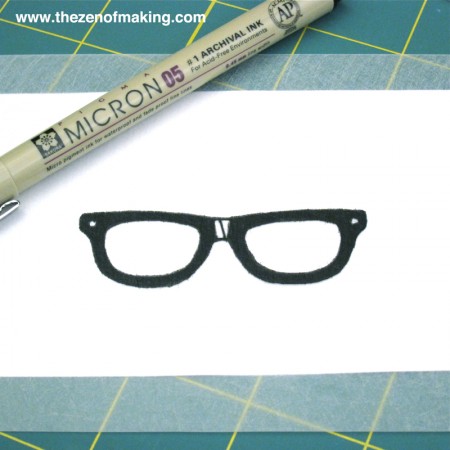
Use a pigment pen to trace the outline of the glasses onto the shrink plastic.
Step 3:
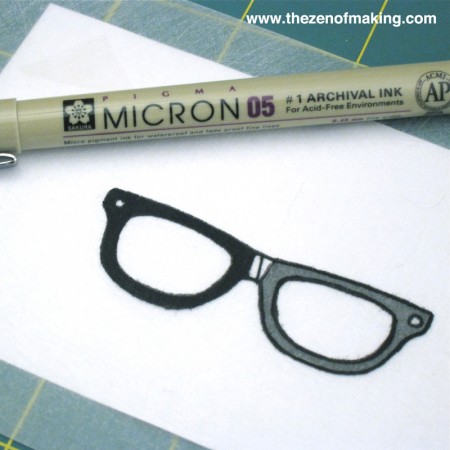
Use the pigment pen to fill in the outlined shape completely, taking care not to smudge the ink as you work.
Step 4:
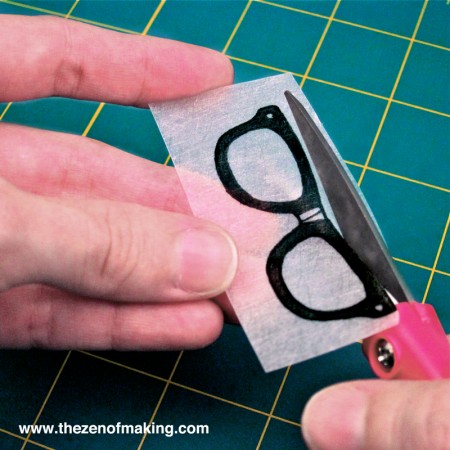
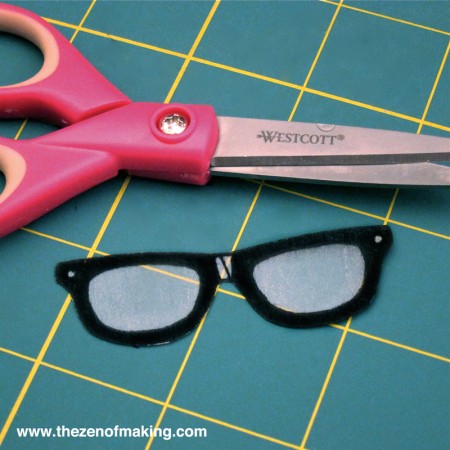
Once the full glasses pattern has been transferred to the shrink plastic, carefully cut out the shape using scissors with detail blades.
Step 5:
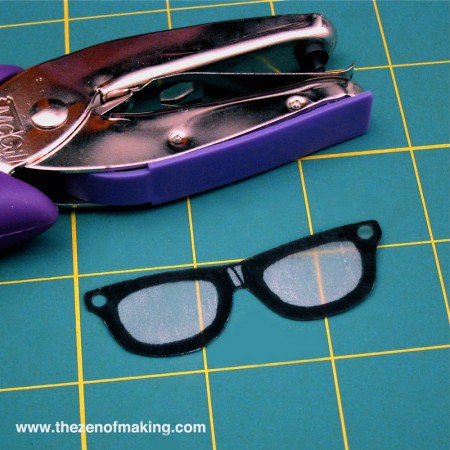
Use the paper punch to punch holes through the circles on either side of the glasses shape.
Step 6:
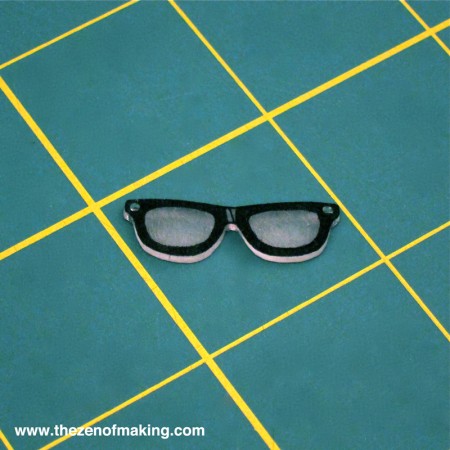
Bake the shrink plastic per the instructions on the shrink plastic package, pressing the pendant flat with a piece of cardboard after removing it from the oven.
Step 7:
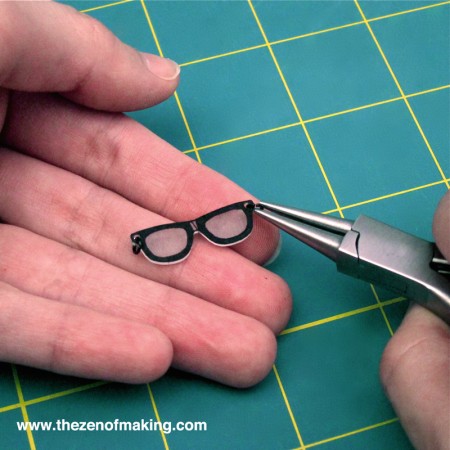
To finish, use round pliers to secure jump rings through the holes on each side of the pendant.
Step 8:
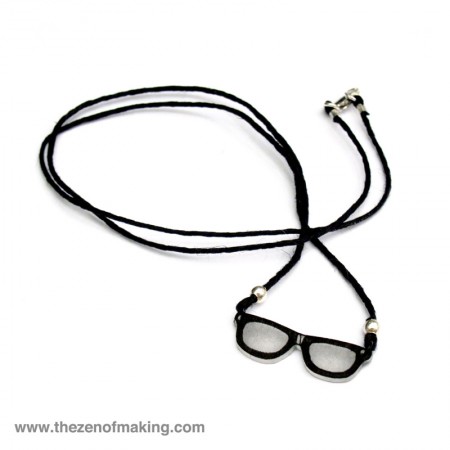
String the pendant on a necklace cord or chain, then let your geek flag fly!
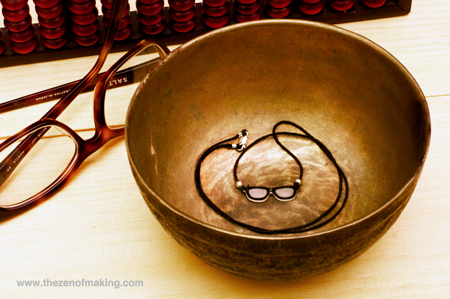
A special thanks goes out to my husband, Jeremy, who’s Illustrator skills brought this project to life way faster than my skills would have alone!

Hah!! THat is so awesome and adorably cute!!!! still haven’t tried shrink dink – ever!!
Shrink plastic projects are totally easy–you should definitely give it a try. Just don’t use a toaster oven for baking–the uneven heat can warp the shape. :)
So I have a silly question…. (I LUV your tutorials by the way… And I’m a novice to most crafts as you can tell by my question.) When you bake the Shrink Plastic does it raise by it’s self, or is that the cardboard? :)
That’s not a silly question at all, especially if you’ve never seen shrink plastic in action! As the plastic bakes, the piece shrinks and thickens, which is why the image looks raised. The cardboard is only for pressing the finished piece flat while it’s still hot (sometimes the shape isn’t completely flat when it comes out of the oven). Does that clear things up?
Yes..(lol) Thank you :)