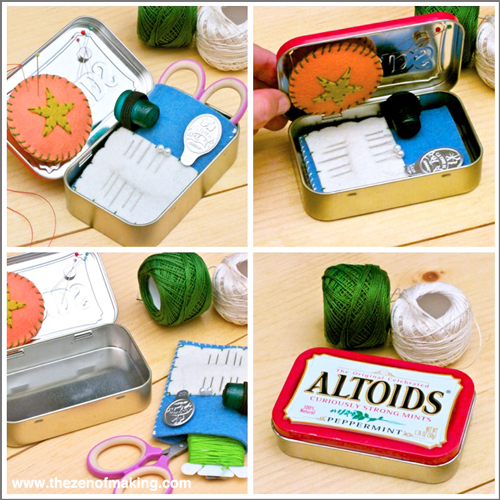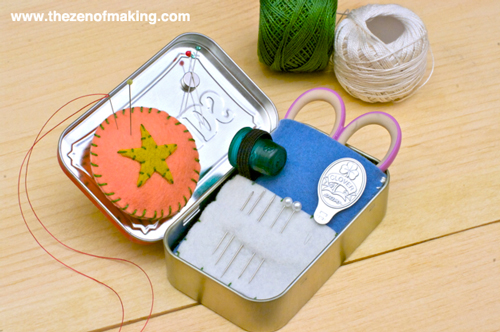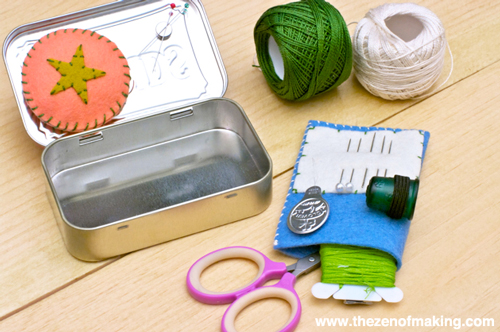
My Altoids Tin Travel Embroidery Kit tutorial is now on CRAFT!
Altoids tins are an easy way to keep your embroidery supplies organized, no matter where you do your stitching. Head over to CRAFT to learn how to make a custom travel kit of your own: Project: Altoids Tin Travel Embroidery Kit
Project: Altoids Tin Travel Embroidery Kit
Empty Altoids tins make great containers for craft supplies, and they’re absolutely perfect for keeping embroidery supplies in order while stitching on the go. In this tutorial, I’ll show you how to make your own travel embroidery travel kit, complete with a magnetic pincushion, a needle-holding magnet, and a removable organizer pouch with special places for pins and needles, a thimble, and a needle threader. And, since everything fits nicely into a small Altoids tin, you can toss the whole thing into your project bag without having to worry about getting jabbed by loose needles or runaway scissors!
Step 1: First, we’ll make a removable magnetic pincushion that can be attached anywhere on the tin.
To start, gather the following pieces:
Two 2″ pink felt circles
One 1″ pink felt square
One 1″ decorative shape (optional)
Wool roving
Disk magnetStep 2: Add a magnet to the back piece of the pincushion.
To do this, attach the 1″ square to one of the 2″ circles by backstitching around three of the four sides. Insert the magnet into the open end of the square, and then stitch the last side closed …
Ready for more? Head over to CRAFT to see the full tutorial!


Hi, thanks for these wonderful tuts. I enjoy making them.
Denise from Australia.
The links to CRAFT no longer work. Is the full tutorial still available? Thank you!
Hi, Jen! I updated the links. Thanks for letting me know!
I made two of these a few years back. One for a friend and one for me. I love the bag and use it all the time. I painted the tins to match the bags. I even put a strap on mine later to throw over my shoulder as I was spending a lot of time in the hospital with my husband. Thank you for creating this.